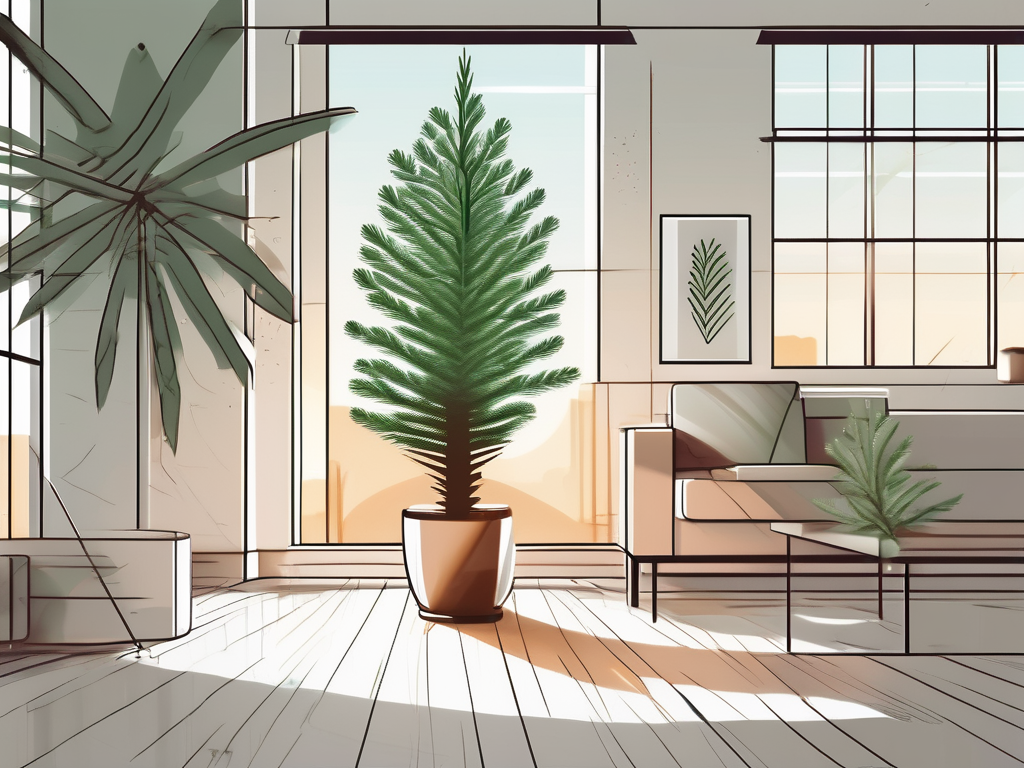
Picture this: You're chilling in your living room, sipping a warm drink, and admiring the beautiful, feathery branches of your Norfolk Pine. It's a scene of tranquility and natural beauty, but wait—does your Norfolk Pine look as lush as it should? Understanding its light needs is the key to keeping this stunning plant happy and healthy in your home.
In this article, we’ll explore everything you need to know about the light requirements of Norfolk Pine. We’ll cover their natural habitat, how to mimic those conditions indoors, recognize signs of light stress, and more. Whether you're a seasoned plant parent or just starting out, this guide will help you nurture your Norfolk Pine to its fullest potential.
Natural Habitat and Light Conditions
To understand the light needs of your Norfolk Pine, it helps to start with its roots—literally. Native to Norfolk Island in the South Pacific, these trees grow in bright, indirect light. In their natural habitat, they bask under the canopy of taller trees, enjoying dappled sunlight throughout the day. This environment provides a perfect balance of light and shade, which is crucial for their growth.
When you bring a Norfolk Pine indoors, you're essentially trying to replicate these conditions. While it might seem challenging, the good news is that they are quite adaptable. Here's what you should aim for:
- Bright, Indirect Light: Place your Norfolk Pine in a spot where it can get plenty of light without being in direct sunlight. A few hours of morning sun are okay, but harsh afternoon rays can scorch the needles.
- Dappled Sunlight: If you have a spot with filtered light, such as near sheer curtains or under a light canopy of other taller plants, your Norfolk Pine will feel right at home.
Achieving the right balance can be a bit of trial and error, but with patience, you'll find the perfect spot for your plant.
Choosing the Right Spot Indoors
Finding the ideal location in your home for a Norfolk Pine can sometimes feel like a game of musical chairs. But don't worry, I've got some tips to make this easier. Start by assessing the light levels in different rooms at various times of the day. This will help you understand where bright, indirect light naturally occurs.
Consider these options:
- East-Facing Windows: These are usually great spots, as they provide gentle morning light, which is less intense than afternoon sun.
- South or West-Facing Windows: If all you have is a south or west-facing window, place your Norfolk Pine a few feet away to avoid harsh midday and afternoon sun. You can also use sheer curtains to diffuse the light.
- Room with Skylights: If your home has skylights, these can create a lovely dappled light effect similar to the plant's natural environment.
Remember, you might need to adjust your plant’s location with the seasons, as the sun’s position changes throughout the year.
Signs Your Norfolk Pine Needs More or Less Light
Plants are pretty communicative if you know how to read the signs. Your Norfolk Pine will show you when it's not getting the right amount of light. Here’s what to watch out for:
Signs of Too Little Light
If your Norfolk Pine isn't getting enough light, it might:
- Exhibit Slow or Stunted Growth: Norfolk Pines need light to photosynthesize, and without enough of it, their growth will slow.
- Develop Sparse Foliage: The plant may start losing its fullness, with the branches appearing more spread out.
- Show Yellowing Needles: Lack of light can cause the needles to turn yellow and drop.
Signs of Too Much Light
On the flip side, too much light can cause:
- Scorched or Brown Tips: Direct sunlight can scorch the needles, causing brown, crispy tips.
- Drying Out Quickly: If you find the soil drying out faster than usual, it might be due to excessive light.
By paying attention to these signs, you can adjust your Norfolk Pine’s light conditions to keep it thriving.
Using Artificial Light for Norfolk Pines
Not everyone is blessed with a home that has ample natural light. If that’s the case, artificial light can be a great solution. Here's how to effectively use it for your Norfolk Pine:
- Choose Full-Spectrum LED Lights: These mimic natural sunlight and provide the necessary wavelengths for photosynthesis.
- Position the Light Properly: Place the light about 12-18 inches above the plant, ensuring it covers the entire foliage.
- Set a Timer: Norfolk Pines do well with around 12-16 hours of light per day. Use a timer to maintain a consistent schedule.
While natural light is preferable, artificial light can be a great supplement or alternative, especially during the darker months of the year.
Seasonal Light Considerations
Just like us, Norfolk Pines experience seasonal changes. Understanding these can help you adjust your care routine accordingly:
Winter Months
During winter, the days are shorter, and light levels decrease. This means your Norfolk Pine might need a little extra help. You can:
- Move it Closer to Light Sources: Shift your plant closer to windows to maximize available light.
- Use Artificial Lighting: As mentioned earlier, artificial lights can supplement the reduced natural light during winter.
Summer Months
In summer, the sun is stronger and stays up longer. To protect your Norfolk Pine:
- Provide Shade: If your plant is near a window, consider adding sheer curtains to filter the light.
- Monitor Soil Moisture: Plants tend to dry out faster in summer, so keep an eye on the soil moisture levels.
Being mindful of these seasonal changes will help your Norfolk Pine stay healthy all year round.
Common Mistakes and How to Avoid Them
We all make mistakes, especially when learning something new. Here are some common lighting mistakes plant parents make with Norfolk Pines and how to avoid them:
- Ignoring Light Changes: Light levels fluctuate, so avoid keeping your plant in a static location year-round.
- Overexposure to Direct Sunlight: Direct light can be tempting for growth, but it's often too harsh, leading to scorched needles.
- Neglecting Artificial Lighting Options: If natural light is scarce, don’t hesitate to use artificial lights.
A little attention to these details can make a big difference in your plant's health.
Creating a Balanced Environment
While light is crucial, it’s not the only factor for a healthy Norfolk Pine. Balancing other environmental elements can enhance light absorption and overall plant health:
- Humidity: Norfolk Pines love humidity. If your home is dry, consider using a humidifier or pebble tray.
- Temperature: Keep temperatures between 65-75°F. Avoid cold drafts and sudden temperature changes.
- Watering: Ensure the soil is consistently moist but not waterlogged. Overwatering can lead to root rot.
By creating a holistic care routine, your Norfolk Pine will thrive in its indoor space.
Adapting Light Conditions for Growth Stages
Another interesting aspect of Norfolk Pines is their growth stages. As they mature, their light needs can slightly change:
- Young Plants: These need more light to fuel their rapid growth. Ensure they get ample bright, indirect light.
- Mature Plants: Once established, they can tolerate slightly less light. However, they still need consistent light for maintenance.
Understanding these subtle shifts can help you cater to your plant’s evolving needs.
Final Thoughts
Norfolk Pines are a beautiful addition to any home, and understanding their light requirements is key to keeping them healthy and vibrant. By mimicking their natural environment and paying attention to their signs, you can create the perfect setting for your plant.
At Cafe Planta, we’re passionate about all things plants. Whether you need advice or are looking for new plant friends, don’t hesitate to reach out to us via email or on our Instagram. We're here to support your plant journey, no matter where you are. Happy planting!