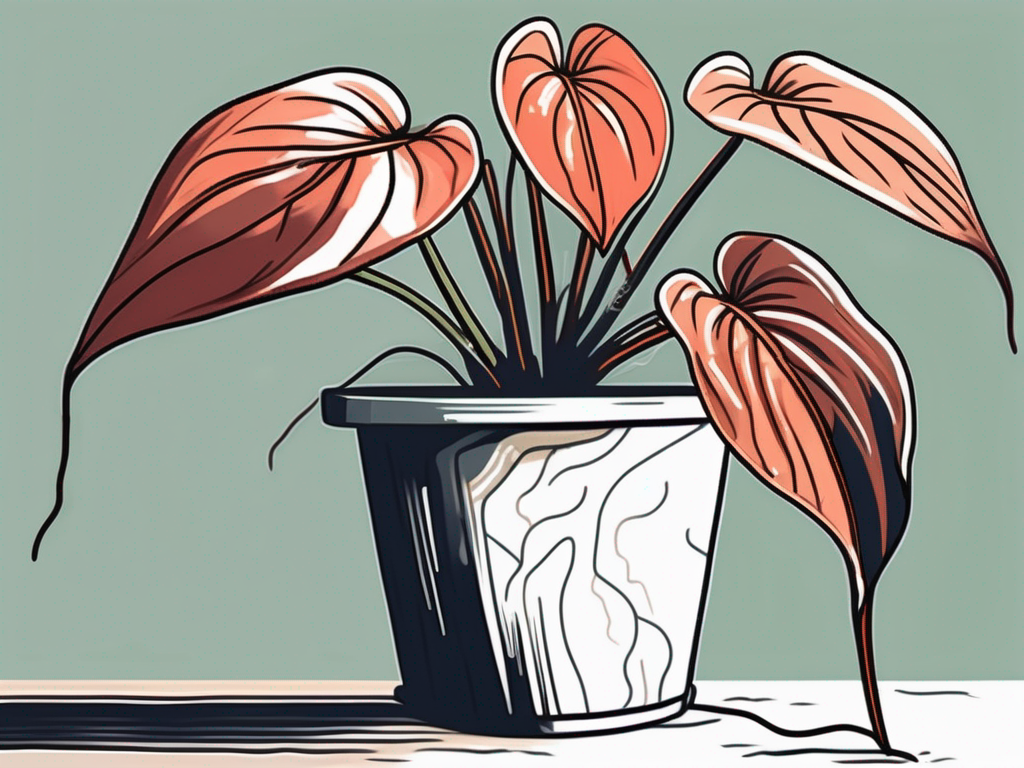
Repotting an anthurium seems like a straightforward task, right? But sometimes, after a fresh move, your plant may start looking a bit off. Yellowing leaves, droopy stems, or even the dreaded wilting can happen post-repotting, leaving plant lovers puzzled. If this sounds familiar, you're not alone—many plant people face this challenge.
In this article, we’ll unravel the mystery of why anthurium plants may struggle after repotting. From understanding the delicate roots to choosing the right soil mix, we’ll cover a range of factors that could be affecting your plant’s health. Let's dive into the nitty-gritty and help your anthurium thrive in its new home!
Understanding the Stress of Repotting
Repotting can be a stressful experience for plants. Imagine moving houses and all the hustle that comes with it—it's not too different for your plant. When you uproot an anthurium from its cozy pot, it experiences a significant change that can trigger stress. This stress can manifest as wilting, yellowing, or even leaf drop. But why does this happen?
First, consider the roots. Anthurium roots are designed to absorb water and nutrients from the soil. When you disturb them, even slightly, it can temporarily affect their efficiency. This makes the plant feel like it's not getting enough water or nutrients, even if everything else seems fine. The plant's energy then shifts from growing to survival mode, trying to adapt to its new environment.
Secondly, the plant's exposure to different light and humidity levels during the repotting process can add another layer of stress. A sudden change from a familiar spot to a new one might confuse the plant. Hence, it's essential to keep anthuriums in a similar location post-repotting to minimize this environmental shock.
Interestingly, some plants are more resilient to change than others. Anthuriums, while beautiful and rewarding, can be a bit finicky. Understanding their needs and stress factors can significantly help mitigate the challenges after repotting.
Choosing the Right Soil Mix
The soil mix is crucial for your anthurium's health, especially after repotting. Unfortunately, not all soil is created equal when it comes to these plants. Anthuriums are tropical plants, and they thrive in a well-draining, loose mix that mimics their natural habitat—think of the forest floor with plenty of organic matter allowing air to circulate.
If you've repotted your anthurium into heavy, compacted soil, it might be struggling to breathe. Poor drainage can lead to waterlogged soil, which can suffocate the roots and lead to root rot. This is a common reason why anthuriums might start to decline after repotting.
A blend that works well for anthuriums usually includes:
- Orchid bark, which allows for excellent drainage
- Peat moss or coco coir for moisture retention while still being loose
- Perlite to enhance aeration
This mix ensures that water can flow through freely, preventing the roots from sitting in water for too long. When repotting, always check if the new potting mix aligns with these components to give your plant the best chance to adjust and thrive.
Avoiding Overwatering and Underwatering
After repotting, it's easy to either overwater or underwater your anthurium, both of which can lead to problems. Finding the right balance is key, as these plants prefer a moist environment but not a soggy one.
Overwatering is a common mistake, especially if you're concerned about the plant's health after repotting. It might feel like giving it extra water will help it recover, but too much water can drown the roots. If the soil stays consistently wet, there's a high risk of root rot, which is often fatal for anthuriums.
On the flip side, underwatering can also occur when you're trying to avoid overwatering. If the soil becomes too dry, the plant can't absorb the nutrients it needs, leading to wilting and yellowing leaves.
Here’s a simple trick to get it right: stick your finger about an inch into the soil. If it feels dry, it's time to water. If it's still moist, give it a bit more time. Also, ensure that the pot has adequate drainage holes to prevent water from pooling at the bottom.
Handling Root Disturbance
Handling the roots gently during repotting is essential. Anthurium roots are sensitive, and rough handling can lead to damage. Broken roots have a harder time absorbing water and nutrients, which can stunt growth or cause the plant to go into shock.
During repotting, aim to disturb the roots as little as possible. Remove the plant carefully from its old pot, and gently loosen the roots without pulling or tugging. If you notice any damaged or rotten roots, it's a good idea to trim them with clean, sharp scissors. This can prevent the spread of disease and encourage healthy new growth.
Once the plant is in its new pot, pack the soil lightly around the roots. Avoid compacting it too much, as this can restrict airflow and water drainage. Allow the plant some time to settle in its new environment, and avoid moving it around too much immediately after repotting.
Managing Light and Temperature Changes
Light and temperature can significantly affect anthuriums, especially after a repotting session. If your plant is suddenly exposed to brighter or harsher light than it's used to, it may start showing signs of stress.
Anthuriums prefer bright, indirect light. Direct sunlight can scorch the leaves, while too little light can stunt growth. After repotting, try to keep your plant in a consistent lighting environment. If you need to move it, do so gradually to allow the plant to acclimate.
Temperature fluctuations can also be a concern. Anthuriums thrive in temperatures between 65-80°F (18-27°C). Sudden changes, especially if moving the plant from indoors to an outdoor space, can shock the plant. Aim to keep your anthurium in a stable environment to promote recovery and growth.
Using the Right Pot
The pot you choose for your anthurium can make a big difference in its post-repotting health. A pot that's too large can hold excess moisture, while one that's too small might restrict root growth.
When selecting a pot, aim for one that's just slightly larger than the previous one. This gives the roots room to grow while preventing the soil from staying too wet. Ensure that the pot has adequate drainage holes to allow excess water to escape.
Ceramic or terracotta pots can be a good choice as they offer breathability compared to plastic pots, which can help in drying out the soil between waterings. However, if you opt for a decorative pot without drainage, make sure to use it as a cover pot and keep the plant in a plastic nursery pot inside.
Timing Your Repotting
Timing is everything when it comes to repotting anthuriums. The best time to repot is during the growing season, typically spring or early summer. This is when the plant is in its active growth phase and can recover from the stress more quickly.
Repotting during the dormant season, usually in fall or winter, can add unnecessary stress to the plant. The cooler temperatures and reduced light levels mean the plant isn't actively growing, making it harder to recover from the shock of being moved.
If you don't need to repot immediately, it's often best to wait until the growing season. However, if the plant is suffering from severe root rot or other issues, repotting might be necessary regardless of the season.
Observing Your Plant's Response
After repotting, keep a close eye on your anthurium. Monitoring its response can give you valuable clues about what it needs. Look for signs of distress like yellowing leaves or drooping stems, and adjust your care routine as needed.
If the plant seems unhappy, consider factors like light, water, and soil. It might take a few weeks or even months for the plant to fully adjust, so be patient. With the right care, your anthurium can bounce back and thrive once more.
Final Thoughts
Repotting an anthurium can sometimes lead to a temporary decline in health, but understanding the possible pitfalls can help you avoid them. From choosing the right soil mix to ensuring proper watering practices, each step plays a crucial role in helping your plant adjust smoothly.
At Cafe Planta, we’re passionate about helping you care for your plants. Whether you need advice or are looking for new additions to your collection, we’re here to help. Reach out to us via email or Instagram. We believe in the power of plants to connect and inspire—let’s nurture that together!


