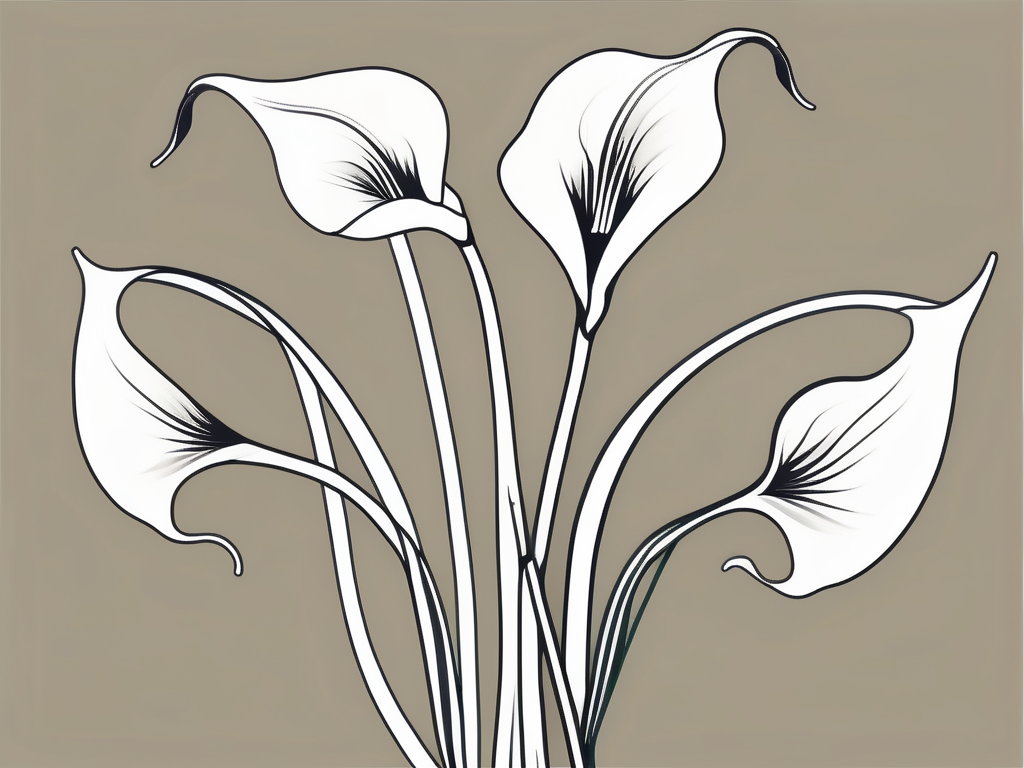
So, you've noticed your calla lily's leaves are curling, and you're wondering what's going on. You're not alone—it's a common issue that can leave plant parents scratching their heads. Those elegant, trumpet-shaped flowers deserve to be showcased against perfect foliage, right?
In this article, we're going to uncover the reasons behind curling leaves in calla lilies and offer practical advice to help you nurse your plant back to health. We'll cover everything from watering habits and lighting conditions to pests and diseases. Ready to get your green thumb working?
1. Overwatering: The Usual Suspect
Let's kick things off with one of the most frequent culprits: overwatering. Calla lilies are beautiful, but they don't love to swim. Too much water can lead to root rot, a sneaky problem that often shows up as curling leaves.
Why does this happen, you ask? Well, when roots sit in waterlogged soil, they can't breathe. This lack of oxygen causes them to deteriorate, and your plant shows its distress by curling its leaves. So, what can you do?
- Check the Soil: Stick your finger into the soil. If it's moist two inches deep, hold off on watering. Let it dry out a bit.
- Use Well-Draining Soil: Consider repotting your calla lily in a mix that includes perlite or sand to improve drainage.
- Water Wisely: Water thoroughly but infrequently. Allow the top inch of soil to dry between waterings.
By monitoring the soil moisture and adjusting your watering habits, you can often nip overwatering issues in the bud.
2. Underwatering: The Dry Spell
On the flip side, underwatering can also lead to curling leaves. If your calla lily isn't getting enough water, its leaves will curl as a way to conserve moisture. This is its way of waving a tiny white flag, signaling for more hydration.
How can you tell if underwatering is the problem? Look for these signs:
- Dry Soil: If the soil feels like a desert, it's time to water.
- Brittle Leaves: Are the leaves dry and crispy? That's a classic sign of thirst.
To solve this, establish a regular watering routine. Calla lilies typically need more water during their growing season (spring and summer) compared to dormancy (fall and winter). Adjust your schedule accordingly, and remember, consistency is key!
3. Temperature Stress: Too Hot or Too Cold
Calla lilies are a bit like Goldilocks when it comes to temperature—they like it just right. Extreme temperatures, whether too hot or too cold, can cause their leaves to curl.
Here's how to keep your plant comfortable:
- Ideal Temperature Range: Aim for temperatures between 60-75°F (15-24°C).
- Avoid Drafts: Keep your plant away from drafty windows or air vents.
- Consider Humidity: Calla lilies appreciate a bit of humidity. If your home is dry, especially in winter, a humidifier or a pebble tray with water can help.
By maintaining a stable environment, you can prevent temperature stress and keep those leaves looking lovely.
4. Poor Lighting: Finding the Sweet Spot
If you've ever felt sluggish after a week of gloomy weather, you've got something in common with your calla lily. Insufficient light can lead to curling leaves as the plant struggles to photosynthesize properly. On the flip side, too much harsh sunlight can scorch those leaves, causing them to curl away from the light source.
To find the perfect lighting balance:
- Bright, Indirect Light: Calla lilies thrive in bright, indirect light. A spot near a window with filtered sunlight is ideal.
- Avoid Direct Sunlight: Direct sun can be too intense. If your plant is sunburned, move it to a shadier location.
- Rotate the Plant: Give your plant a quarter turn every week to ensure even light exposure.
Adjusting your lighting setup can work wonders for your calla lily's health and appearance.
5. Nutrient Imbalances: Feeding Your Plant Right
Just like us, plants need a balanced diet. If your calla lily's leaves are curling, it might be due to a lack of essential nutrients—or sometimes, an excess!
Here's how to tackle nutrient issues:
- Fertilize Regularly: During the growing season, feed your plant with a balanced, water-soluble fertilizer every 4-6 weeks.
- Watch for Signs: Yellowing leaves can indicate a nutrient deficiency, while brown edges might suggest over-fertilization.
- Flush the Soil: If you suspect fertilizer build-up, flush the soil with water to wash away excess salts.
Finding the right balance of nutrients will help your calla lily thrive and show off those stunning leaves.
6. Pests: Tiny Terrors
Pests can be a nightmare for any plant lover, and calla lilies are no exception. Common pests like spider mites and aphids love to make a meal of your plant's leaves, causing curling and other damage.
Here's how to keep these tiny terrors at bay:
- Regular Inspections: Check your plant regularly for signs of pests. Look for webbing or small, moving dots on the leaves.
- Wash the Leaves: Use a gentle stream of water to wash off pests. This simple method can help control minor infestations.
- Insecticidal Soap or Neem Oil: For more persistent pests, consider using insecticidal soap or neem oil. Follow the instructions carefully to avoid harming your plant.
By staying vigilant and taking action quickly, you can protect your calla lily from pest-related leaf curling.
7. Diseases: When Things Get Fungal
Sometimes, leaf curling can be a sign of disease. Fungal or bacterial infections can strike if conditions are right—usually when humidity is high and air circulation is poor.
To prevent and address diseases:
- Improve Air Circulation: Space your plants to allow air to circulate freely. This helps prevent the spread of disease.
- Water at the Base: Avoid wetting the leaves when watering. Wet leaves provide a breeding ground for fungi.
- Remove Affected Leaves: If you spot diseased leaves, remove them promptly to prevent the infection from spreading.
Maintaining good plant hygiene can go a long way in keeping your calla lily healthy and disease-free.
8. Pot Size: Room to Grow
Believe it or not, the size of your plant's pot can influence leaf health. A pot that's too small can restrict root growth, leading to stress and—you guessed it—curled leaves.
Here's how to pick the right pot:
- Choose the Right Size: When repotting, select a pot that is 1-2 inches larger in diameter than the current one.
- Ensure Proper Drainage: Make sure the pot has drainage holes to prevent water from sitting at the bottom.
- Consider the Material: Clay pots can help with moisture absorption, while plastic pots retain moisture longer.
Giving your calla lily the right amount of room to grow will keep the roots happy and the leaves looking fabulous.
9. Seasonal Changes: Nature's Cycle
Finally, remember that calla lilies have a natural growth cycle that can influence leaf appearance. During the dormant period, usually in fall and winter, it's normal for leaves to yellow and curl as the plant conserves energy.
To manage seasonal changes:
- Reduce Watering: During dormancy, cut back on watering as the plant needs less moisture.
- Hold Off on Fertilizing: Save fertilizing for the active growing season to avoid stressing the plant.
- Be Patient: Understand that this is a natural process. New growth will appear in spring, bringing fresh, vibrant leaves.
By aligning your care routine with the plant's natural cycle, you'll set your calla lily up for year-round success.
Final Thoughts
Curling leaves in calla lilies can be caused by a variety of factors, from water and temperature issues to pests and nutrient imbalances. By understanding these causes and adjusting your plant care routine, you can help your calla lily thrive.
At Cafe Planta, we're passionate about helping you care for your plants. Whether you're looking for new plant additions, care accessories, or simply need advice, we're here for you. Feel free to reach out via email or Instagram. We believe plants bring joy and connection, and we're excited to be part of your plant journey!

