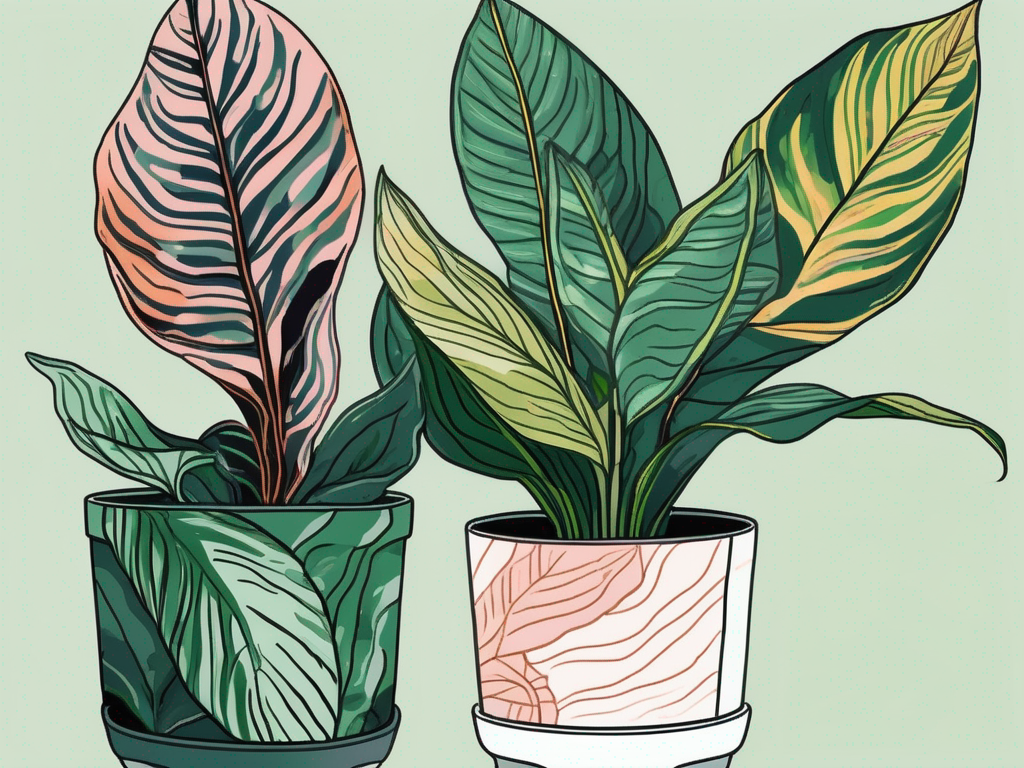
So, you’ve got a bromeliad, one of those quirky, colorful plants that seem straight out of a tropical paradise. Yet, despite your best intentions, it’s just not growing the way you imagined. Maybe it’s stuck at the same size, or perhaps it looks a bit sad and droopy. Don’t worry, you’re not alone in this plant-growing conundrum.
In this post, we’ll look at some of the common reasons why your bromeliad might not be thriving and what you can do to help it along. From light and water to soil and pests, we’ll cover it all. Let’s get your bromeliad back on track!
Understanding Your Bromeliad’s Natural Habitat
First things first, let’s consider where bromeliads naturally thrive. These beauties hail from tropical and subtropical regions, where they grow in environments quite different from your average living room. Understanding their native habitat can give you clues about what conditions they need.
Bromeliads are epiphytes, meaning they often grow on other plants and trees rather than in the ground. They’re used to getting nutrients from the air, rainwater, and debris around them. So, they’re not your typical soil-loving plants. They’re used to filtered sunlight, high humidity, and good air circulation.
When we try to recreate these conditions at home, we sometimes miss the mark. But don’t worry, there are practical ways to adjust your home environment to better suit your bromeliad’s needs. Think of it like setting up a mini vacation spot for your plant—somewhere it can feel right at home.
Light Levels: Too Much or Too Little?
Light is crucial for any plant, and bromeliads are no exception. However, finding the sweet spot isn’t always straightforward. Too much direct sunlight can scorch their leaves, while too little can stunt their growth.
Most bromeliads prefer bright, indirect light. If your plant is sitting in a spot with harsh afternoon sun, try moving it to a location with filtered light or the soft morning sun. A sheer curtain can help diffuse light if your windows are particularly sunny.
On the flip side, if your bromeliad isn’t getting enough light, you might notice it stretching or looking a bit pale. Consider placing it closer to a light source, or perhaps using a grow light if natural light is scarce. Just remember, balance is key. You’re aiming for that just-right Goldilocks zone of light.
Watering Wisely: Not Too Much, Not Too Little
Watering can be a tricky dance with bromeliads. They don’t like to sit in soggy soil, but they also don’t want to dry out completely. So, how do you find the right rhythm?
Start by checking the “cup”—the central part of the plant where leaves overlap. This is where they naturally collect water. It’s a good idea to keep this filled with fresh water, changing it regularly to prevent stagnation.
- Water the soil sparingly: Unlike most plants, bromeliads don’t need their soil to be constantly moist. Let the top inch of soil dry out between waterings.
- Use rainwater if possible: Tap water can contain minerals that might build up over time. Rainwater is more similar to what bromeliads get in nature.
- Watch for rot: Overwatering can lead to root rot, a common issue. If you notice mushy leaves or a foul odor, it might be time to cut back on watering.
Temperature and Humidity: Getting the Balance Right
Bromeliads come from warm, humid environments, and while they can adapt to a range of conditions, extreme changes in temperature or humidity can stress them out.
These plants generally do well in temperatures between 60-80°F (15-27°C). If your home gets colder than this, especially in winter, try to keep your bromeliad away from drafts and cold windows.
Humidity is another factor. Bromeliads love humid air, which can be a challenge in homes, especially with heating or air conditioning. If you’re noticing crispy leaf edges, it might be a sign the air is too dry.
- Use a humidifier: This can be a great way to add moisture to the air, especially during winter months.
- Mist your plant: Light misting can help, but avoid soaking the leaves.
- Create a humidity tray: Place a shallow dish filled with water and pebbles under the plant pot. As the water evaporates, it increases humidity around your bromeliad.
The Right Soil Mix
Bromeliads are unique in their soil needs. Remember, they’re epiphytes, so their roots are more for anchoring than for nutrient absorption. The soil should be well-draining, allowing air to reach the roots.
A mix designed for orchids or succulents often works well for bromeliads. These mixes typically contain bark, perlite, and peat, which provide drainage and aeration.
- Avoid heavy, dense potting soil: It retains too much moisture and can suffocate your plant’s roots.
- Consider adding charcoal or coarse sand: These can improve drainage, keeping your bromeliad happier.
- Repotting: If your plant is in the wrong mix, consider repotting it in a more suitable one to help it thrive.
Fertilizer: Less is Often More
When it comes to feeding bromeliads, less is often more. These plants aren’t heavy feeders and can do quite well with minimal fertilization.
A balanced, water-soluble fertilizer diluted to about a quarter of the recommended strength is usually sufficient. Apply it sparingly during the growing season, every couple of months. Avoid getting fertilizer in the plant’s central cup, as it can cause burns.
Watch out for signs of over-fertilization like burnt leaf tips or an unhealthy appearance. If you’re unsure, err on the side of caution. Remember, a little nurturing goes a long way with these plants.
Pests and Diseases: The Unwanted Guests
Even the best-kept plants can occasionally fall victim to pests and diseases. With bromeliads, common pests include scale, mealybugs, and aphids. These tiny intruders can sap the life out of your plant if not addressed.
Check your plant regularly for any signs of pests. You might notice sticky residue, discolored leaves, or tiny insects. Luckily, many of these issues can be resolved with a gentle approach.
- Use insecticidal soap: This can effectively remove pests without harming your plant.
- Wipe down leaves: A soft cloth with a bit of soapy water can help clean affected areas.
- For diseases: Ensure good air circulation and avoid overwatering to prevent mold and rot.
Patience and Natural Growth Cycles
Sometimes, the reason your bromeliad isn't growing might simply be patience. These plants have their own growth rhythms, and some varieties grow more slowly than others.
It’s also worth noting that bromeliads are monocarpic, meaning they flower once and then gradually die. After blooming, they’ll produce offsets or "pups" that can be replanted to grow new bromeliads. If your plant is reaching the end of its life cycle, focus on nurturing the new pups that emerge.
Remember, plants are living things with their own timelines. Enjoy the process of caring for your bromeliad, and understand that growth can be slow but rewarding in its own way.
Decorating with Bromeliads: Adding a Splash of Color
While we’re on the topic of bromeliads, let’s not forget about their decorative potential. These plants are not only fascinating to care for but also bring an exotic flair to any space.
Bromeliads come in a variety of colors and shapes, making them versatile additions to your home decor. Whether you want to brighten up a corner or create a focal point in a room, there’s a bromeliad for the job.
- Mix and match: Combine different varieties for a vibrant display of colors and textures.
- Use decorative pots: Select pots that complement your home’s style for an added touch of elegance.
- Create a plant corner: Group your bromeliad with other tropical plants for a lush, indoor garden feel.
Final Thoughts
Getting your bromeliad to thrive is all about understanding its unique needs and finding the right balance of light, water, and care. With a bit of attention and patience, you’ll be rewarded with a stunning, colorful plant that adds beauty to your home.
As someone from Cafe Planta, I can tell you that we’re here to support you on your plant journey. Whether you need a new plant, accessories, or even a plant-themed hoodie, we’ve got you covered. And if you have any questions, feel free to email us or send a DM on Instagram. We love helping you connect with nature and create a thriving plant collection in your home.

