How to Grow and Care for Black Velvet Alocasias
Cafe Planta Team
Black Velvet Alocasias, with their mesmerizing deep green leaves and velvety texture, are true showstoppers in the world of houseplants. These beauties can transform any indoor space into an elegant and inviting haven. However, caring for them requires a bit of know-how to keep them thriving and looking their best.
In this blog post, we'll break down everything you need to know to grow and care for Black Velvet Alocasias. From selecting the right pot and soil to tackling common pests and designing a plant-filled space that complements your home, we've got you covered. Let's get started on this plant journey together!
Choosing the Right Pot and Soil
When it comes to planting your Black Velvet Alocasia, selecting the right pot and soil is an important first step. These plants prefer a well-draining soil mix that allows their roots to breathe. You can easily create your own mix by combining equal parts of peat, perlite, and orchid bark. This mixture provides the ideal balance of moisture retention and aeration.
As for the pot, opt for one with drainage holes to prevent water from accumulating at the bottom, which can lead to root rot. A terracotta pot is a great choice because it helps wick away excess moisture, keeping the soil from becoming waterlogged. Plus, its earthy color beautifully complements the rich tones of the Black Velvet’s leaves.
If you're repotting, gently remove the plant from its current pot and inspect the roots. Trim away any that appear damaged or rotten. When placing the plant in the new pot, make sure it's centered and at the same depth it was previously planted. Fill in with your soil mix, patting it down gently to remove air pockets.
Light Requirements: Finding the Perfect Spot
Black Velvet Alocasias thrive in bright, indirect light. Direct sunlight can scorch their leaves, leading to unsightly brown patches. A spot near a north or east-facing window is often ideal, as it provides ample light without the harshness of direct sun.
If your home doesn't have the perfect natural lighting conditions, don't fret! You can supplement with artificial light. LED grow lights are an excellent option, as they provide the full spectrum of light that plants need without overheating. Position your grow light about 12 to 18 inches above the plant, and aim for around 12 hours of light per day.
Remember, too much or too little light can stress the plant. If you notice the leaves turning yellow, it might be a sign that your Black Velvet Alocasia isn't getting the right amount of light. Adjust its position or lighting conditions accordingly and observe any changes over the next few weeks.
Watering: Striking the Right Balance
Watering can be a delicate balancing act with Black Velvet Alocasias. These plants prefer their soil to be consistently moist but not soggy. Overwatering can lead to root rot, while underwatering can cause the leaves to droop and lose their vibrant color.
A good rule of thumb is to water your Alocasia when the top inch of soil feels dry to the touch. Use room temperature water and ensure it's applied evenly across the soil surface. It's also important to let any excess water drain away completely.
During the growing season (spring and summer), Black Velvet Alocasias may need more frequent watering. In contrast, during the dormant months (fall and winter), their water needs decrease, so you can cut back on the frequency. Always keep an eye on your plant's appearance – if the leaves are wilting or curling, it might be time to adjust your watering routine.
Humidity: Keeping Your Alocasia Happy
Black Velvet Alocasias are native to tropical regions, so they thrive in high humidity environments. If your home is on the drier side, especially during the winter months, you might need to take some extra steps to boost humidity.
Here are a few ways to increase humidity around your plant:
- Place a humidifier nearby to maintain a consistent humidity level of around 60-80%.
- Create a pebble tray by filling a shallow dish with pebbles and water, then placing your pot on top. As the water evaporates, it raises the humidity around the plant.
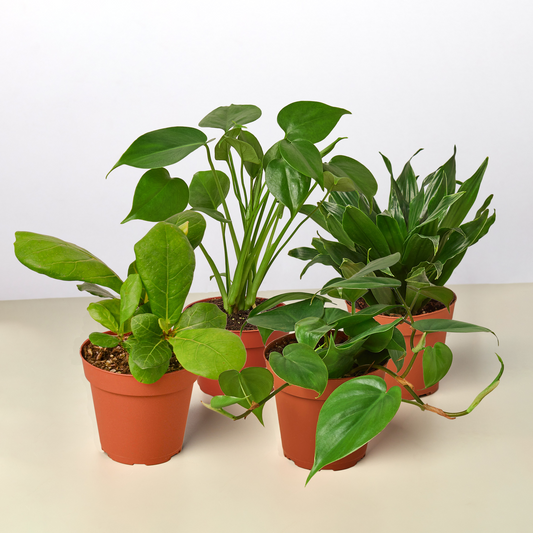
- Group your plants together. This creates a microenvironment where the humidity level is naturally higher due to the collective transpiration from the plants.
If you notice the leaf edges browning or curling, it could be a sign that the air is too dry. Increasing the humidity should help resolve these issues and keep your Alocasia looking its best.
Fertilizing: Giving Your Plant a Nutrient Boost
Like many houseplants, Black Velvet Alocasias benefit from regular feeding during their active growing season. A balanced liquid fertilizer diluted to half strength is ideal. Apply it every 4-6 weeks in the spring and summer to provide the nutrients they need to produce new growth.
Be cautious not to over-fertilize, as this can lead to salt buildup in the soil, which can harm the plant. If you notice white crusts forming on the soil surface or leaf tips browning, it might be a sign of over-fertilization. In such cases, flush the soil with water to wash away excess salts.
During the fall and winter months, when growth slows, you can skip fertilizing altogether. Your Alocasia will naturally require fewer nutrients during this time. Just remember, more isn't always better when it comes to feeding your plants!
Dealing with Pests and Diseases
Unfortunately, Black Velvet Alocasias can be susceptible to pests like spider mites, aphids, and mealybugs. Regularly inspect your plant for any signs of infestation, such as webbing, sticky residue, or visible bugs.
If you do spot pests, don't panic. There are several ways to tackle these unwelcome visitors:
- Use a gentle insecticidal soap or neem oil spray, following the product instructions carefully.
- Wipe the leaves with a damp cloth to physically remove pests and their eggs.
- Introduce beneficial insects, like ladybugs or predatory mites, to help control pest populations naturally.
In addition to pests, Alocasias can sometimes suffer from fungal issues, especially if the humidity is too high or air circulation is poor. Ensure your plant has enough space around it for air to circulate, and remove any dying or dead leaves promptly to prevent fungal growth.
Propagating Your Black Velvet Alocasia
Want to share the beauty of your Black Velvet Alocasia with friends or create more plants for your home? Propagation is a rewarding way to do just that. The most common method is through division, which involves separating the plant’s rhizomes.
Here's how to propagate your Alocasia:
- Carefully remove the plant from its pot and gently shake off excess soil to expose the rhizomes.
- Look for natural divisions or offsets – these are smaller plants growing from the main rhizome.
- Using a clean, sharp knife, carefully separate the offsets from the main plant, ensuring each piece has some roots attached.
- Plant the offsets in small pots with fresh soil mix, and water them lightly.
Keep your newly potted offsets in a warm, humid environment, and they should start to establish themselves over the next few weeks. Be patient, as propagation can take some time, but the results are well worth the effort!
Creating a Beautiful Plant-Filled Space
Once you’ve mastered the care of your Black Velvet Alocasia, you can start thinking about how to incorporate it into your home's interior design. These plants make stunning focal points in any room, thanks to their dramatic foliage.
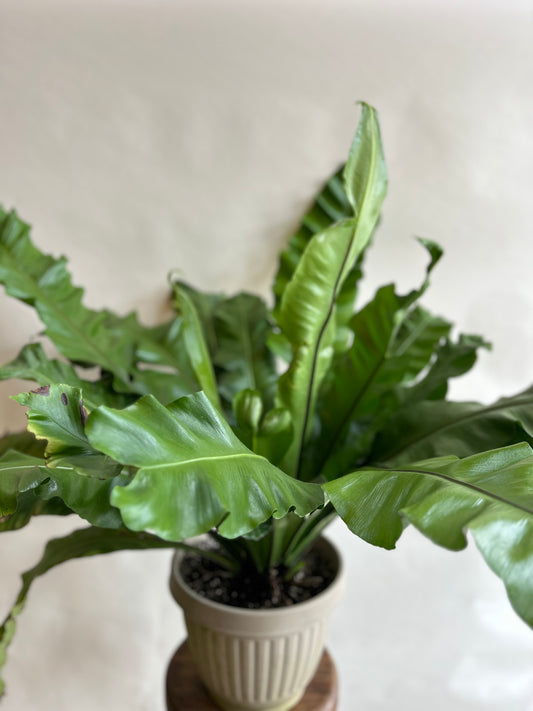
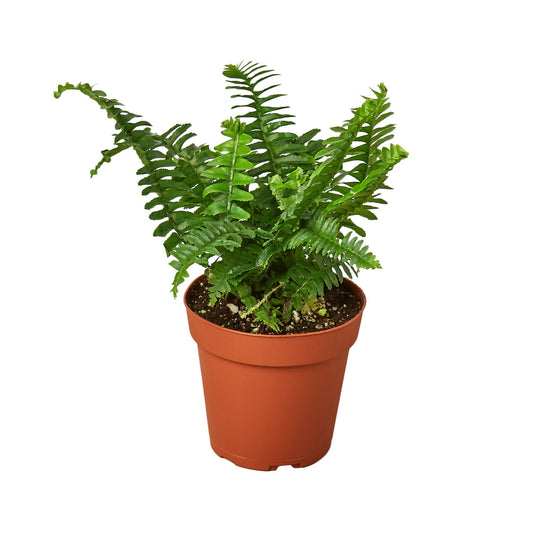
Consider pairing your Alocasia with plants that have contrasting leaf textures or colors, such as ferns or colorful begonias. This can create an eye-catching display that highlights the unique beauty of each plant. You might also use decorative pots or plant stands to add height and dimension to your arrangement.
Don't be afraid to experiment with different plant groupings and placements to find what works best in your space. A well-curated plant collection can bring life and warmth to any room, making it a more inviting place to relax and unwind.
Final Thoughts
Caring for Black Velvet Alocasias can be a truly rewarding experience, offering both beauty and a touch of the exotic to your home. By understanding their specific needs for light, water, humidity, and nutrients, you'll be well on your way to growing a thriving plant.
At Cafe Planta, we're passionate about helping you succeed in your plant journey. Whether you're looking for new additions to your collection, need plant care accessories, or have questions about your plants, we're here to help. Feel free to email us or reach out via Instagram. Let's grow together and create beautiful spaces filled with nature's wonders!


