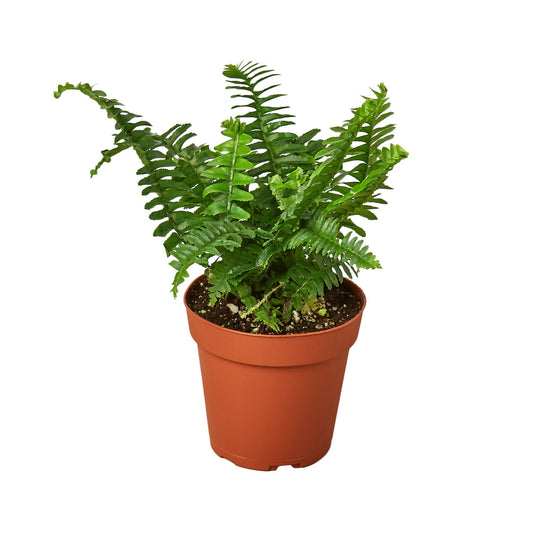
How To Prune a Boston Fern (The RIGHT Way)
Cafe Planta Team
Pruning a Boston Fern might seem like a task reserved for the more seasoned plant people, but it's actually a straightforward and rewarding process. These lush, green beauties can brighten up any room, but they do need a bit of care to keep them looking their best. With a few tips and a little practice, you'll soon be trimming your Boston Fern like a pro.
In this article, we’ll walk through everything you need to know about pruning a Boston Fern. We’ll cover when to prune, the tools you'll need, and step-by-step instructions on how to prune. We'll also discuss some common pitfalls and how to avoid them, ensuring your fern stays healthy and vibrant. So grab your scissors, and let's get started!
Understanding Your Boston Fern
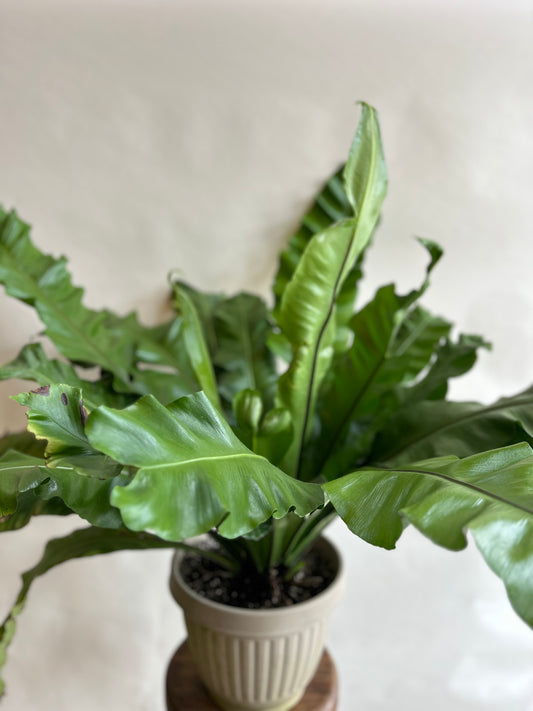
Before you start snipping away, it's important to get to know your Boston Fern a bit better. This popular houseplant, known for its feathery, arching leaves, is a favorite among plant lovers for its ability to thrive in various indoor settings. However, it does have some specific needs when it comes to light, water, and humidity.
Boston Ferns prefer indirect light, as direct sunlight can scorch their delicate leaves. They also thrive in humid environments, which can sometimes be a challenge in drier climates or during winter months. Regular misting or using a humidifier can help maintain the moisture levels your fern craves.
Watering your Boston Fern can be a bit tricky. They like their soil to be consistently moist but not soggy. Overwatering can lead to root rot, while underwatering can cause the leaves to dry out and turn brown. Finding the right balance is key to keeping your fern healthy and ready for pruning.
Why Pruning Is Important
You might wonder why pruning is necessary at all. Well, just like a haircut can give you a fresh, new look, pruning can work wonders for your Boston Fern. Here's why it's important:
- Encourages New Growth: By removing old, dead, or damaged leaves, you allow more resources to be directed toward new growth. This helps your fern stay lush and full.
- Prevents Disease: Dead or decaying leaves can become a breeding ground for pests and disease. Pruning helps keep your plant healthy by removing these problem areas.
- Improves Appearance: A well-pruned fern looks neat and tidy, enhancing its natural beauty and making it a more attractive addition to your home.
By regularly pruning your Boston Fern, you're not only keeping it healthy but also ensuring it remains a stunning focal point in your indoor garden or living space.
When to Prune Your Boston Fern
Timing is everything when it comes to pruning. While Boston Ferns can be pruned at any time of year, there are certain periods when pruning will be most beneficial.
Spring and early summer are typically the best times to prune your fern. During these seasons, the plant is in its active growth phase, meaning it can recover more quickly from the trimming. Pruning during this time encourages robust new growth.
That said, don't hesitate to prune whenever you notice dead or damaged leaves. Regular maintenance pruning can be done year-round to keep your plant looking its best. Just be mindful not to over-prune, especially during the plant's dormant period in the fall and winter.
Remember, each plant is unique, and your Boston Fern might have its own specific needs. Pay attention to its growth patterns and overall health to determine the best time for a trim.
Tools You'll Need for Pruning
Like any craft, having the right tools makes all the difference. When it comes to pruning your Boston Fern, you'll need a few essentials:
- Sharp Scissors or Pruning Shears: A clean, sharp pair of scissors or shears is crucial for making precise cuts without damaging the plant. Dull tools can cause ragged cuts that may lead to infection.
- Gloves: While not absolutely necessary, a good pair of gloves can protect your hands from any sharp edges or potential irritants.
- Disinfectant: It's a good idea to clean your tools with a disinfectant before and after pruning to prevent the spread of disease. You can use rubbing alcohol or a solution of bleach and water.
With these tools in hand, you're ready to start pruning. Just remember to handle your fern gently and take your time with each cut.
Step-by-Step Pruning Process
Now that you're equipped with the right tools and knowledge, let's get into the step-by-step process of pruning your Boston Fern:
Step 1: Inspect Your Plant
Before you make any cuts, take a good look at your fern. Identify any dead, yellowing, or brown leaves that need to be removed. Also, look for any areas where the plant might be overcrowded or uneven.
Step 2: Start with the Dead and Damaged Leaves
Using your scissors or shears, carefully trim away any dead or damaged leaves. Make your cuts close to the base of the leaf stem, taking care not to damage the healthy parts of the plant.
Step 3: Thin Out Overcrowded Areas
If your fern is looking a bit too bushy, you can thin it out by removing some of the older, inner leaves. This will allow more light and air to reach the center of the plant, promoting healthy growth.
Step 4: Shape Your Fern
Finally, take a step back and look at the overall shape of your fern. Make any additional trims needed to create a balanced, symmetrical appearance. Remember, it's better to cut less than more, as you can always prune again later.
Common Mistakes and How to Avoid Them
Pruning a Boston Fern might seem straightforward, but there are a few common mistakes you’ll want to avoid:
- Over-Pruning: Pruning too much can stress your fern and slow down its growth. Aim to remove no more than a third of the plant at a time.
- Cutting Healthy Leaves: Focus on removing only the dead, damaged, or overcrowded leaves. Healthy leaves are vital for photosynthesis and overall plant health.
- Ignoring Tool Hygiene: Always clean your tools before and after use to prevent disease spread. A simple swipe with disinfectant can make all the difference.
By avoiding these pitfalls, you'll ensure your Boston Fern remains in tip-top shape, ready to grace your home with its vibrant greenery.
Aftercare for Your Pruned Boston Fern
Once you've finished pruning, your Boston Fern will need a little TLC to help it recover and thrive. Here are some aftercare tips to keep in mind:
- Watering: Ensure the soil remains consistently moist but not waterlogged. This helps the plant recover from the stress of pruning.
- Humidity: Maintain a humid environment by misting the leaves or placing a humidifier nearby, especially if your home tends to be dry.
- Fertilizing: Consider feeding your fern with a balanced, water-soluble fertilizer during its active growing season to support new growth.
With proper aftercare, your Boston Fern will bounce back quickly, ready to showcase its refreshed and rejuvenated look.
Decorating with Your Pruned Boston Fern
Besides keeping your fern healthy, pruning also enhances its aesthetic appeal, making it a versatile decor element for your home. Here are some creative ways to showcase your freshly pruned fern:
- Hanging Baskets: Boston Ferns are perfect for hanging baskets, where their delicate leaves can cascade down, adding a touch of elegance to any room.
- Table Centerpieces: Use a pruned fern as a centerpiece on your dining or coffee table. Its lush greenery can complement any decor style.
- Bathroom Greens: Thanks to their love of humidity, Boston Ferns thrive in bathrooms. Place yours in a bright spot for a spa-like feel.
With a little creativity, your pruned Boston Fern can become a stunning focal point in any room, bringing a bit of nature's beauty indoors.
Final Thoughts
Pruning a Boston Fern can be a rewarding experience that not only improves the plant's health but also its appearance. By following the steps outlined above, you'll keep your fern looking vibrant and lush.
At Cafe Planta, we're passionate about helping you care for your plants. Whether you need advice or are looking for new additions to your collection, we're here to help. Feel free to email us or send us a DM on Instagram. Let's grow together!


