How to Grow and Care for Oyster Plants
Cafe Planta Team
Oyster plants, with their vibrant purple undersides and lush green tops, are like little pieces of art that bring a pop of color to any space. Known scientifically as Tradescantia spathacea, these beauties are not just eye-catching but also quite hardy, making them a favorite among plant lovers.
In this post, we'll chat about everything you need to know to grow and care for oyster plants. We'll cover the basics, from choosing the right spot and potting to dealing with pesky pests and ensuring your plants thrive. Ready to turn your home into a green paradise?
Getting to Know Your Oyster Plant
Before we jump into the nitty-gritty of care, let's talk about what makes oyster plants so special. Native to Central America, these plants are known for their striking leaves that boast a unique combination of green and purple. They’re sometimes called Moses-in-the-cradle or boat lily, thanks to the way the flowers nestle in the cradle-like leaves.
What’s great about oyster plants is their versatility. Whether you're looking to add some color indoors or spruce up your outdoor garden, they fit right in. They're great at filtering indoor air, which is a bonus for those of us who love breathing fresh air in our homes. Plus, they’re relatively low-maintenance, which means you don’t need a green thumb to enjoy their beauty.
Choosing the Right Spot
Location, location, location! Your oyster plant’s happiness starts with picking the perfect spot. These plants love bright, indirect sunlight. Think of them as sunbathers who prefer a bit of shade. Too much sun can scorch the leaves, while too little can dull their vibrant colors.
So, where's the sweet spot? Ideally, place them near a window that gets plenty of light but is shielded from direct rays. If you’re keeping them outdoors, a shaded patio or a spot under a tree works well. They can handle some direct sunlight, especially in the morning, but avoid the harsh afternoon sun.
If you notice your plant stretching or losing its color, it might be craving more light. On the flip side, if the leaves are getting crispy, it’s time to move it to a shadier spot.
Potting and Soil Choices
Now that you’ve found the perfect spot, let’s talk pots and soil. Oyster plants aren’t super picky about their pots, but they do appreciate good drainage. A pot with drainage holes is your best bet to prevent water from sitting at the bottom and causing root rot.
When it comes to soil, think well-draining and slightly acidic. A standard potting mix with a bit of perlite or sand works wonders. You can even use a cactus mix if that’s what you have on hand. The goal is to keep the roots from sitting in soggy soil, so feel free to experiment a little until you find what works best for you and your plant.
Repotting isn’t something you’ll need to do often—maybe every two to three years, or when you notice the roots peeking out of the drainage holes. When repotting, go up just one size in pot to avoid overwhelming the plant with too much space.
Watering Wisely
Watering can be a bit of a balancing act, but don’t worry—we've got you covered. Oyster plants prefer their soil to dry out a bit between waterings. Overwatering is a common pitfall, so it’s better to err on the side of caution.
A good rule of thumb is to water when the top inch of soil feels dry to the touch. During the growing season, which is spring and summer, they might need a bit more water. But come fall and winter, you can scale back.
Here’s a tip: If you’re unsure about when to water, wait a few more days and check again. Oyster plants are more forgiving of underwatering than overwatering. And remember, factors like humidity and temperature can affect how often you’ll need to water, so keep an eye on your plant and adjust as needed.
Feeding Your Plant
Just like us, plants need some nourishment to stay healthy and grow. For oyster plants, a light feeding during the growing season is all it takes. A balanced, water-soluble fertilizer every month or so from spring to early fall works well.
Avoid over-fertilizing, as this can do more harm than good. It’s like giving a kid too much candy—tempting, but not the best idea. If your plant looks healthy and happy, you might even skip a feeding or two.
In the winter months, you can give your plant a break from the extra nutrients. They tend to grow more slowly during this time, so they don’t need as much food. It’s their way of hibernating, so to speak.
Dealing with Pests and Problems
Even the healthiest plants can encounter some troublemakers along the way. Oyster plants are generally hardy, but they’re not entirely pest-proof. Common pests include spider mites, mealybugs, and aphids.
If you spot any of these critters, don’t panic! A simple solution of water and mild dish soap can do the trick. Just spray it on the affected areas and wipe down the leaves. For more persistent problems, a neem oil spray can help keep pests at bay.
Another issue to watch for is leaf discoloration. Yellowing leaves can signal overwatering, while browning might mean they’re getting too much sun. Adjusting your care routine usually solves the problem, but if not, it might be worth checking for root rot or nutrient deficiencies.
Propagating Your Oyster Plant
One of the joys of plant parenting is sharing your green babies with friends—or multiplying them for yourself! Oyster plants are easy to propagate, making them perfect for this. The best method is division, which involves separating the plant into smaller sections.
Here’s how you do it: First, carefully remove the plant from its pot and gently shake off the excess soil. Look for natural divisions in the root system and separate them using your hands or a clean knife. Each division should have a healthy root system and a few leaves.
Replant each division in fresh soil and give them a good drink of water. Before you know it, you’ll have a whole family of oyster plants ready to brighten your space or make cheerful gifts for fellow plant lovers.
Creating a Beautiful Plant Display
Now that your oyster plant is thriving, why not show it off? These plants look fantastic on their own, but they can also be part of a stunning plant display. Their bold colors pair well with green foliage plants or even other colorful varieties.
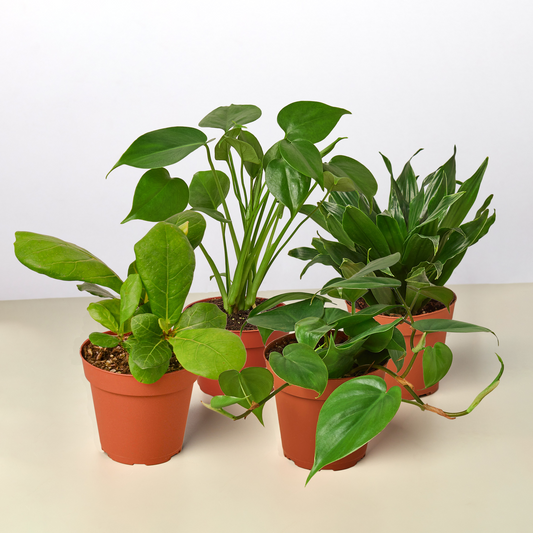
Consider grouping them with plants of varying heights and textures to create a dynamic arrangement. A mix of trailing plants, like pothos or string of pearls, adds a lovely cascading effect. You can also play with different pot styles and colors to complement your home decor.
Whether you’re creating a plant corner, filling a shelf, or adorning a table, your oyster plant will surely be a focal point that draws admiration from all who visit.
Seasonal Care Tips
As the seasons change, so do your plant’s needs. In the spring and summer, when growth is at its peak, keep up with regular watering and feeding. This is also a great time to propagate if you’re in the mood for some plant multiplying.
Fall and winter call for a more laid-back approach. With shorter days and cooler temperatures, your oyster plant’s growth will slow down. Cut back on watering and hold off on fertilizing until spring rolls around again.
Be mindful of indoor heating, which can dry out the air. If the air feels too dry, consider using a humidifier or placing a tray of water near the plant. Your oyster plant will appreciate the added moisture, helping it stay lush and vibrant through the winter months.
Final Thoughts
Oyster plants are a delightful addition to any plant collection, offering a splash of color and a touch of elegance. By providing the right light, soil, and care, you’ll enjoy a thriving plant that brings joy to your space.
Looking to expand your plant family or need some plant advice? Cafe Planta is here to help! We offer a wide range of houseplants and plant care accessories. Got questions? Feel free to email us or send a message on Instagram. We're excited to share our passion for plants with you and help you create a beautiful, thriving home. Happy planting!


