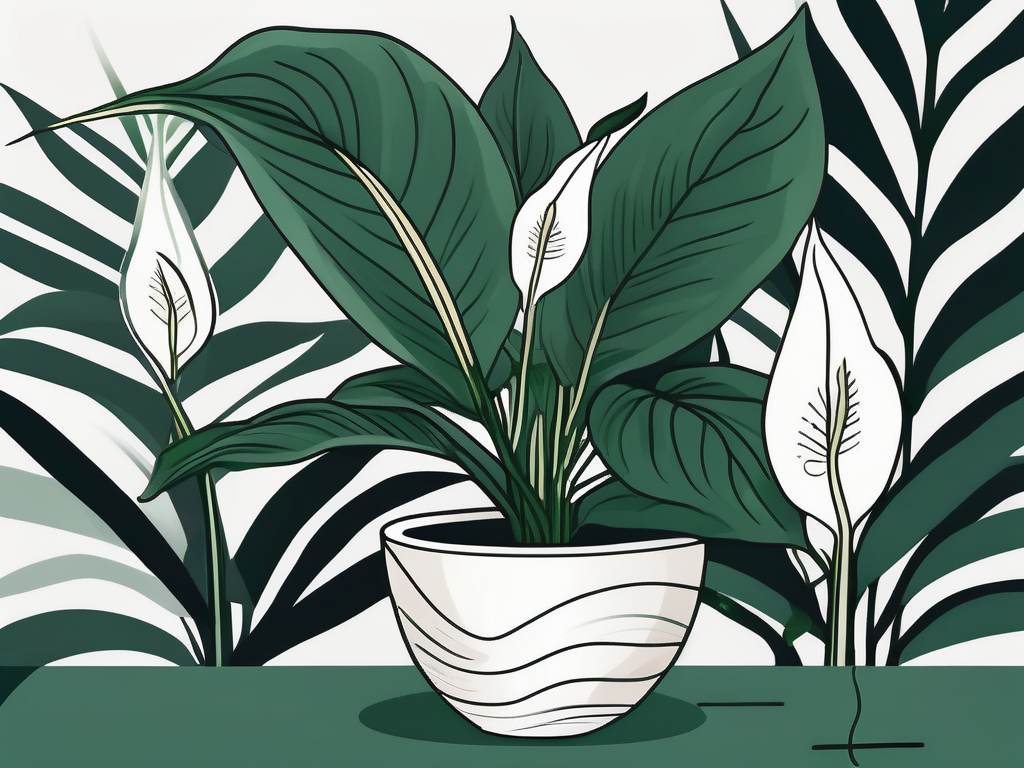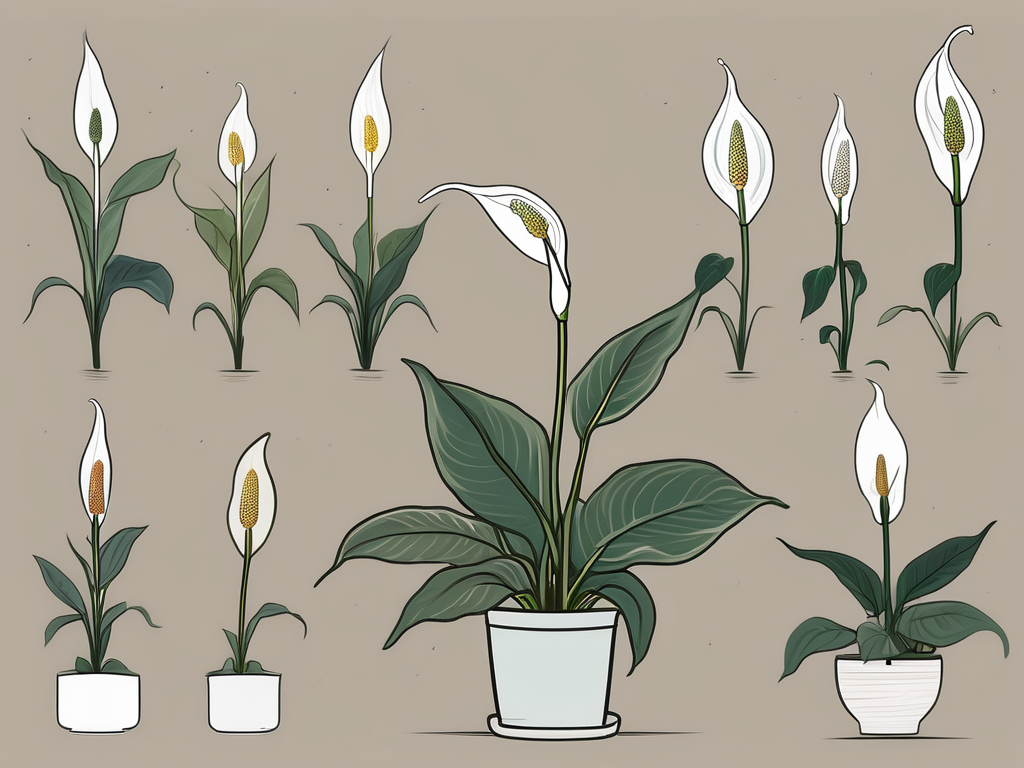
Peace lilies are a favorite among houseplant lovers, thanks to their lush green leaves and elegant white flowers. But like any plant, they need a bit of care to keep them happy and healthy. One essential task is repotting, which helps your peace lily thrive by giving it fresh soil and more room to grow.
So, if your peace lily looks a bit cramped or its roots are peeking out of the pot, it might be time for a new home. In this guide, we'll walk you through the process step-by-step, from choosing the right pot to settling your plant into its new digs. Let's get started!
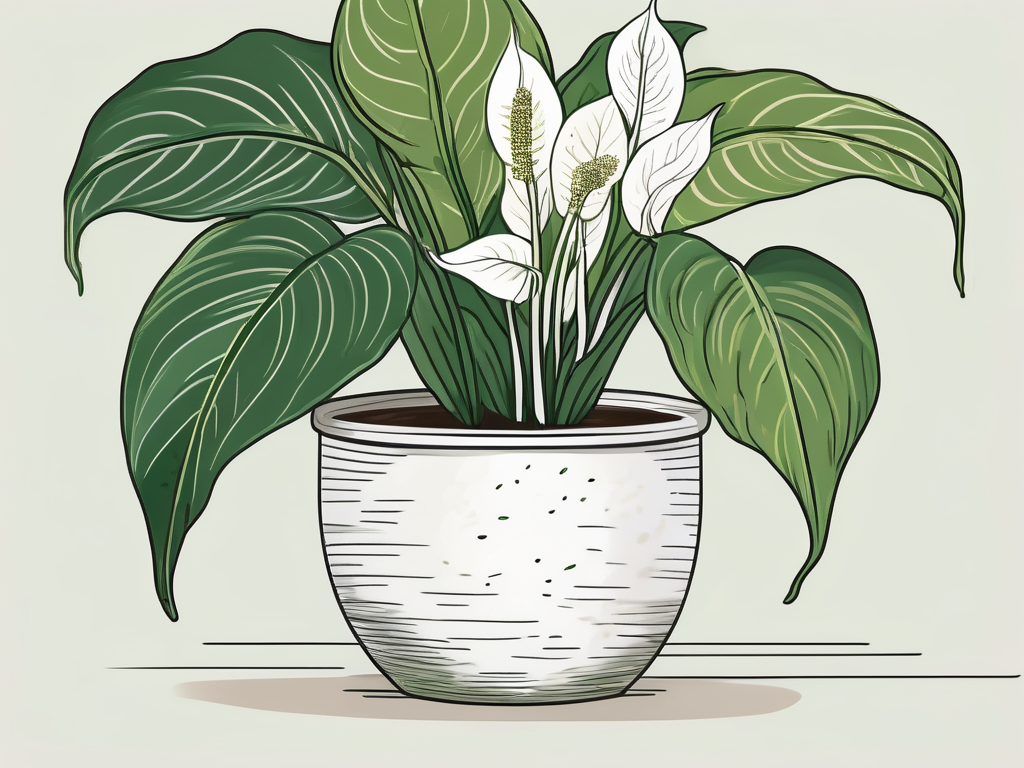
Signs Your Peace Lily Needs Repotting
First things first, let's talk about when it's time to repot your peace lily. You don't want to uproot your plant unnecessarily, so watch out for these signs:
- Roots coming out of the drainage holes: If you see roots poking out of the bottom of the pot, it's a clear sign your plant needs more space.
- Water drains too quickly: If water seems to pour through the pot without soaking the soil, the roots might be taking up too much space.
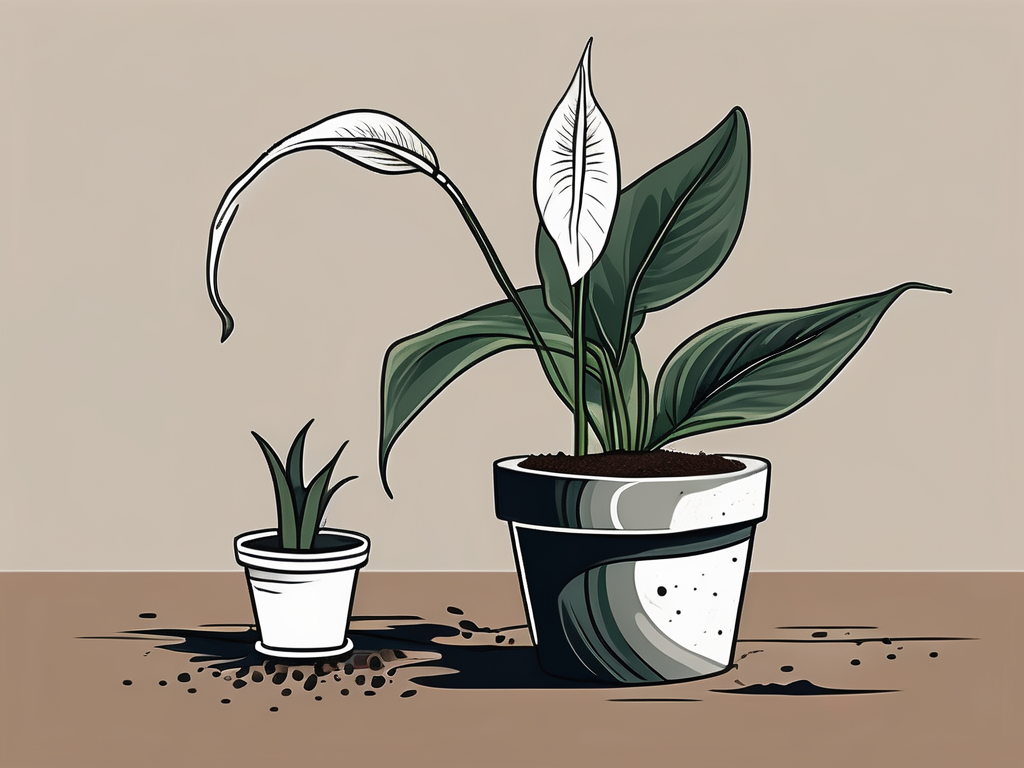
- Yellowing leaves: While yellow leaves can signal many issues, cramped roots often cause nutrient deficiencies.
- Stunted growth: If your peace lily isn't growing as it used to, it might be due to a lack of room for the roots.
Spotting one or more of these signs means it's probably time to consider repotting. But don't worry—it sounds more intimidating than it is!
Choosing the Right Pot
Now that you've decided to repot your peace lily, it's crucial to pick the right pot. The pot's size and material can have a significant impact on your plant's health. So, what should you look for?
Size Matters
When it comes to pot size, bigger isn't always better. You want a pot that's only one or two inches larger in diameter than the current one. This provides enough room for growth without overwhelming the plant with too much soil, which can lead to waterlogging.
Material Choices
As for material, you have a few options:
- Plastic pots: Lightweight and inexpensive, plastic pots retain moisture well, making them a solid choice for peace lilies.
- Ceramic or clay pots: These pots are heavier and offer better stability. They can dry out more quickly, so you'll need to water more often.
- Self-watering pots: If you tend to forget watering, these pots can be a lifesaver. They have a reservoir that keeps the soil moist as needed.
Ultimately, the best pot is the one that suits your lifestyle and your peace lily's needs. Just make sure it has drainage holes to prevent root rot.
Gathering Your Supplies
Before you get your hands dirty, gather all the supplies you'll need. Having everything on hand will make the process smoother and quicker. Here's what you'll need:
- New pot: As discussed, choose a pot that's just a bit larger than the current one.
- Potting mix: Peace lilies prefer a well-draining, all-purpose potting mix. You can also mix in some perlite or orchid bark for added aeration.
- Watering can: You'll need to water your plant after repotting, so keep one handy.
- Gloves: If you prefer, use gloves to keep your hands clean.
- Trowel: Helpful for scooping soil, though not strictly necessary.
Once you've gathered your supplies, you're ready to move on to the actual repotting process. Don't worry—it's easier than you might think!
Preparing the New Pot
Before you transfer your peace lily, prepare the new pot. This step ensures a smooth transition and helps your plant settle into its new home.
Adding Drainage
Start by checking the drainage holes. If the new pot doesn't have any, you might need to drill some. Proper drainage is crucial to prevent waterlogged soil and root rot.
Next, add a layer of gravel or small stones at the bottom of the pot. This creates a drainage layer and helps keep the soil from compacting over the holes. It's like giving your peace lily a comfy cushion to sit on!
Filling with Soil
Add a layer of potting mix to the pot. You want enough to lift the root ball to about an inch below the pot's rim. This will leave room for watering without spilling over.
Remember, the goal is to mimic the plant's natural environment. Peace lilies love humid, tropical conditions, so a well-aerated soil mix is ideal.
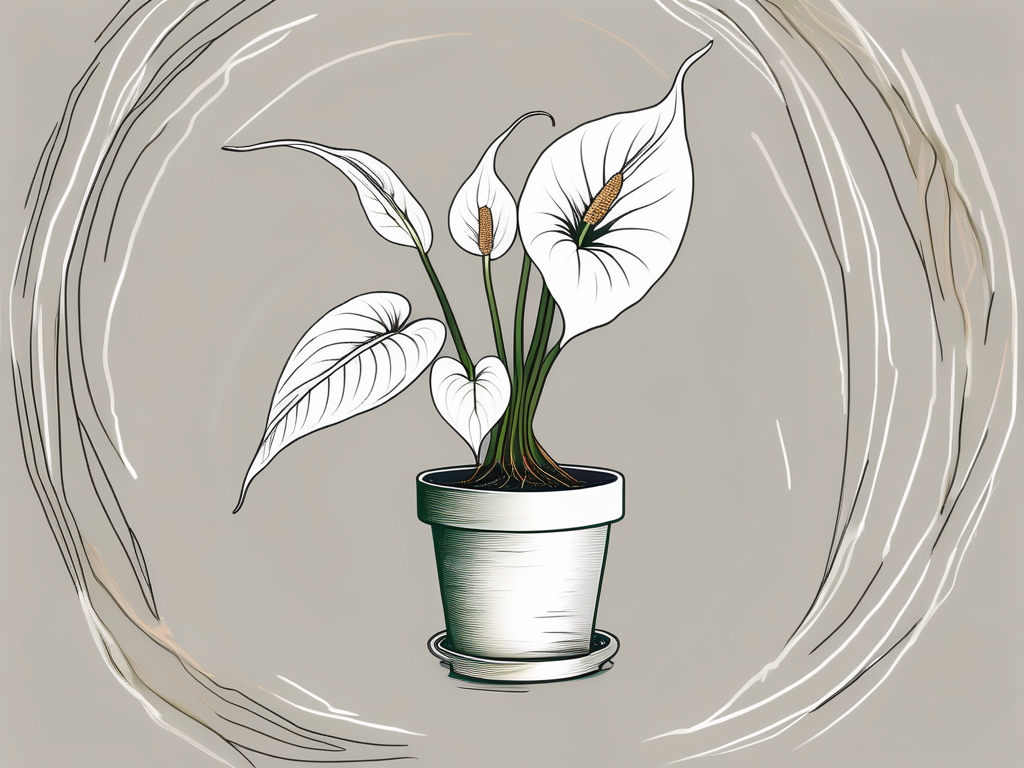
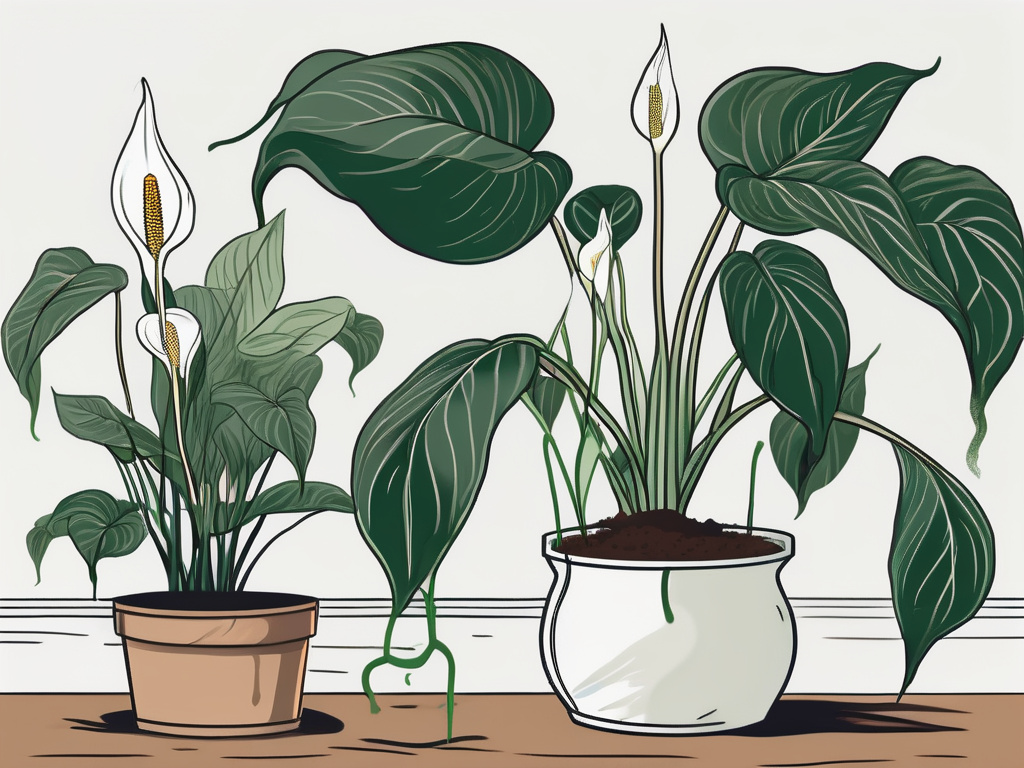
Removing the Peace Lily from its Old Pot
Now comes the fun part—removing your peace lily from its old pot. This step requires a gentle touch, so take your time. Here's how to do it:
Loosening the Soil
First, water the plant a day before you plan to repot. This softens the soil and makes it easier to remove the plant.
When you're ready, gently turn the pot on its side. Tap the sides and bottom to loosen the soil. If the plant doesn't slide out, use a trowel or your fingers to gently separate the soil from the pot's edges.
Handling the Root Ball
Once the plant is free, support the base of the plant with one hand and the root ball with the other. Carefully lift it out, trying to keep as much soil around the roots as possible.
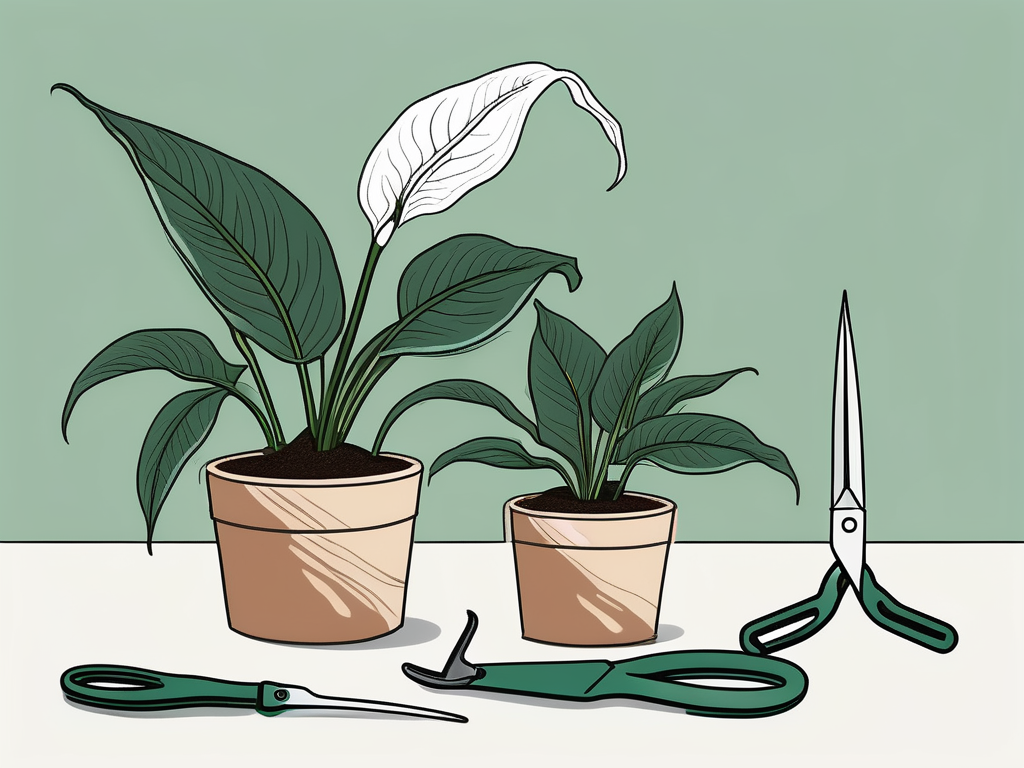
Inspect the roots for any signs of disease or damage. Healthy roots should be white or light tan. Trim away any brown or mushy roots with clean scissors or pruners.
Placing the Peace Lily in the New Pot
With your peace lily out of its old pot, it's time to introduce it to its new home. This is where your plant gets a fresh start, so let's make it comfortable!
Positioning the Plant
Place the peace lily in the center of the new pot, adjusting the soil beneath it until the top of the root ball sits about an inch below the rim. This positioning is crucial for proper watering and aeration.
Take a moment to ensure the plant is upright. A lopsided plant won't look as appealing and might have trouble growing evenly.
Filling with Soil
Start adding potting mix around the root ball, using your fingers or a trowel to press it down lightly as you go. The aim is to eliminate air pockets, which can dry out roots.
Once the pot is filled, give the soil a gentle pat to settle it. Be careful not to compact it too much—peace lilies appreciate a bit of breathing room!
Watering and Settling In
After repotting, your peace lily will need a good drink to help it settle in. But be cautious—overwatering can do more harm than good.
Watering Technique
Water the plant thoroughly, letting the water run through the drainage holes. This ensures the entire root system is hydrated and helps remove any air pockets.
Peace lilies like consistent moisture, but remember to let the top inch of soil dry out between waterings. This prevents root rot and keeps your plant healthy.
Creating the Right Environment
After watering, place your peace lily in a spot with bright, indirect light. Direct sunlight can scorch its leaves, while too little light can stunt its growth.
Avoid moving the plant around too much as it adjusts to its new pot. Consistency in light and temperature will help it acclimate more quickly.
Post-Repotting Care
Once your peace lily is settled in its new pot, ongoing care is essential to keep it thriving. While the hard part is over, maintaining a healthy environment is key.
Feeding and Fertilizing
About a month after repotting, start feeding your peace lily with a balanced, water-soluble fertilizer. This will replenish the nutrients in the soil and support healthy growth.
Fertilize every 6-8 weeks during the growing season (spring and summer). In fall and winter, reduce the frequency as the plant's growth slows.
Monitoring for Pests
Keep an eye out for common pests like spider mites and aphids. Regularly inspect the leaves and stems for any signs of infestation, like webbing or sticky residue.
If you spot pests, a gentle spray with insecticidal soap or neem oil often does the trick. Early detection is crucial to prevent a minor problem from becoming a major headache.
Common Mistakes and How to Avoid Them
Even seasoned plant lovers can make mistakes when repotting. Here are some common pitfalls and tips to avoid them:
Overwatering
It's easy to overwater a newly repotted peace lily. While it's important to hydrate, remember that peace lilies prefer slightly dry soil over soggy conditions.
Choosing the Wrong Pot Size
As mentioned earlier, picking a pot that's too large can lead to water retention issues. Stick to a size just a bit bigger than the current one to strike the right balance.
Neglecting Root Health
It's tempting to skip the root inspection, but damaged roots can cause ongoing problems. Always trim away unhealthy roots before potting.
By avoiding these mistakes, you'll give your peace lily the best chance to thrive in its new home.
Final Thoughts
Repotting a peace lily might seem daunting at first, but with these steps, you'll ensure your plant continues to flourish. From choosing the right pot to ongoing care, each step is a chance to support your peace lily's journey.
We're here to help you nurture your plant collection. At Cafe Planta, we offer a range of houseplants and accessories. Got questions? Feel free to email us or send a message on Instagram. We're excited to share our love for plants with you!