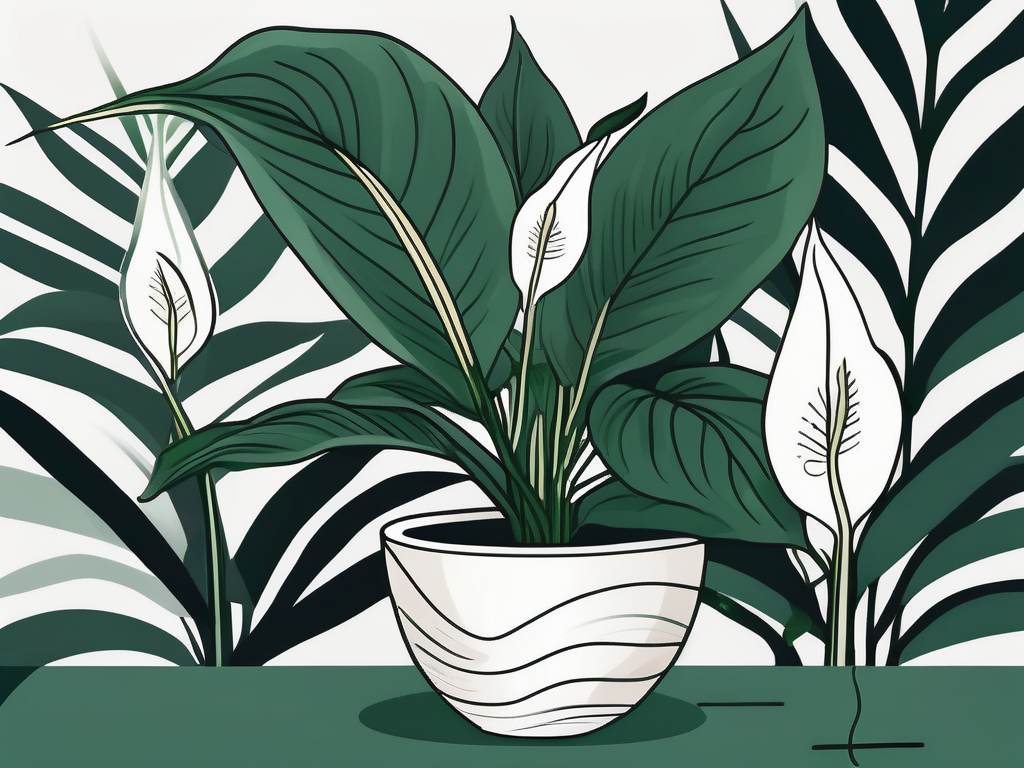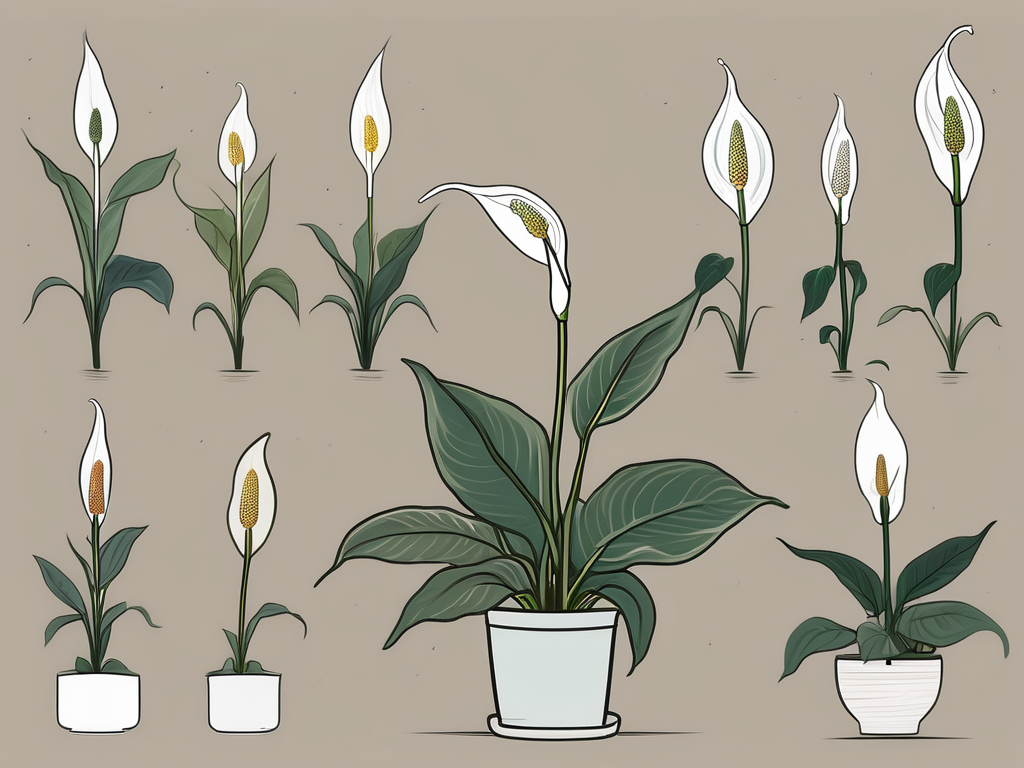
Peace lilies are a favorite among plant lovers for their lush appearance and air-purifying qualities. If you’ve ever pondered the growth journey of these lovely plants, you’re in the right place. Today, we’re going to embark on a time-lapse journey through the life of a peace lily, from its budding days to its full bloom.
Throughout this blog post, we’ll cover everything from the initial planting to caring tips and common challenges. Whether you’re a seasoned plant parent or just starting your collection, there’s something here for everyone. Grab your gardening gloves, and let’s dive into the world of peace lilies!
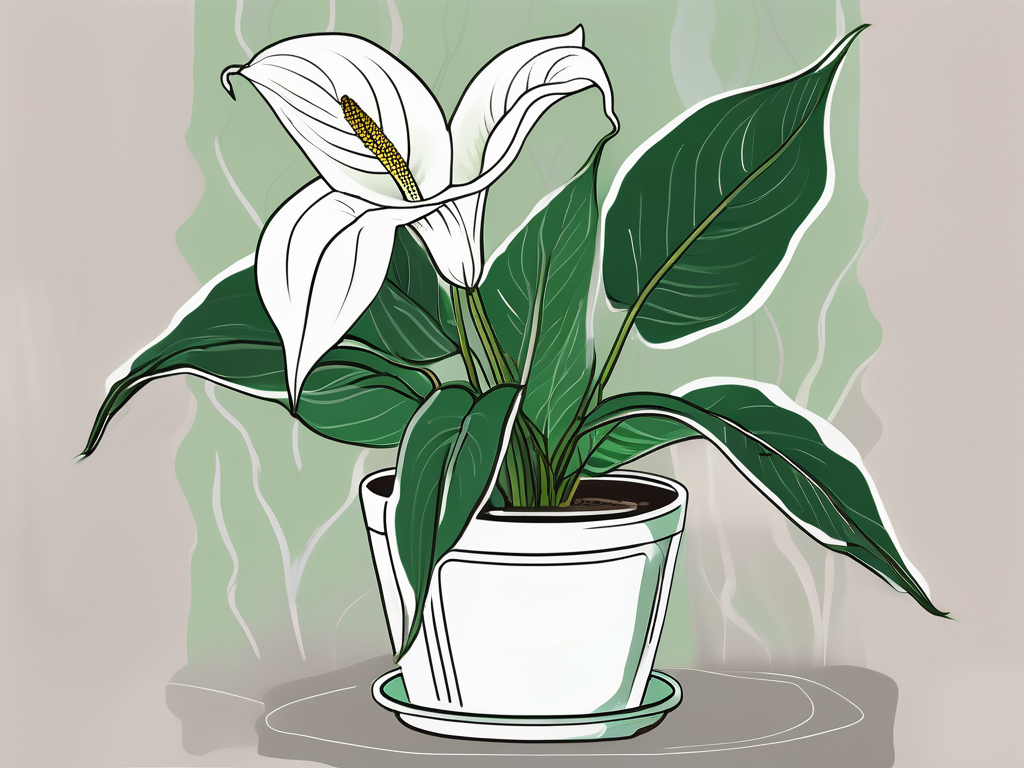
The Early Days: Planting Your Peace Lily
Every growth journey has its beginning, and for the peace lily, it starts with planting. Choosing the right pot and soil is crucial for setting the foundation. You’ll want a pot that offers good drainage, as overwatering is a common pitfall for these plants. A pot with drainage holes at the bottom is your best bet.
As for soil, peace lilies thrive in a well-draining potting mix. A blend that includes peat moss, pine bark, and perlite works wonders. This combination keeps the roots from sitting in water while providing the nutrients needed for growth. Consider adding a little charcoal to the mix to prevent any unpleasant odors and enhance root health.
Once your pot and soil are ready, it’s time to plant. Gently remove the peace lily from its nursery pot, being careful not to damage the roots. Place it in the center of your new pot, and fill the surrounding area with your prepared soil. Pat it down lightly, ensuring the plant is stable but not compacted. Water it thoroughly, allowing excess water to drain out of the bottom. And there you have it, the first step in your peace lily’s life journey!
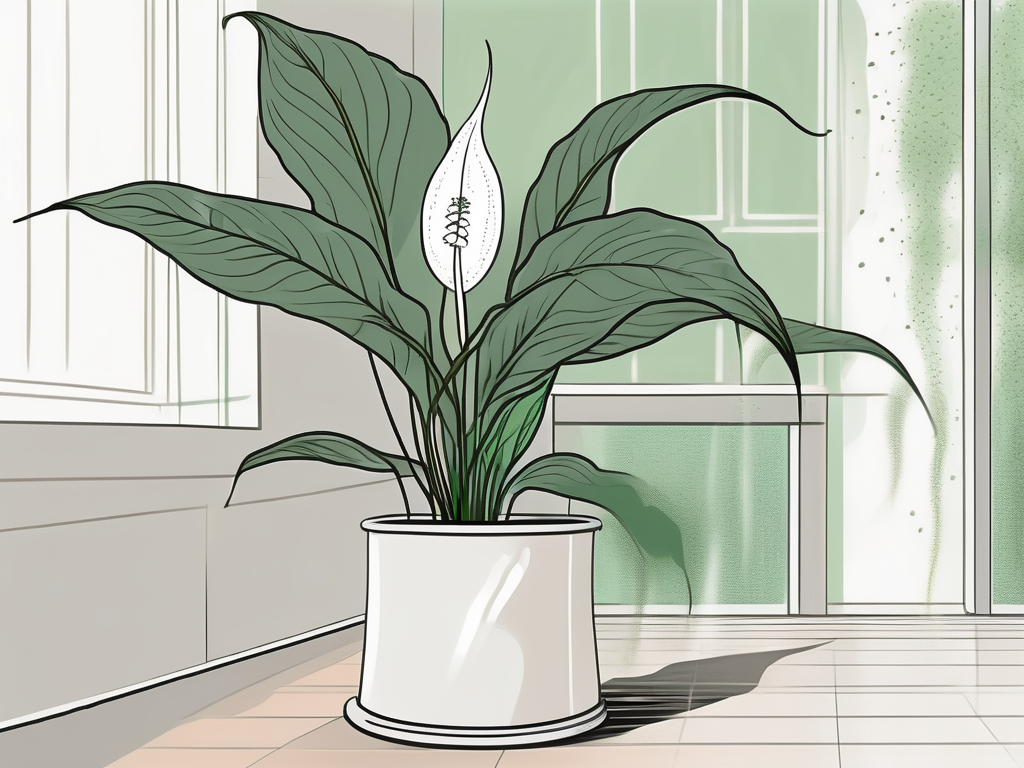
Finding the Perfect Spot: Light and Temperature
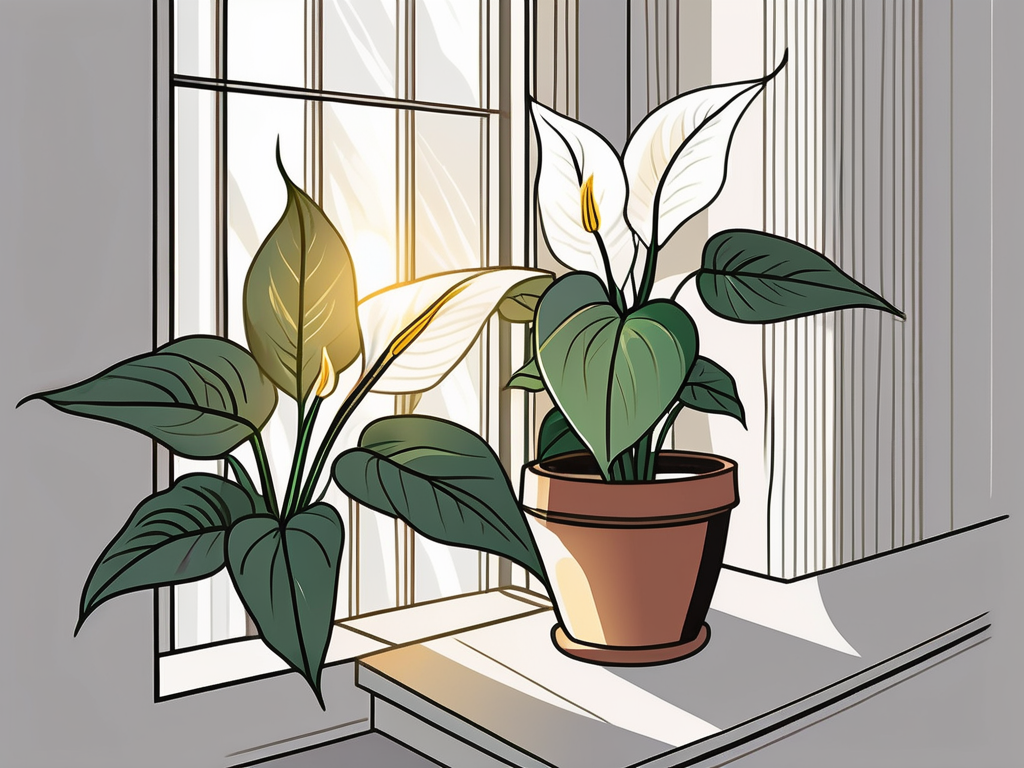
Peace lilies are known for their adaptability, but they do have preferences. Finding the perfect spot in your home is all about balancing light and temperature. Ideally, you’ll want to place your peace lily in an area that receives indirect sunlight. Direct sunlight can scorch the leaves, leading to brown tips and an unhappy plant.
If you’re wondering what indirect light looks like, think of a spot where the sun’s rays are filtered through a curtain or bounced off a wall. North or east-facing windows are usually great choices. If natural light is limited, peace lilies also do well under fluorescent light, making them perfect for offices.
Temperature is another important factor. Peace lilies prefer a warm environment, typical of most indoor settings. They thrive in temperatures between 65°F and 85°F (18°C to 29°C). Avoid placing them near drafts or heating vents, as sudden temperature changes can stress the plant. With the right lighting and a cozy spot, your peace lily will feel right at home.
Watering Wisdom: Keeping Your Peace Lily Hydrated
Watering can make or break your peace lily’s growth, and it’s where many plant parents stumble. Peace lilies like to stay moist but not soggy. Overwatering is a common mistake that can lead to root rot, which is as unpleasant as it sounds.
A good rule of thumb is to water your peace lily when the top inch of soil feels dry to the touch. If you’re unsure, use your finger to test the soil’s moisture level. When it’s time to water, do so thoroughly, allowing excess water to drain out of the pot to prevent waterlogging.
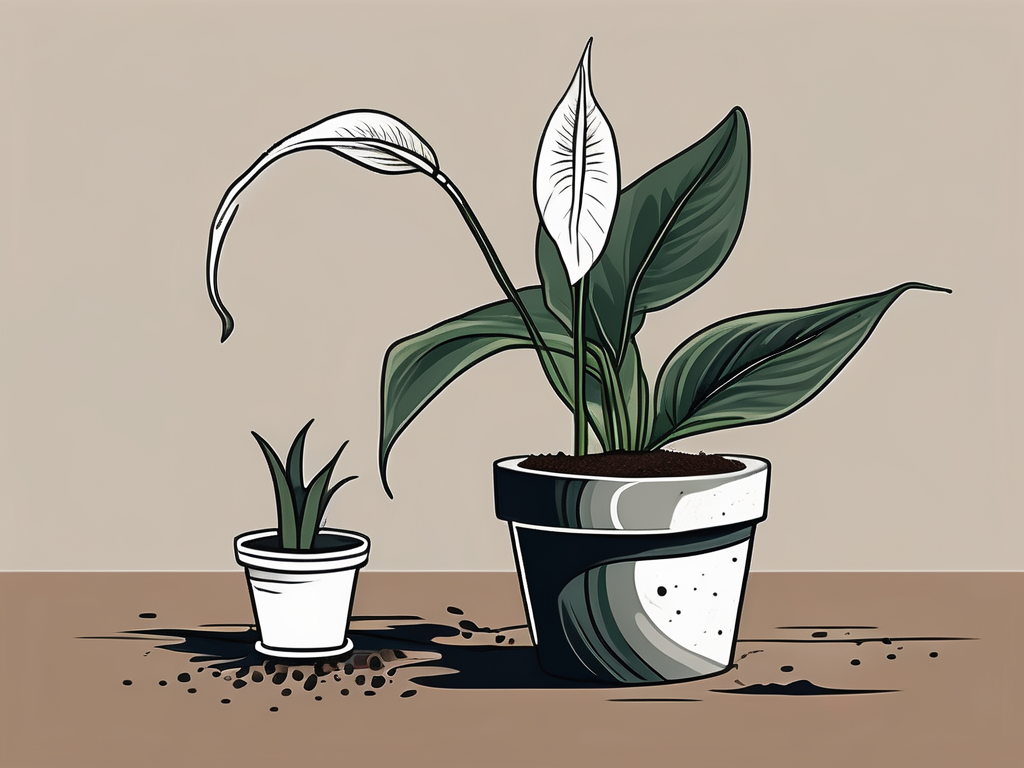
If you notice your plant’s leaves drooping, it’s often a sign that it needs water. However, don’t rush to the faucet immediately. Check the soil first. Drooping can also occur from overwatering, so it’s important to assess the situation carefully. Remember, peace lilies are forgiving plants and usually bounce back quickly once their watering needs are met.
Nutrient Needs: Fertilizing Your Peace Lily
Just like us, plants need nutrients to grow strong and healthy. While peace lilies aren’t heavy feeders, they do appreciate a little boost now and then. During the growing season, which typically runs from spring to summer, fertilize your peace lily every six to eight weeks.
Choose a balanced, water-soluble fertilizer, diluted to half strength. Over-fertilizing can do more harm than good, so it’s better to err on the side of caution. Pour the diluted fertilizer into the soil, avoiding the leaves, and follow up with a bit of water to help distribute the nutrients evenly.
If you notice the leaves turning yellow, it might be a sign of nutrient deficiency. However, other factors like water and light can also cause yellowing, so consider all aspects of care before adjusting your fertilizing routine. With the right balance, your peace lily will reward you with vibrant leaves and beautiful blooms.
Dealing with Pests: Protecting Your Peace Lily
Even the most vigilant plant parent can encounter pests. Common culprits for peace lilies include spider mites, aphids, and mealybugs. These pests might be tiny, but they can cause significant damage if left unchecked.
Regularly inspecting your plant is key to catching problems early. Look for signs like tiny webs, sticky residue, or discolored spots on the leaves. If you spot any pests, act promptly. A gentle spray of water can often dislodge them, or you can use a mild insecticidal soap or neem oil for more persistent infestations.
Keep your peace lily healthy and stress-free, as strong plants are less susceptible to pests. Ensure proper watering, light, and nutrition, and your peace lily will be better equipped to fend off unwelcome visitors.
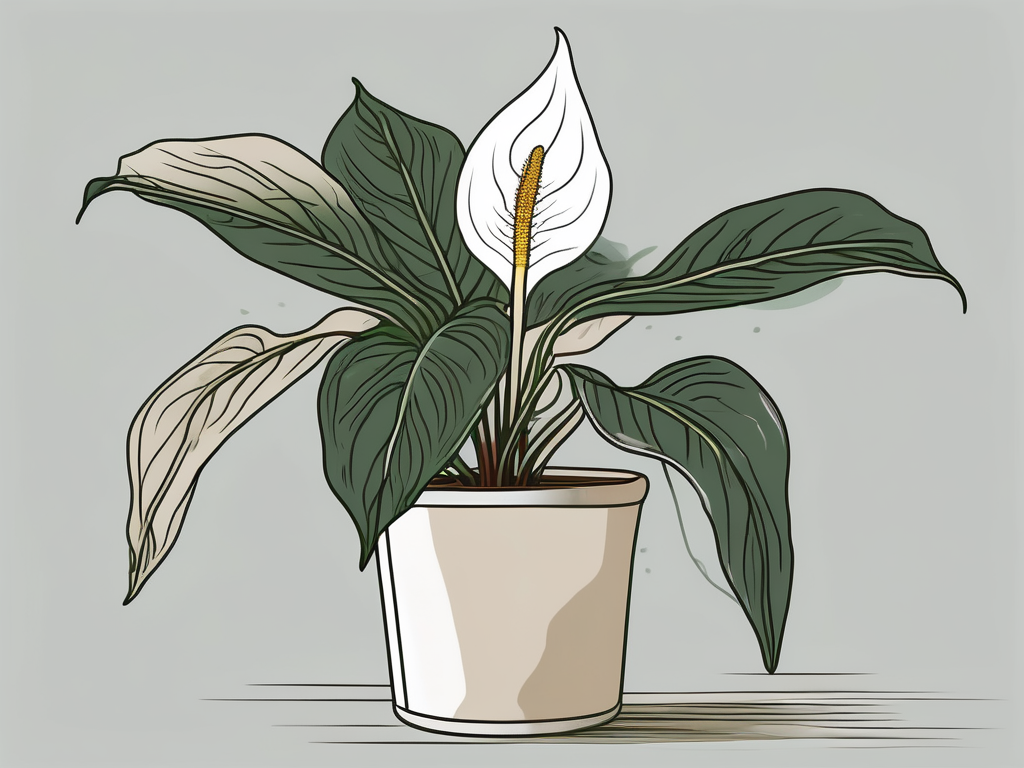
Common Challenges: Troubleshooting Your Peace Lily's Health
Every plant parent faces challenges, and with peace lilies, there are a few common issues to watch out for. Brown leaf tips are a frequent complaint and are often caused by low humidity, over-fertilization, or inconsistent watering.
To increase humidity, consider placing a small humidifier nearby or setting your peace lily on a tray filled with pebbles and water. Ensure the plant isn’t sitting directly in the water, as this can lead to root rot. Adjust your fertilizing routine if you suspect over-fertilization, and maintain a consistent watering schedule to keep your plant happy.
Droopy leaves, as mentioned earlier, can be a sign of over or under-watering. Assess the soil moisture before making any changes. Yellow leaves might indicate a lack of nutrients or improper light conditions. By addressing these challenges head-on, you’ll help your peace lily thrive.
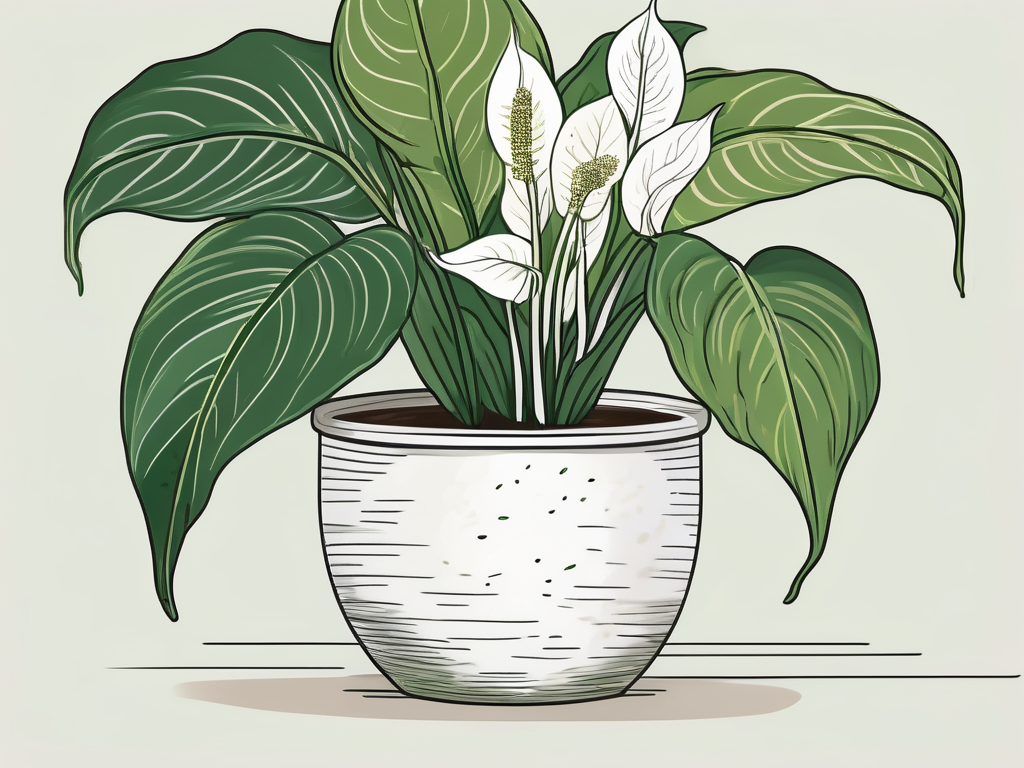
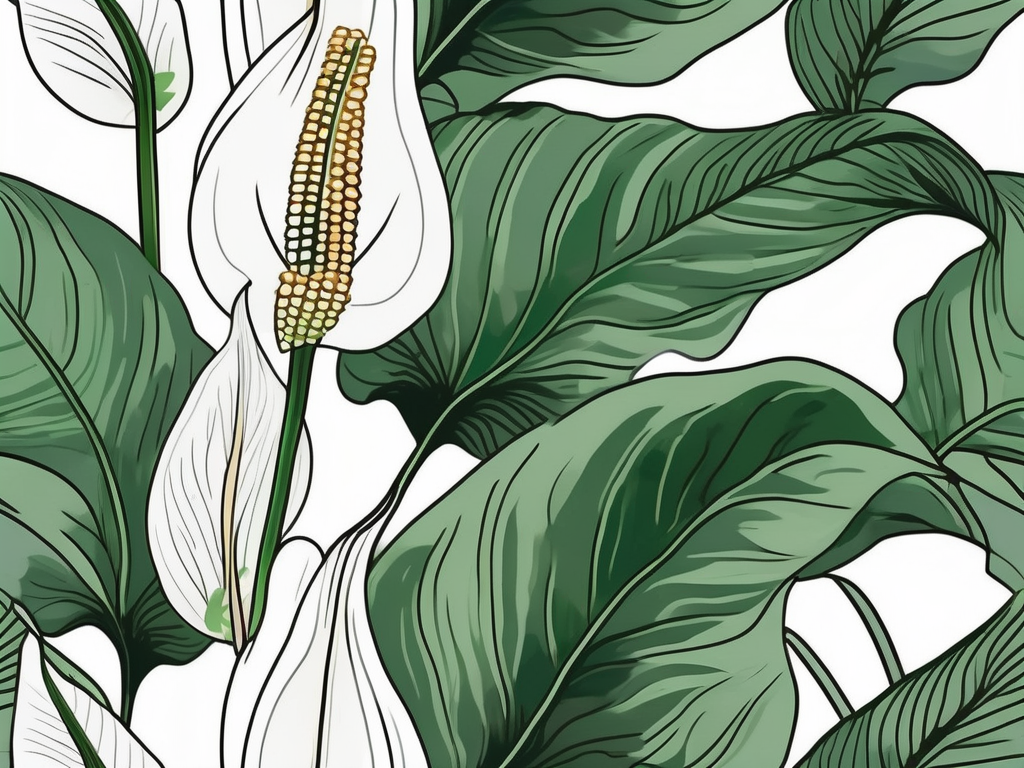
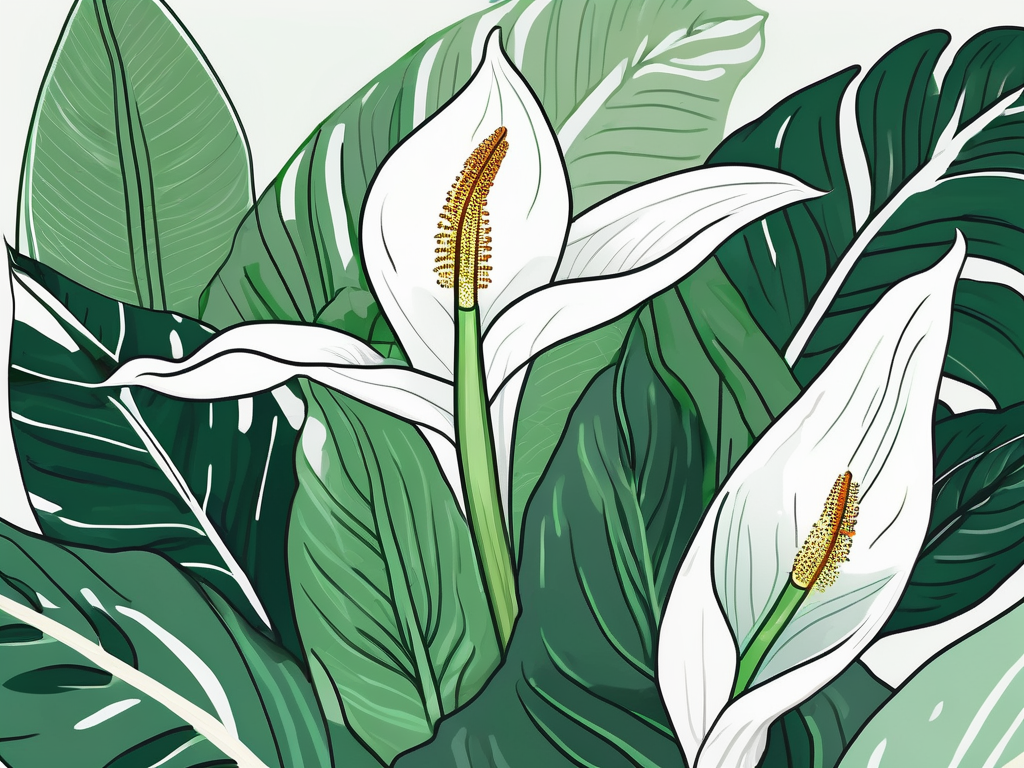
Encouraging Blooms: Getting Your Peace Lily to Flower
One of the joys of having a peace lily is witnessing its elegant white flowers. While these plants are more than just their blooms, seeing them flower is a rewarding experience. To encourage blooming, ensure your peace lily is in a suitable environment with the right care routine.
Peace lilies tend to bloom in the spring and summer. Providing adequate light is crucial, as low light conditions might inhibit flowering. If your peace lily isn’t blooming, try moving it to a brighter spot, but avoid direct sunlight.
Maintain a consistent watering and fertilizing schedule to support the plant’s growth. Sometimes, a peace lily might not bloom if it’s too comfortable in its pot. Consider repotting if it’s been a few years, as fresh soil can invigorate the plant. With patience and care, your peace lily will reward you with its stunning blooms.
Repotting Your Peace Lily: When and How
Repotting is an essential part of plant care and a critical step in a peace lily’s growth journey. Over time, your peace lily will outgrow its pot, and repotting becomes necessary to provide more space and fresh nutrients.
Signs that your peace lily needs repotting include roots growing out of the drainage holes or the plant becoming top-heavy and unstable. Ideally, aim to repot every 1-2 years, during the growing season for minimal stress to the plant.
To repot, select a pot that’s 1-2 inches larger in diameter. Prepare the pot with fresh potting mix, similar to the initial planting. Gently remove the peace lily from its current pot, loosening any tightly wound roots. Place it in the new pot, fill with soil, and water thoroughly. Your peace lily will appreciate the extra room to grow and thrive.
Final Thoughts
Growing a peace lily is a rewarding journey from planting to blooming. By understanding their needs for light, water, and nutrients, as well as how to handle common challenges, you'll enjoy a healthy plant that adds beauty to your home.
At Cafe Planta, we're here to support your plant journey. Whether you need help with care tips or want to explore our collection, feel free to reach out via email or Instagram. We love connecting with fellow plant lovers and helping you create a thriving indoor garden.