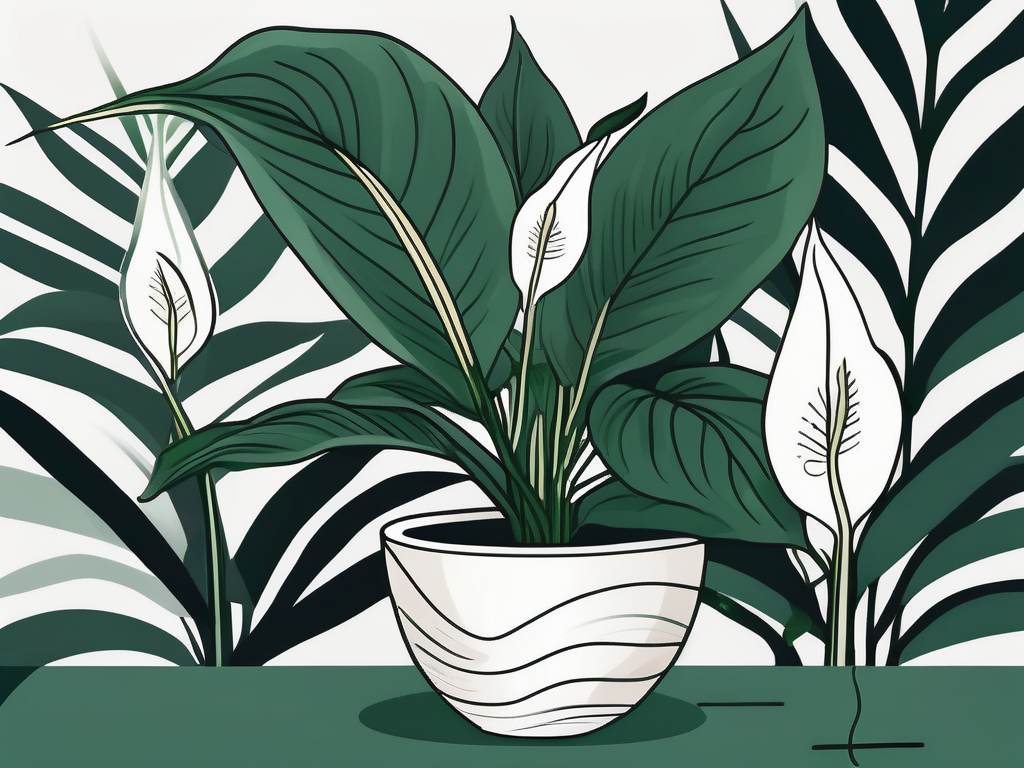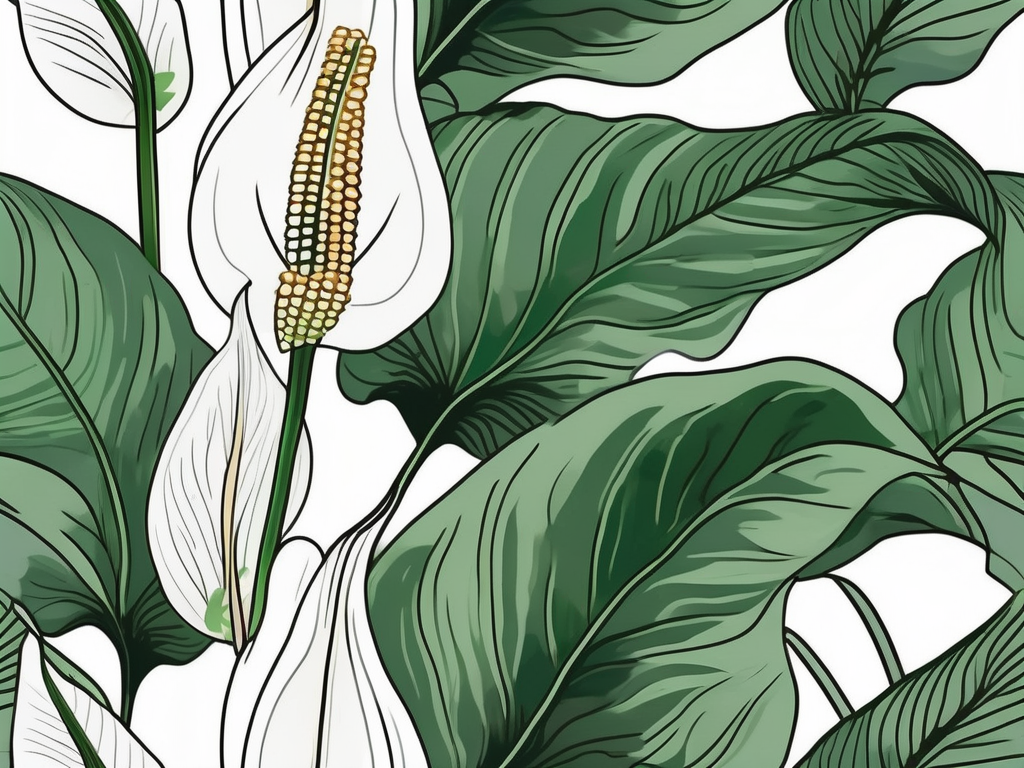
Peace lilies are popular among plant lovers for their striking green leaves and elegant white blooms. However, like any plant, they come with their own set of challenges. One common issue is when these lovely plants become root bound. But what does it mean for a peace lily to be root bound, and why should you care? In this blog post, we’ll explore why addressing root bound conditions in peace lilies is crucial for their health and how you can help your plant thrive.
We'll cover what happens when a peace lily becomes root bound, signs to watch out for, and provide step-by-step guidance on repotting your plant. You’ll also learn how to prevent this condition and keep your peace lily happy and healthy. So, grab a cup of tea, get comfortable, and let’s get into the nitty-gritty of keeping your peace lily in peak condition.
What Does It Mean to Be Root Bound?
Let’s start with the basics. When a plant is root bound, it means that its roots have outgrown its pot and are circling around the inside. Imagine trying to fit into a pair of shoes that are two sizes too small—ouch, right? For plants, this cramped environment can lead to a host of problems.
When roots are forced to wrap around each other, they can’t absorb water and nutrients effectively. This can cause stress for the plant, affecting its growth and overall health. In severe cases, the roots can strangle themselves, cutting off the plant's vital lifelines. So, if you notice your peace lily looking a bit under the weather, it might just be begging for a little more room to stretch its roots.
Interestingly enough, being root bound isn’t just uncomfortable for your plant—it can also stifle its growth. This is because the plant's energy is focused on surviving in a cramped space rather than thriving and producing new leaves or flowers. So, if your peace lily doesn’t seem to be growing as it should, it might be time to check those roots.
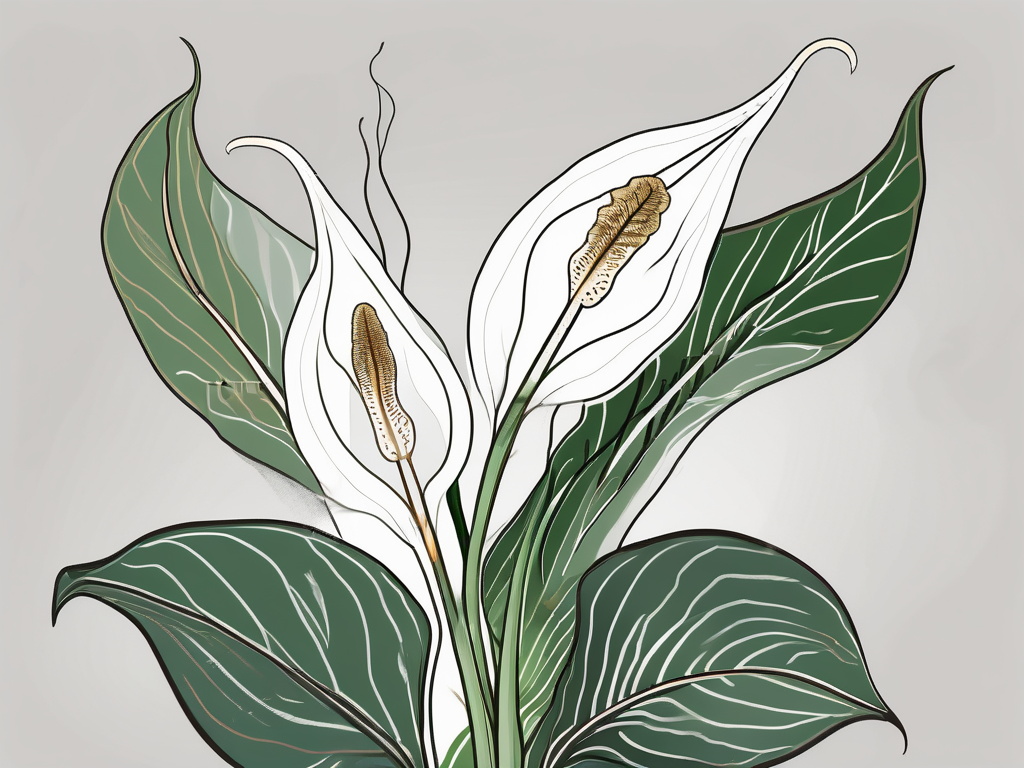
Signs Your Peace Lily Is Root Bound
Now that you know what being root bound means, how do you know if your peace lily is suffering from this condition? There are several signs to watch for that can indicate your plant is feeling a bit too snug in its current home.
- Stunted Growth: If your peace lily isn’t putting out new leaves or flowers, it might be root bound. When a plant's roots don’t have enough room, it can’t grow as it should.
- Wilting: Even if you’re watering regularly, a root bound peace lily might start to wilt. This happens because the roots can’t take in water efficiently.
- Roots Coming Out of the Drainage Holes: Take a peek under the pot. If you see roots poking out of the drainage holes, it’s a clear sign that your plant is ready for more space.
- Soil Dries Out Quickly: If you find that your peace lily needs more frequent watering, it could be because the roots are taking up too much space, leaving less room for soil to retain water.
Keep an eye out for these signs, and don’t hesitate to take action if you notice them. Your peace lily will thank you for it!
Why Addressing Root Bound Conditions Matters
Addressing root bound conditions in your peace lily is essential for a few reasons. First, a healthy root system is the foundation of a healthy plant. When roots are cramped and unable to function properly, it affects the whole plant. By giving your peace lily the space it needs, you’re setting it up for success.
Moreover, repotting a root bound peace lily can revive its growth. It’s amazing what a little extra space can do! Once the roots have room to expand, your peace lily can focus on producing new leaves and blooms. This not only makes for a more attractive plant but also ensures it's in the best health possible.
Finally, tackling root bound conditions can prevent future problems. A peace lily that’s struggling due to being root bound is more susceptible to pests and diseases. By addressing the issue early on, you can help your plant build a strong defense against potential threats.
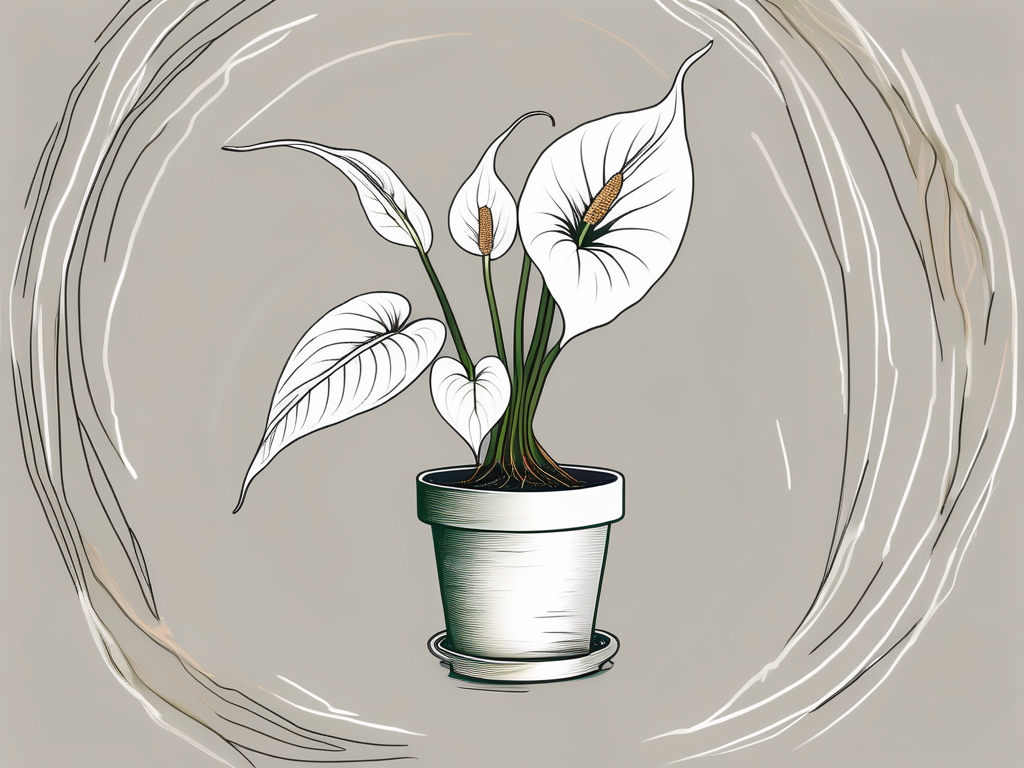
How to Check if Your Peace Lily Is Root Bound
Before you rush to repot your peace lily, you’ll want to confirm that it’s actually root bound. Here’s a simple way to check:
- Gently Remove the Plant: Carefully tip the pot on its side and slide the peace lily out. You might need to lightly tap the pot to loosen the plant.
- Inspect the Roots: Once the plant is out, take a good look at the roots. If they’re tightly wrapped around the outside of the soil or forming a dense mat, your peace lily is definitely root bound.
- Look for Soil: If there’s more root than soil, it’s time for a new pot.
If your peace lily passes the inspection, you can put it back in its pot and continue with regular care. If not, read on for repotting instructions!
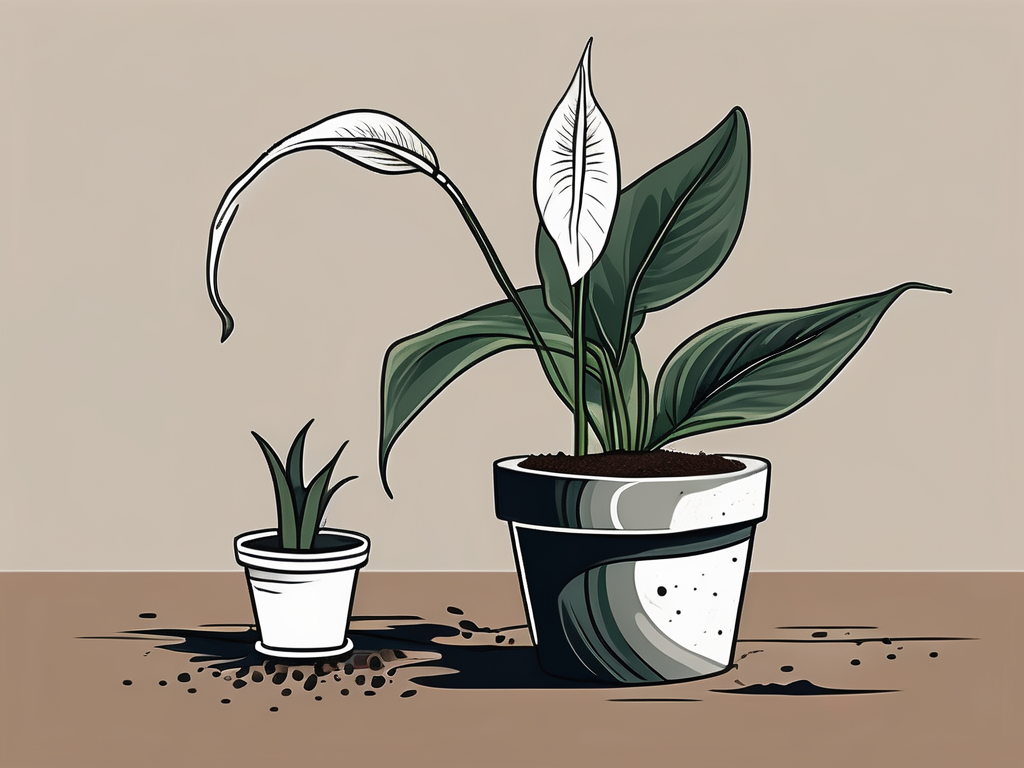
Repotting Your Peace Lily: Step-by-Step Guide
Repotting a peace lily might sound intimidating, but it’s actually quite simple. Follow these steps to give your plant the fresh start it needs:
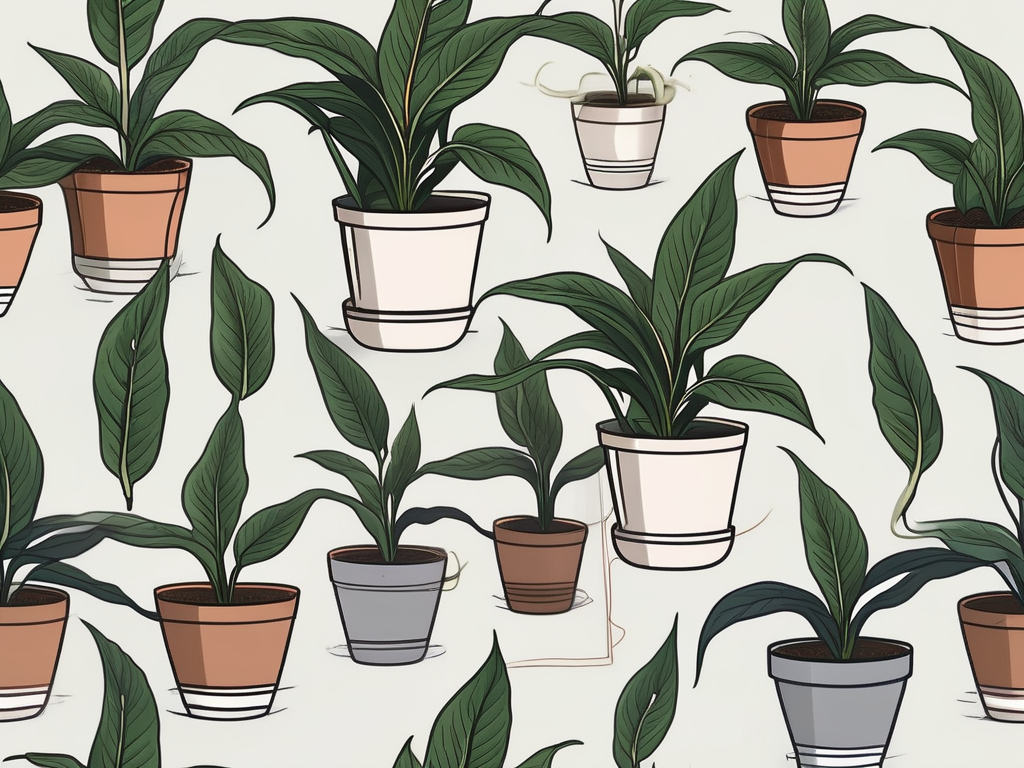
- Select a New Pot: Choose a pot that’s one size larger than the current one. You don’t want to go too big, as this can overwhelm the plant.
- Prepare the Potting Mix: A well-draining potting mix is ideal for peace lilies. You can use a store-bought mix or combine equal parts peat moss, perlite, and potting soil.
- Remove the Peace Lily: As before, gently slide the plant out of its pot. Be careful not to damage the roots.
- Tease the Roots: If the roots are tightly bound, gently tease them apart with your fingers. This encourages them to grow outward in their new pot.
- Plant in the New Pot: Place a layer of potting mix in the bottom of the new pot. Position the peace lily in the center, then fill in with more potting mix around the sides. Make sure the plant is at the same depth it was in the old pot.
- Water Thoroughly: Give your peace lily a good drink to help it settle into its new home. Let the excess water drain away.
And there you have it! Your peace lily is now ready to stretch its roots and thrive in its new pot.
Preventing Your Peace Lily from Becoming Root Bound
Once you’ve repotted your peace lily, you’ll want to prevent it from becoming root bound again in the future. Here are some tips to keep it happy and healthy:
- Regular Monitoring: Keep an eye on your peace lily’s growth and watch for signs it might need repotting. Regular checks can help you catch root bound conditions before they become a problem.
- Appropriate Pot Size: Choose a pot that’s just the right size. Too large a pot can lead to overwatering, while too small a pot can cause root bound conditions.
- Healthy Soil: Use a potting mix that retains moisture but also provides good drainage. This helps roots grow freely without becoming compacted.
Proper care and attention can go a long way in preventing your peace lily from outgrowing its pot too quickly.
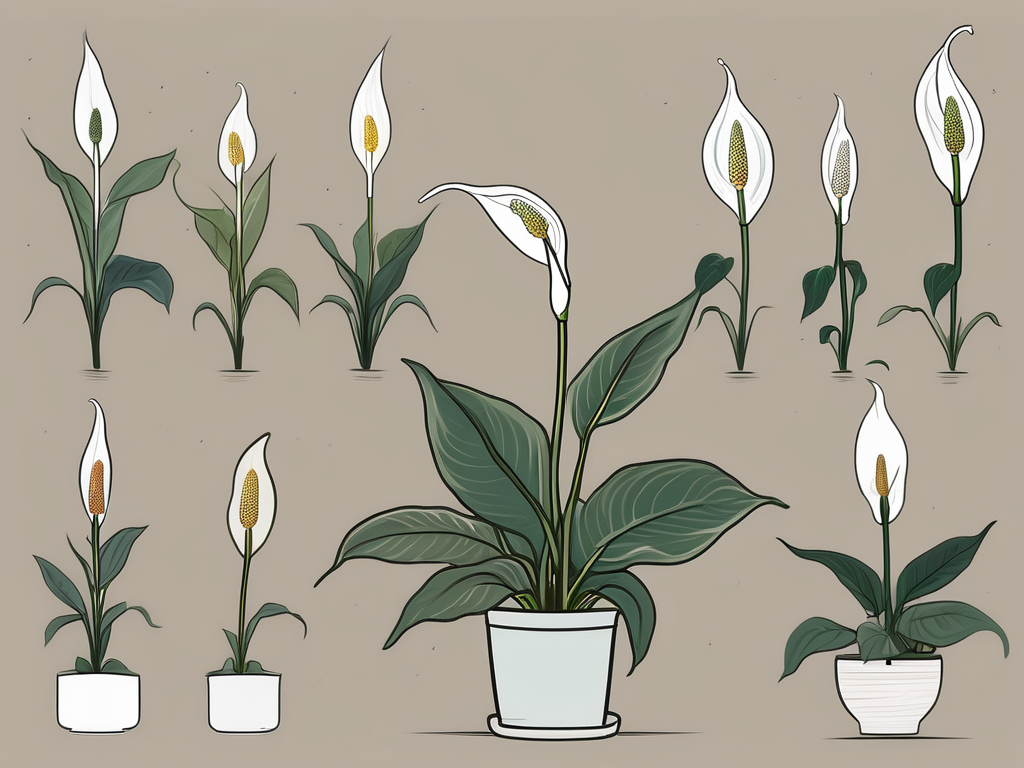
When Is the Best Time to Repot Peace Lilies?
Timing is everything, even when it comes to repotting your peace lily. But when is the best time to do it? Generally, spring is the ideal season for repotting. This is when peace lilies naturally experience a growth spurt, making it easier for them to adjust to a new pot.
However, if your peace lily is showing clear signs of being root bound, don’t wait until spring. It’s better to address the issue promptly rather than risk your plant’s health. Just be gentle during the process, especially if repotting in less than ideal conditions, like winter.
Remember, peace lilies prefer warm, humid environments, so keep them cozy during and after the repotting process. This will help them bounce back more quickly and continue to grow beautifully.
Common Mistakes to Avoid When Repotting
Repotting can be a straightforward task, but there are some common pitfalls to avoid to ensure your peace lily thrives:
- Choosing the Wrong Pot Size: Going too big or too small with the pot can cause issues. Stick to a pot that’s just one size up.
- Not Teasing the Roots: Skipping this step can lead to the roots continuing to grow in circles, even in a new pot.
- Overwatering: Newly repotted plants are sensitive to overwatering. Make sure the pot has good drainage and avoid letting the plant sit in water.
- Ignoring Soil Needs: Peace lilies need a rich, well-draining potting mix. Don’t just use garden soil, which can be too heavy.
Avoiding these mistakes will set your peace lily up for a smooth transition to its new pot and a healthy future.
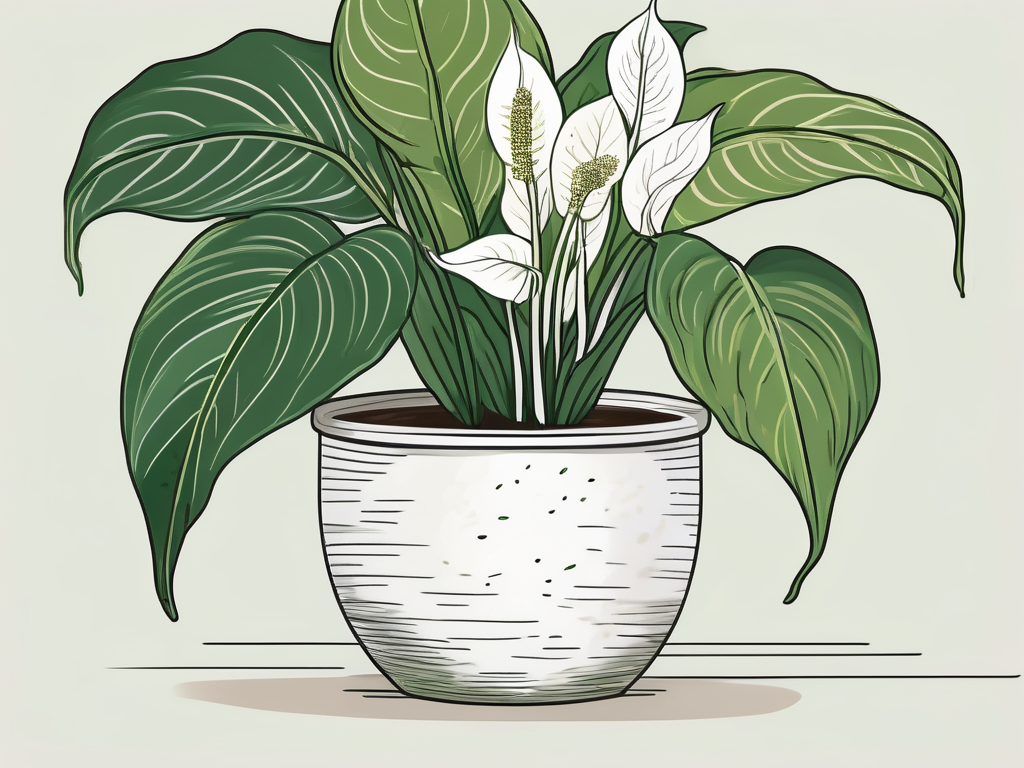
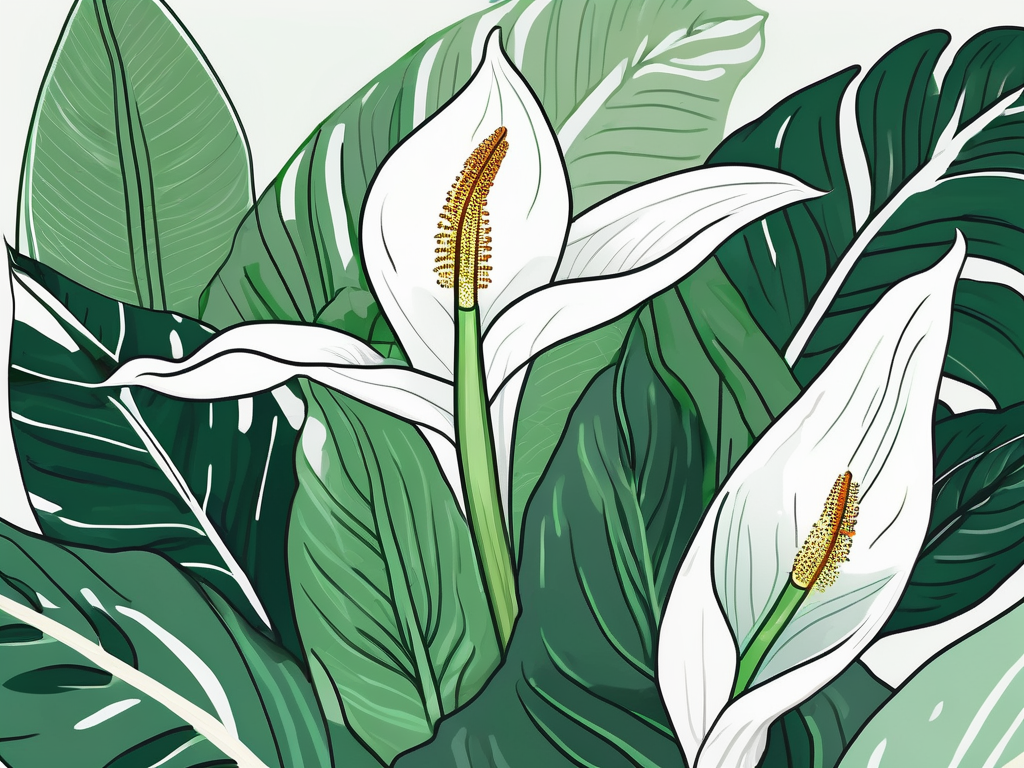
Creating a Beautiful Space with Peace Lilies
Now that you know how to care for your peace lily, let’s talk about how these plants can add a touch of nature to your home. Peace lilies are not just beautiful; they’re also known for their air-purifying qualities, making them a great addition to any room.
Here are some ideas for incorporating peace lilies into your home decor:
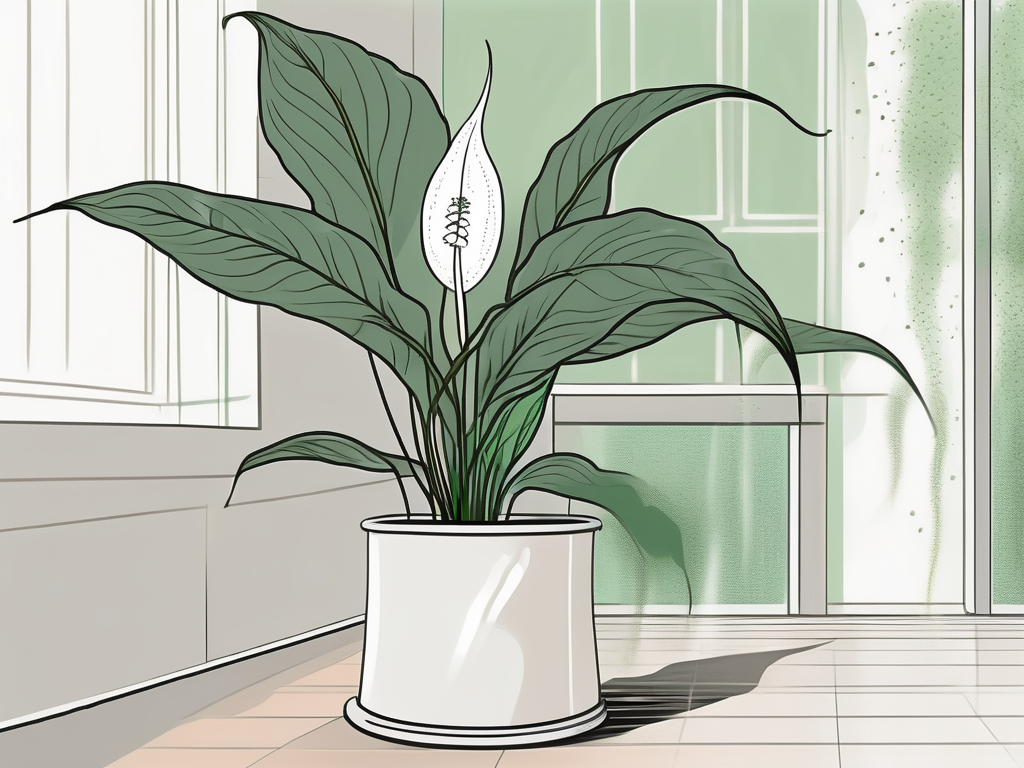
- Living Room Centerpiece: Place a peace lily in a decorative pot on your coffee table or side table for a pop of green.
- Bathroom Oasis: Peace lilies thrive in humid environments, making them perfect for bathrooms. They’ll add a spa-like feel to your space.
- Hallway Greeter: Position a peace lily near the entrance of your home to welcome guests with its lush foliage.
- Bedroom Calm: Peace lilies can promote better air quality, so consider placing one in your bedroom for a touch of tranquility.
With their elegant appearance and easy-care nature, peace lilies are a versatile choice for adding life and beauty to any room.
Final Thoughts
Taking care of your peace lily by addressing root bound conditions is an important part of keeping it healthy and beautiful. By understanding the signs and taking action when needed, you’re ensuring your plant has the best chance to grow and thrive.
At Cafe Planta, we’re here to help you with all your plant needs. Whether you’re looking for a new addition or need advice on plant care, feel free to reach out via email or Instagram. We believe in the power of plants to connect us with nature and each other, and we’re excited to help you create a thriving plant collection at home.