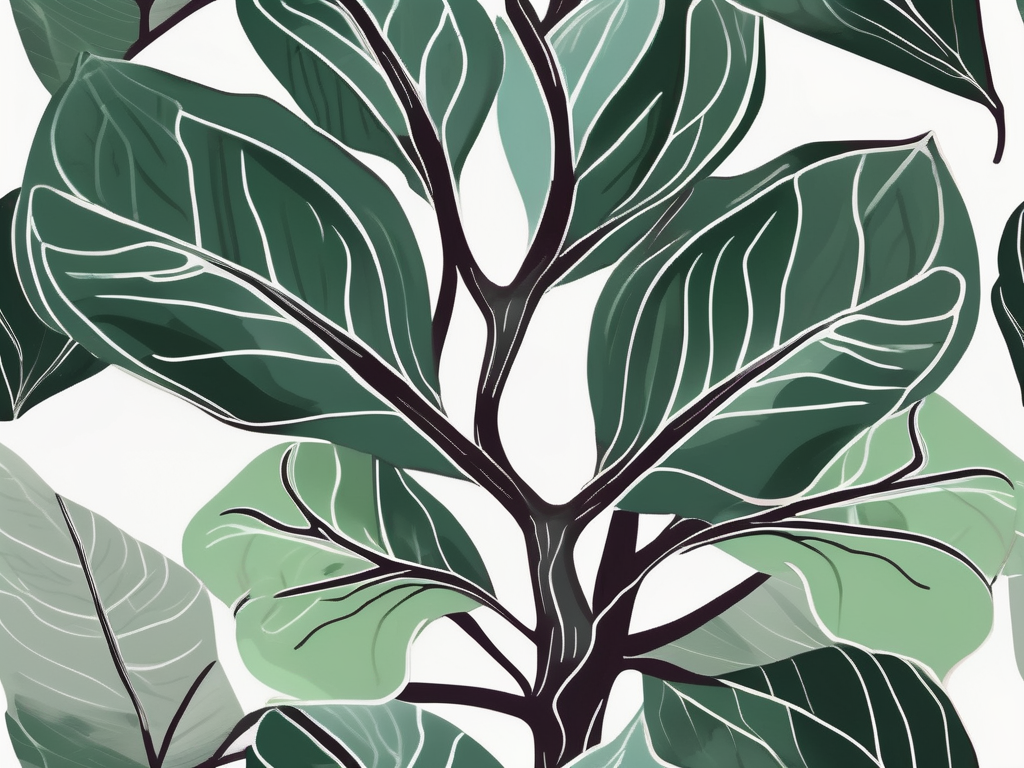
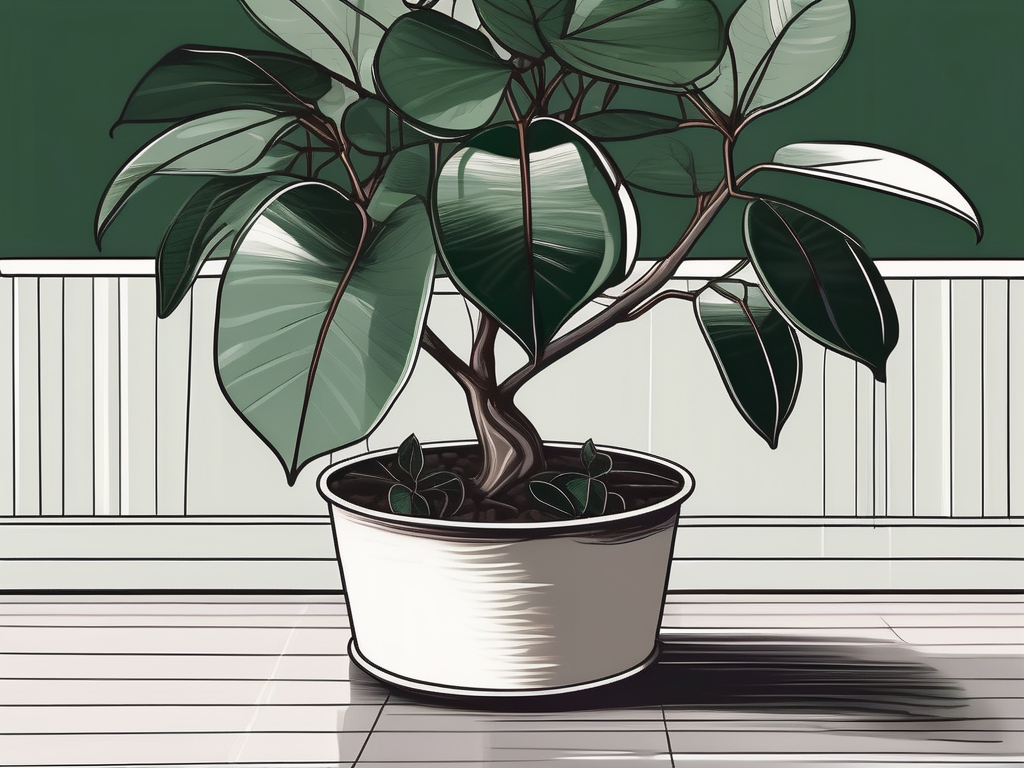
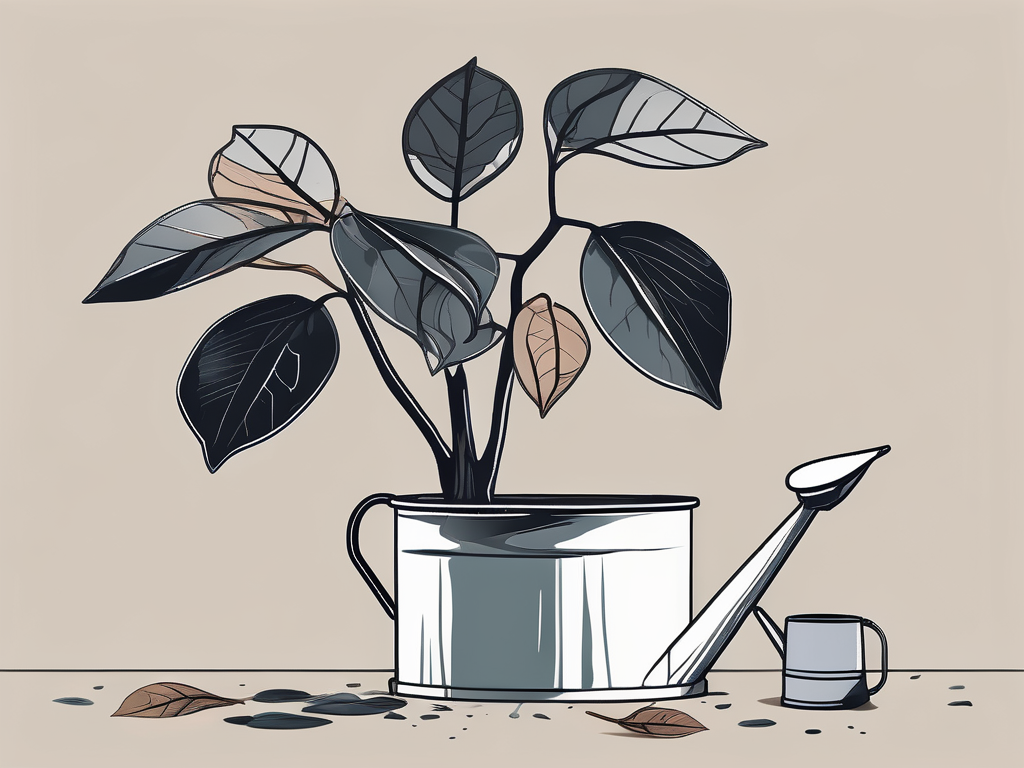
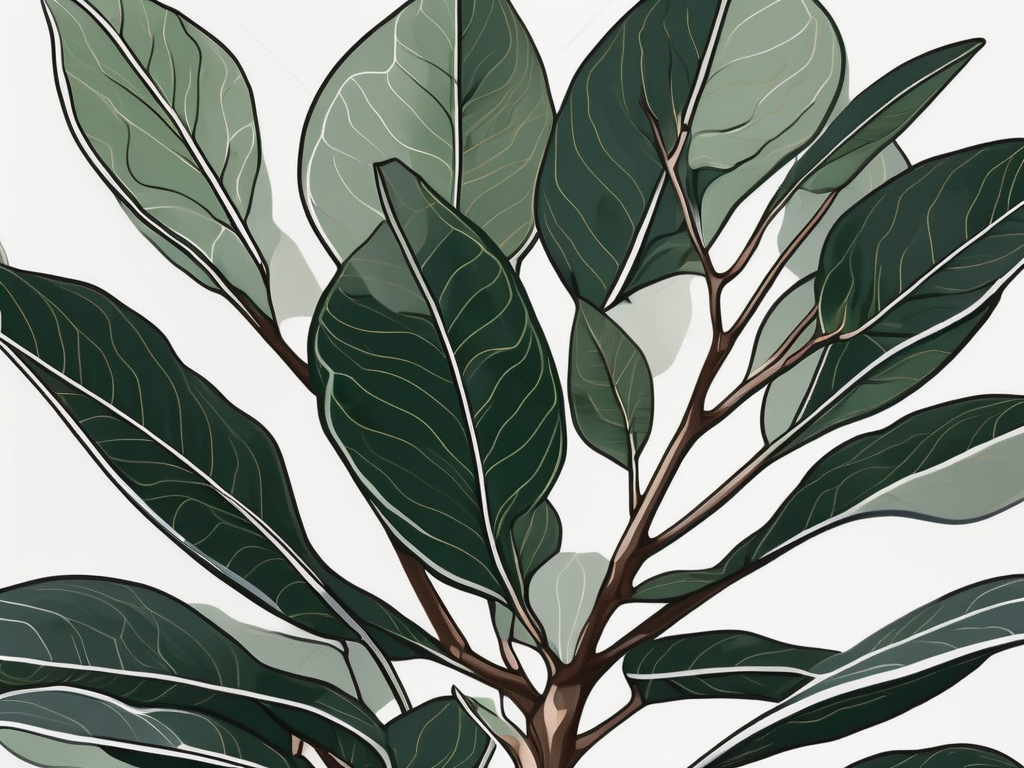
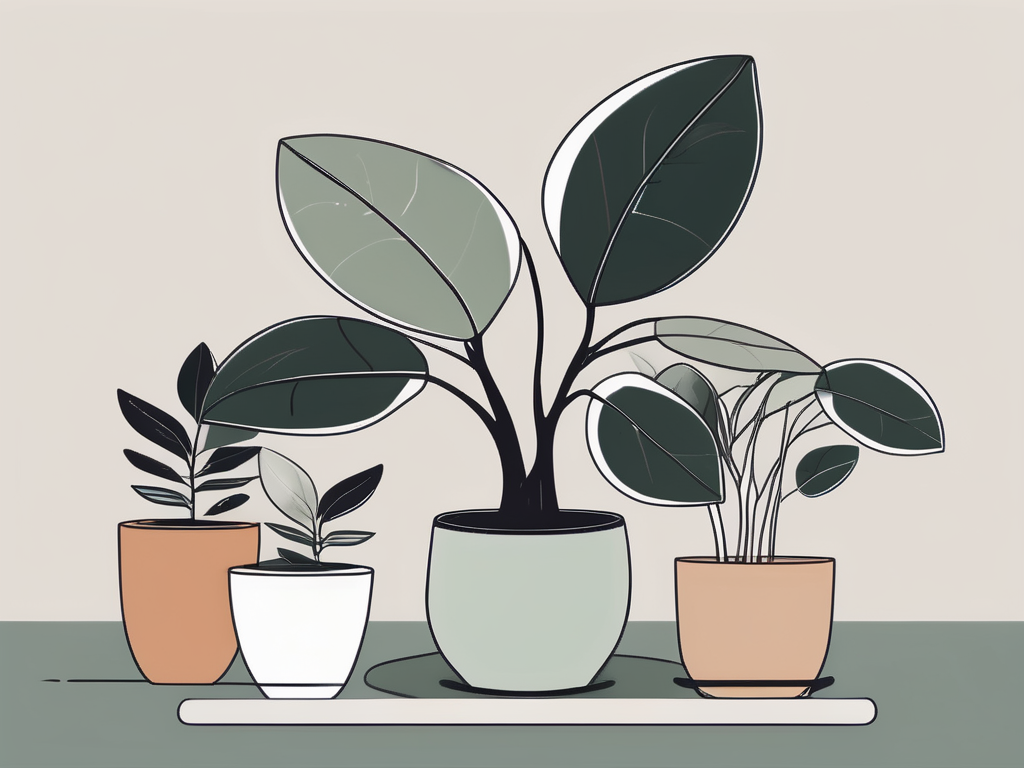
Rubber trees, with their glossy leaves and elegant stature, are a favorite among plant lovers. But, like all plants, they have their quirks and challenges. One of the biggest issues you might face with your rubber tree is root rot—a sneaky problem that can take your plant from fabulous to floundering in no time.
In this article, we're going to tackle the mystery of root rot and arm you with the know-how to keep your rubber tree thriving. From recognizing the early signs to taking preventative steps, we'll cover everything you need to nurture a healthy, vibrant plant.
Understanding Root Rot
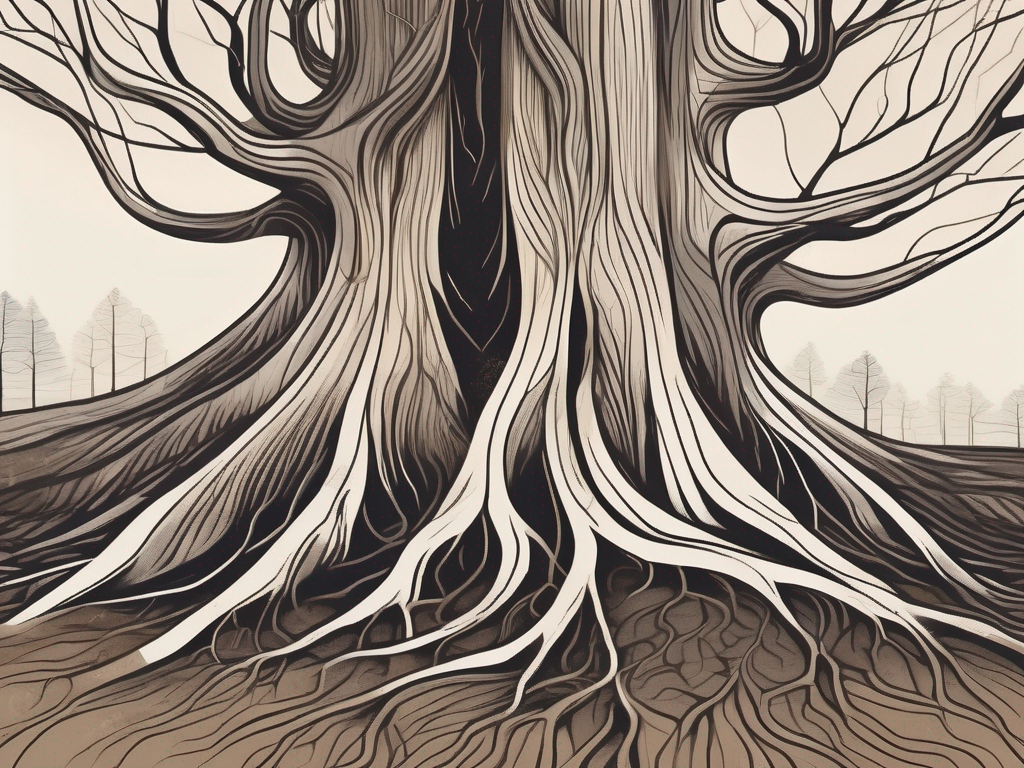
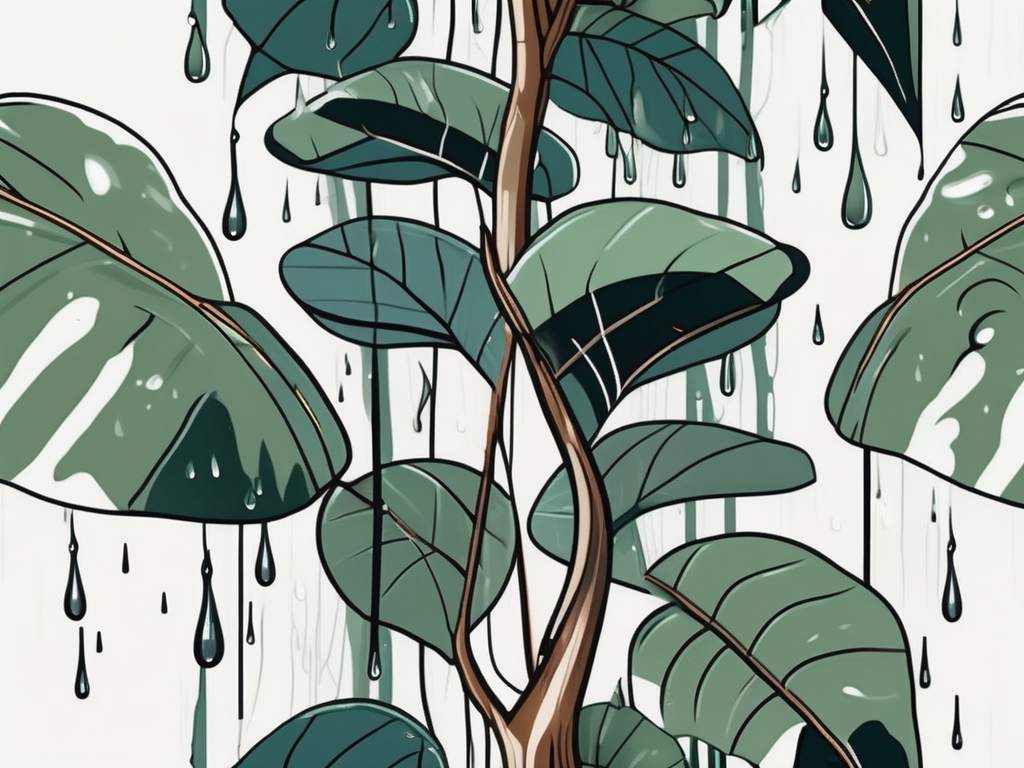
Before we jump into prevention, it’s important to understand what root rot actually is. Essentially, it's a condition where a plant's roots begin to decay. This is often caused by overwatering, poor drainage, or a combination of both. When roots sit in waterlogged soil, they can’t get the oxygen they need, leading to fungus and other issues that cause them to rot.
Root rot is tricky because it hides underground, out of sight. By the time you notice something's wrong above ground, the roots might be severely damaged. Symptoms include yellowing leaves, wilting, and stunted growth. But, don't worry—if you catch it early, you can often save your plant.
For rubber trees, maintaining the right balance of moisture is crucial. They prefer their soil to dry out a bit between waterings, which can be a bit of a balancing act for new plant parents. Understanding this balance will help you prevent root rot before it starts.
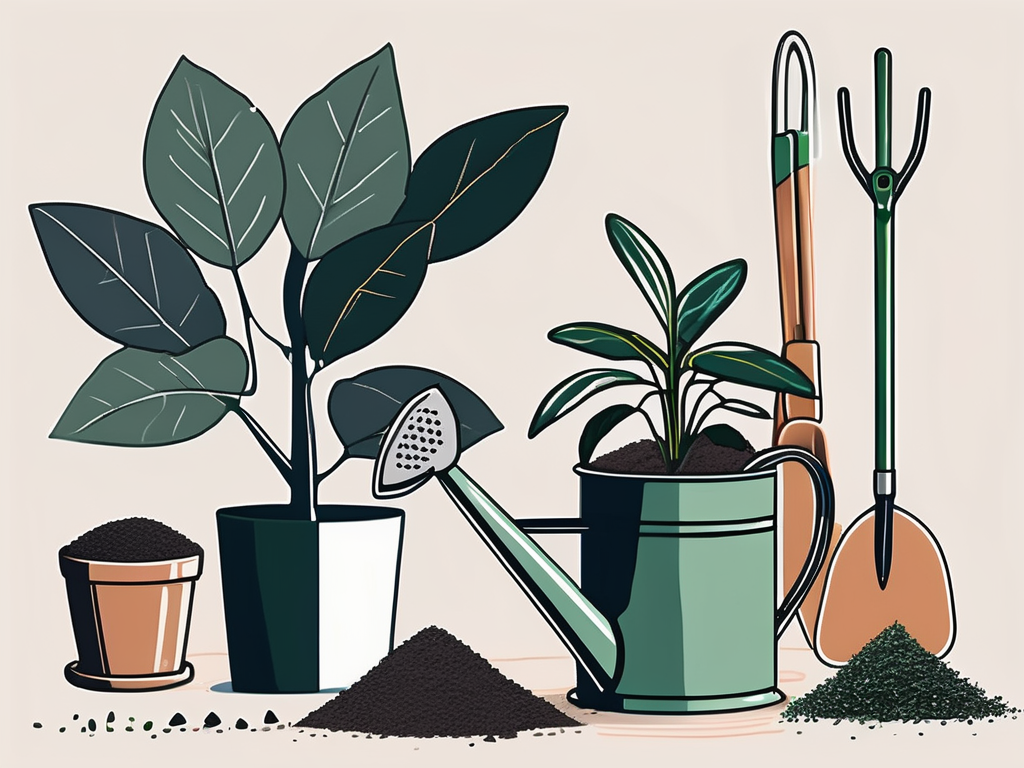
Choosing the Right Soil
One of the best ways to prevent root rot is to start with the right soil. Rubber trees thrive in well-draining soil that allows excess water to escape easily. A good potting mix for rubber trees might include a blend of peat, pine bark, and perlite, which promotes drainage and aeration.
When you're at the garden center, look for a soil mix that's specifically labeled for houseplants or tropical plants. These typically have the right composition to keep water moving through the pot instead of pooling at the bottom.
If you're feeling adventurous, you can make your own mix. Combine two parts peat moss with one part pine bark and one part perlite. This mix holds enough moisture for the roots but lets excess water drain away, preventing soggy conditions.
Remember, the goal is to create an environment where water doesn’t linger around the roots. So, even if you’re using a pre-made mix, it might be helpful to add a bit more perlite or coarse sand to improve drainage.
Understanding Watering Needs
Watering is where most of us trip up—it's just too easy to love our plants a little too much. With rubber trees, less is often more. They like their soil to dry out a bit between waterings, so it's essential to check the soil's moisture level before reaching for the watering can.
Stick your finger into the soil about an inch deep. If it feels dry, it's time to water. If it's still moist, give it a few more days. This simple trick can prevent many overwatering mishaps.
Remember, rubber trees grow slower in the winter months and need less water. During the warmer growing seasons, you might water weekly, but in winter, every two or three weeks might be enough.
Also, try to mimic their tropical origins by using room-temperature water. Cold water can shock the roots, while water that's too hot can damage them. Let tap water sit out overnight to reach the right temperature and allow any chlorine to dissipate.
Ensuring Proper Drainage
No matter how careful you are with watering, if your pot doesn’t have adequate drainage, root rot can still sneak up on you. Ensure your rubber tree's pot has several drainage holes at the bottom. These holes let excess water escape instead of sitting at the base of the pot, where it can lead to root rot.
If you're worried about water spilling out, place a saucer under the pot to catch the runoff. Just remember to empty the saucer regularly so your plant isn’t sitting in a puddle.
For an extra layer of protection, consider adding a layer of rocks or gravel at the bottom of the pot before adding soil. This creates a small reservoir for water to collect away from the roots, further reducing the risk of rot.
If your pot doesn’t have drainage holes and you're not keen on drilling, it's best to repot your plant into a container that does. Your rubber tree will thank you for it.
Repotting with Care
Repotting might seem intimidating, but it's an important part of keeping your rubber tree healthy. Over time, soil can compact and lose its drainage ability, so giving your plant a fresh start can prevent root issues.
Spring or early summer is the best time to repot, when the plant is actively growing. Choose a pot that's one size larger and fill it with fresh, well-draining soil.
- Gently remove the plant from its current pot. If it’s stuck, tap the sides to loosen the soil.
- Inspect the roots: Trim away any mushy, blackened roots with clean scissors. Healthy roots are white and firm.
- Place the plant in the new pot: Ensure it’s at the same depth as before, then fill in with soil around it.
- Water lightly: Give it a good drink, but don’t drench it—just enough to settle the soil.
Repotting not only refreshes the soil but also gives you a chance to check on the roots and make sure everything is in good shape.
Recognizing Early Signs of Trouble
Catching root rot early can make all the difference. Keep an eye out for early warning signs like yellowing leaves or a general droopiness to the plant. These symptoms can indicate water stress or root problems.
If you suspect root rot, check the soil and roots immediately. Gently remove the plant from its pot and inspect the roots. Healthy roots are white and firm, while rotting ones appear brown or black and mushy.
If you find rotten roots, trim them away with sterilized scissors to prevent the rot from spreading. After trimming, repot the plant in fresh, well-draining soil and adjust your watering routine to prevent future issues.
It's always better to err on the side of caution. If something doesn't seem right, take action sooner rather than later.
Managing Humidity Levels
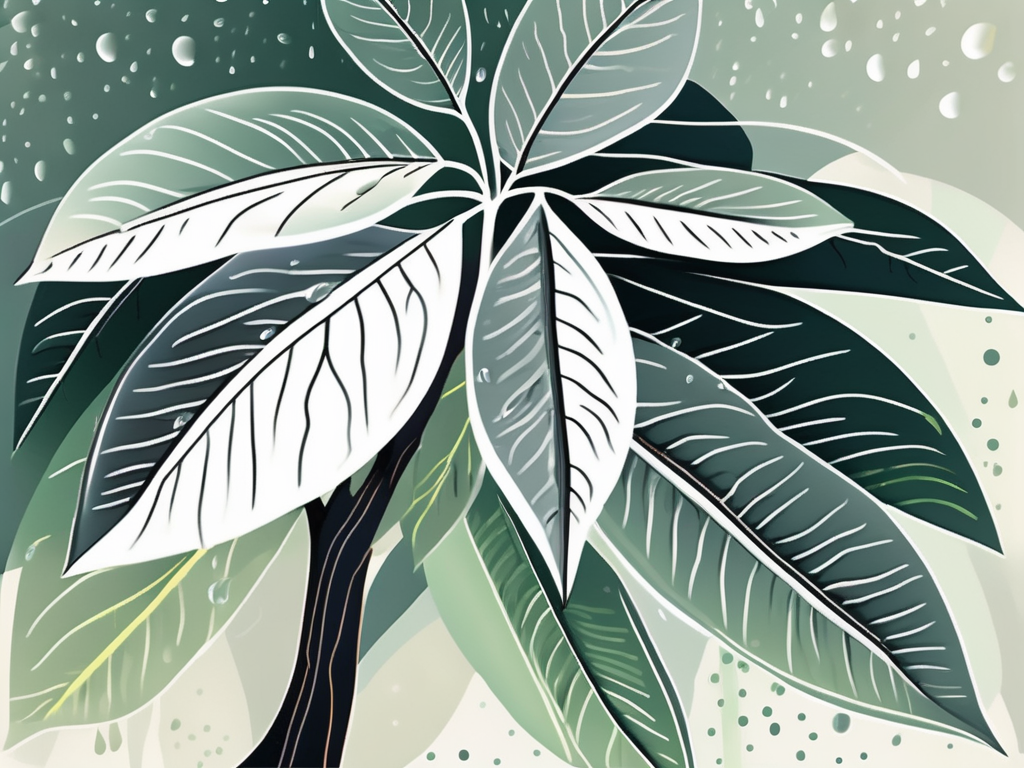
Rubber trees hail from tropical climates, so they appreciate a bit of humidity. However, too much moisture in the air combined with wet soil can exacerbate root rot. Striking the right balance is key.
In most homes, the ambient humidity is sufficient for rubber trees. If your home is particularly dry, especially in winter, consider misting the leaves occasionally or placing a humidity tray nearby. You can make a simple tray by filling a shallow dish with pebbles and water, placing it near the plant. As the water evaporates, it adds humidity to the air around the plant.
Be cautious not to overdo it with misting or humidifiers, as excess moisture can lead to other issues like mold or mildew.
Avoiding Overcrowding
Giving your rubber tree enough space to breathe is often overlooked but essential. When plants are too close together, airflow is reduced, creating a damp environment ideal for rot and fungal growth.
Ensure your rubber tree has enough room around it for air to circulate. This is especially important if you have multiple plants. Grouping them too closely can create a microclimate that traps moisture, increasing the risk of root rot.
If your plant is on a windowsill or in a corner, occasionally rotate it to ensure all sides receive light and air. This simple practice can help keep your plant healthy and happy.
Final Thoughts
Preventing root rot in your rubber tree boils down to understanding its needs and paying attention to its growing conditions. From choosing the right soil and pot to managing water and humidity, every step plays a part in keeping your plant healthy. A little care and vigilance go a long way.
At Cafe Planta, we love sharing our passion for plants and helping you create a thriving indoor garden. If you have any questions, don’t hesitate to email us, drop us a message on Instagram, or visit our shop. We're here to support you on your plant journey. Happy planting!