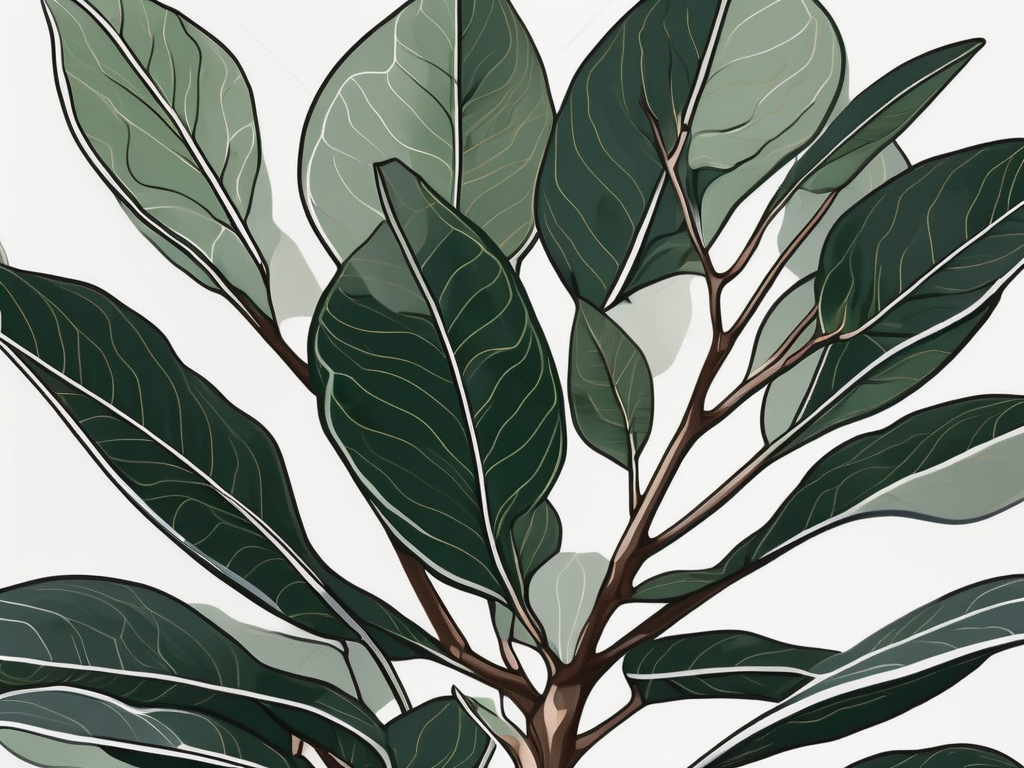
Rubber trees, with their glossy leaves and striking presence, have become a favorite among plant lovers looking to add a touch of green to their homes. But, did you know that choosing the right pot for your rubber tree can make all the difference in its health and growth? That's right! The pot you select isn't just a container; it's a vital component of your plant's environment.
In this article, we're going to talk about everything you need to know to find the best pot for your rubber tree. From size and material to drainage and aesthetics, we've got you covered. So, grab a cup of tea, settle in, and let's get into the nitty-gritty of potting your rubber tree.
Understanding the Rubber Tree's Needs
Before we start picking out pots, it's essential to understand what rubber trees need to thrive. These plants, native to Southeast Asia, love warm and humid conditions. They’re pretty forgiving, which makes them a great option for both seasoned plant parents and beginners alike. But, like any living thing, they have preferences.
Rubber trees prefer a well-draining soil mix, as they don’t like their roots sitting in water. Too much moisture can lead to root rot, a common issue with these plants. They also enjoy bright, indirect light but can tolerate lower light conditions, especially in the winter months.
Keeping these factors in mind helps us understand what kind of pot would best suit a rubber tree. A pot that allows for proper drainage and air circulation is crucial. Now that we’ve covered the basics, let’s look at how to choose a pot that meets these needs.
Choosing the Right Size
The size of the pot is more important than you might think. A pot that’s too small won’t allow the roots to expand, which can stunt your rubber tree's growth. On the flip side, a pot that’s too large can hold excess moisture, increasing the risk of root rot. So, how do you find that sweet spot?
When selecting a pot, aim for one that’s about 1-2 inches larger in diameter than the current pot. This gives the roots some room to grow without overwhelming them with too much soil. If you’re buying a rubber tree that’s about 1-2 feet tall, a pot with a diameter of 6-8 inches should work well. For a larger tree, you might need something in the 10-12 inch range.
Remember, it's not just about the width; depth matters too. Rubber trees have relatively deep root systems, so choose a pot that provides enough depth for the roots to spread comfortably.
Material: Plastic, Ceramic, or Terracotta?
Now that we've nailed down the size, let's talk about materials. The material of your pot can affect how often you water your rubber tree and how well it grows. Each material has its pros and cons, so let’s break it down.
Plastic Pots
Plastic pots are lightweight and generally cheaper than other options. They retain moisture well, which means you won't have to water as often. However, this can be a double-edged sword, as too much moisture can lead to root rot.
Ceramic Pots
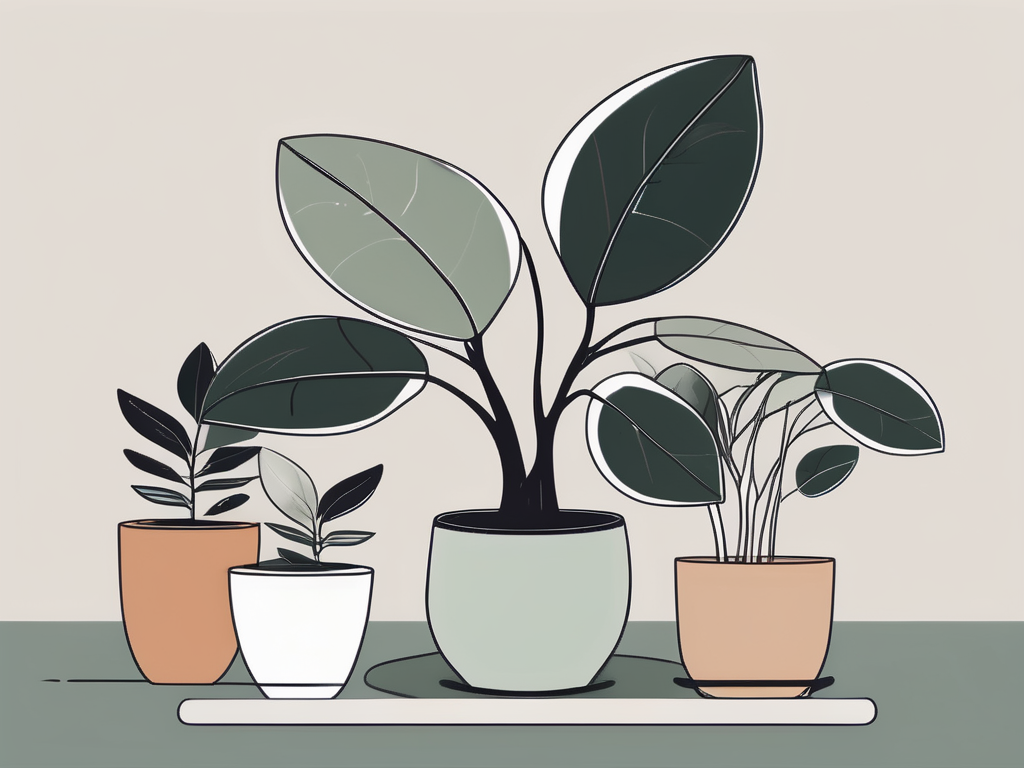
Ceramic pots are often chosen for their aesthetic appeal. They come in a variety of colors and designs, allowing you to match your pot with your home decor. These pots are heavier, providing more stability for larger rubber trees. However, they can be prone to breaking and may not offer the best drainage unless they have a proper drainage hole.
Terracotta Pots
Terracotta pots are a classic choice. They’re porous, allowing air and moisture to pass through the sides of the pot, promoting healthy root growth. The downside? They can dry out faster, so you'll need to keep an eye on your plant’s watering needs.
In the end, the best choice depends on your personal preferences and lifestyle. If you tend to overwater, terracotta might be a safer bet. If you want something low-maintenance, plastic could be the way to go.
Importance of Drainage
We've mentioned drainage a few times now, and that's because it's critical for the health of your rubber tree. A pot without drainage holes retains water, which can suffocate the roots and lead to rot.
Always opt for a pot with at least one drainage hole. If you fall in love with a pot that doesn’t have holes, you can either drill some yourself or use it as a decorative cover pot. Just place your rubber tree in a smaller plastic pot with drainage holes and pop it inside the decorative one. This way, you can remove the inner pot when it’s time to water.
Some folks get creative with drainage solutions, like adding a layer of pebbles at the bottom of the pot. While this might help a bit, it's not a substitute for proper drainage holes.
Considering Aesthetics
Let’s not forget that your pot is also a piece of decor. The right pot can complement your room’s style and make your rubber tree stand out. Here are a few things to consider when thinking about aesthetics:
- Color: Choose a color that matches or contrasts with your room's color scheme. A neutral pot can offer a classic look, while a bold color can make a statement.
- Style: Whether you prefer modern or rustic, there’s a pot style out there for you. Minimalist designs work well in contemporary spaces, while ornate pots might suit a more traditional setting.
- Texture: Consider the texture of the pot. A smooth, glossy finish can add a touch of elegance, while a rough, matte finish might bring an earthy vibe.
Remember that while aesthetics are important, they should never compromise the functionality of the pot. A beautiful pot is only as good as it is practical for your rubber tree.
Repotting Your Rubber Tree
Once you've picked the perfect pot, the next step is repotting your rubber tree. Repotting might sound intimidating, but it's really quite simple. Here’s how you can do it:
- Prepare your pot: Make sure it’s clean and dry. Add a layer of fresh potting mix at the bottom.
- Remove the tree: Gently take your rubber tree out of its current pot. You might need to tap the sides or loosen the soil with your fingers.
- Inspect the roots: Check for any signs of root rot or damage. Trim away any unhealthy roots with clean scissors.
- Place in the new pot: Set your rubber tree in the center of the new pot. Fill around it with fresh soil, pressing down gently to remove air pockets.
- Water thoroughly: Give your rubber tree a good watering to help it settle into its new home.
And there you have it! Repotting is a great time to check on your plant’s health and give it a fresh start.
Monitoring Growth and Adjusting Care
After repotting, keep an eye on your rubber tree to ensure it’s adapting well to its new home. Here are some things to watch for:
- Watering needs: Your plant may need more or less water after repotting. Adjust your watering schedule as needed.
- Leaf health: Keep an eye on the leaves for signs of yellowing or wilting, which can indicate overwatering or underwatering.
- Growth rate: A rubber tree that’s happy in its pot will continue to grow and produce new leaves. If growth seems stalled, consider light levels or temperature changes.
Remember, every plant is unique, so it might take some time to find the perfect care routine for your rubber tree. Patience and observation are your best friends here.
Common Mistakes and How to Avoid Them
Even the best plant parents make mistakes. Here are a few common pitfalls when it comes to potting rubber trees, along with tips on how to avoid them:
- Choosing a pot without drainage: We can’t stress this enough—always pick a pot with good drainage.
- Overpotting: Resist the urge to give your rubber tree too much space. A pot that’s too large can lead to waterlogged soil.
- Ignoring aesthetics: While functionality is key, remember that your pot is also a part of your home’s decor.
By avoiding these common mistakes, you’ll be well on your way to a happy, healthy rubber tree.
Integrating Your Rubber Tree Into Your Home Decor
Once your rubber tree is comfortably potted, it’s time to think about how it fits into your home decor. Here are some fun ideas to consider:
- Grouping with other plants: Create a mini indoor jungle by grouping your rubber tree with other plants of varying heights and textures.
- Using plant stands: Elevate your rubber tree with a stylish plant stand. This not only adds visual interest but also ensures the plant gets enough light.
- Pairing with furniture: Consider the furniture around your rubber tree. A mid-century modern pot might pair beautifully with a vintage armchair, for example.
By thoughtfully integrating your rubber tree into your decor, you’ll create a space that feels cohesive and inviting.
Final Thoughts
Choosing the right pot for your rubber tree is an important step in ensuring its long-term health and beauty. From selecting the right size and material to considering drainage and aesthetics, each decision plays a role in your plant's well-being.
At Cafe Planta, we're here to help you with all your plant care needs. Whether you're looking for the perfect pot or some plant-themed apparel, we've got you covered. If you have any questions or just want to chat about your plants, feel free to email us or drop us a message on Instagram. We love connecting with our fellow plant people and sharing our passion for all things green!

