So, you've got yourself a rubber tree plant, huh? These beauties are not just stunning additions to your home, but they're also quite forgiving and easy to care for. However, like all houseplants, they occasionally need a little TLC. One of the essential tasks you’ll face is repotting. It might sound intimidating, but fear not! I'm here to guide you through every step, making sure your rubber tree thrives in its new home.
In this article, I’ll walk you through the entire repotting process, from understanding when and why your rubber tree needs repotting to selecting the right materials and executing the task with confidence. We’ll also touch on some common pitfalls and how to avoid them, ensuring your plant stays happy and healthy. Let's dig in!
Why Repot Your Rubber Tree?
First things first, why even bother with repotting? Well, rubber trees, like most plants, eventually outgrow their pots. Imagine wearing the same pair of shoes for years—even after your feet have grown. Uncomfortable, right? The same thing happens with plants when their roots become too cramped. Here's why repotting is crucial:
- Root growth: Over time, the roots of your rubber tree will fill the pot, leaving little room for growth. This can stunt the plant's development.
- Soil nutrition: Fresh soil provides nutrients that are depleted over time in the existing pot.
- Drainage improvement: Old soil can become compacted, affecting water drainage. Repotting helps restore proper drainage, preventing root rot.
Typically, young rubber trees need repotting every year or two, while older, more established plants can go a bit longer. Keep an eye out for signs like roots poking out of the drainage holes or the plant becoming top-heavy.
When Is the Best Time to Repot?
Timing is everything, and repotting is no exception. The best time to repot your rubber tree is during its active growing season, which typically falls in spring or early summer. During this period, the plant is more likely to recover quickly from the stress of being moved.
Avoid repotting in the fall or winter, as this is when the plant is in its dormant phase. Disturbing it during this time can cause unnecessary stress and hinder its ability to bounce back. If you notice your plant struggling in the off-season, consider addressing other care factors like lighting and watering before opting to repot. Remember, patience is key!
Choosing the Right Pot and Soil
Now that you're ready to repot, selecting the right materials is a crucial step. Here's what you need to know:
Picking the Perfect Pot
Your new pot should be about 1-2 inches larger in diameter than the current one. This gives the roots some room to grow without overwhelming the plant with too much space. Consider pots with:
- Good drainage: Ensure there are sufficient drainage holes to prevent water from pooling at the bottom, which can lead to root rot.
- Material: Whether you choose ceramic, plastic, or terracotta, each has its pros and cons. Terracotta is breathable, but it can dry out quickly. Ceramic pots, on the other hand, retain moisture better.
Opting for the Right Soil
Rubber trees thrive in well-draining soil. A mix designed for houseplants or a cactus potting mix works well. You can also make your own blend:
- 2 parts peat moss or coco coir
- 1 part perlite or coarse sand
- 1 part pine bark fines
This combination ensures good drainage while retaining enough moisture to keep the plant hydrated.
Steps to Repot Your Rubber Tree
You've gathered your supplies, and now it's time for the main event. Follow these steps to successfully repot your rubber tree:
- Prepare the new pot: Place a layer of fresh potting mix at the bottom of the new pot. This should be enough to bring the plant to the same level it was in its old pot.
- Remove the plant: Gently turn the pot on its side and tap the bottom to loosen the root ball. You might need to wiggle the plant a bit, but avoid pulling on the stem directly.
- Examine the roots: Check for any dead or rotting roots and trim them with sterilized scissors or pruners. Healthy roots are white and firm.
- Place in the new pot: Position the plant in the center and fill in around it with fresh soil. Gently press down to remove air pockets, but don't pack it too tightly.
- Water thoroughly: Give the plant a good drink to help settle the soil around the roots. Ensure excess water drains out completely.
And there you have it! Your rubber tree is now ready to continue growing in its new home.
Common Repotting Mistakes and How to Avoid Them
Even the best of us can make mistakes. Here are some common pitfalls to watch out for and how to dodge them:
- Going too big: While it might be tempting to give your plant ample space, a pot that's too large can lead to waterlogged soil and root rot. Stick to a size increase of 1-2 inches in diameter.
- Not checking roots: Neglecting to prune dead or diseased roots can lead to issues down the line. Always inspect and clean up the root ball before repotting.
- Improper watering: After repotting, ensure you water the plant thoroughly but allow the top inch of soil to dry out before watering again.
Avoiding these mistakes can make the difference between a thriving rubber tree and one that's struggling to survive.
Post-Repotting Care Tips
Your rubber tree might need a little extra attention after being repotted. Here’s how you can help it adjust:
- Monitor watering: The plant's water needs might change after repotting. Check the soil moisture regularly and adjust your watering schedule accordingly.
- Provide proper lighting: Keep the plant in a bright spot with indirect light. Direct sunlight can scorch the leaves, especially when the plant is stressed.
- Humidity matters: Rubber trees appreciate a bit of humidity. Consider misting the leaves or placing a humidifier nearby.
With a little patience and care, your rubber tree will soon adjust to its new pot and continue to grow beautifully.
Repotting Frequency and Maintenance
How often should you be repotting your rubber tree? While young plants benefit from yearly repotting, mature plants might only need it every few years. Here are signs that it's time to consider repotting:
- Root-bound: If you notice roots circling the pot or coming out of the drainage holes, it's time for a change.
- Soil compaction: When soil becomes hard and compacted, it can inhibit water and nutrient absorption.
- Growth slowdown: If your plant seems to have stopped growing, it might be due to restricted root space.
Regularly check your plant for these indicators to ensure it stays healthy and vibrant.
Repotting Stress: How to Recognize and Remedy
Even with the best care, plants can experience stress after repotting. Here's how to recognize it and help your rubber tree bounce back:
Signs of Stress
- Droopy leaves: If the leaves look limp, it might be a temporary response to the move.
- Leaf drop: Losing a few leaves is normal, but excessive shedding can indicate stress.
- Discoloration: Yellowing leaves might signal overwatering or nutrient deficiency.
Remedies
- Be patient: Give the plant time to adjust and monitor its progress.
- Check conditions: Ensure it's receiving adequate light and that the soil is neither too dry nor too wet.
- Fertilize sparingly: Avoid fertilizing immediately after repotting, as this can add to the stress. Wait a few weeks before resuming regular feeding.
With careful observation and a little TLC, your rubber tree should recover and thrive in its new environment.
Creating a Beautiful Space with Your Rubber Tree
Beyond the practical aspects, let's talk about aesthetics. Rubber trees can be a stunning focal point in your home. Here are some ways to make the most of their visual appeal:
- Accent furniture: Place your rubber tree near a piece of furniture to create a cozy corner. Its large leaves add texture and interest to any room.
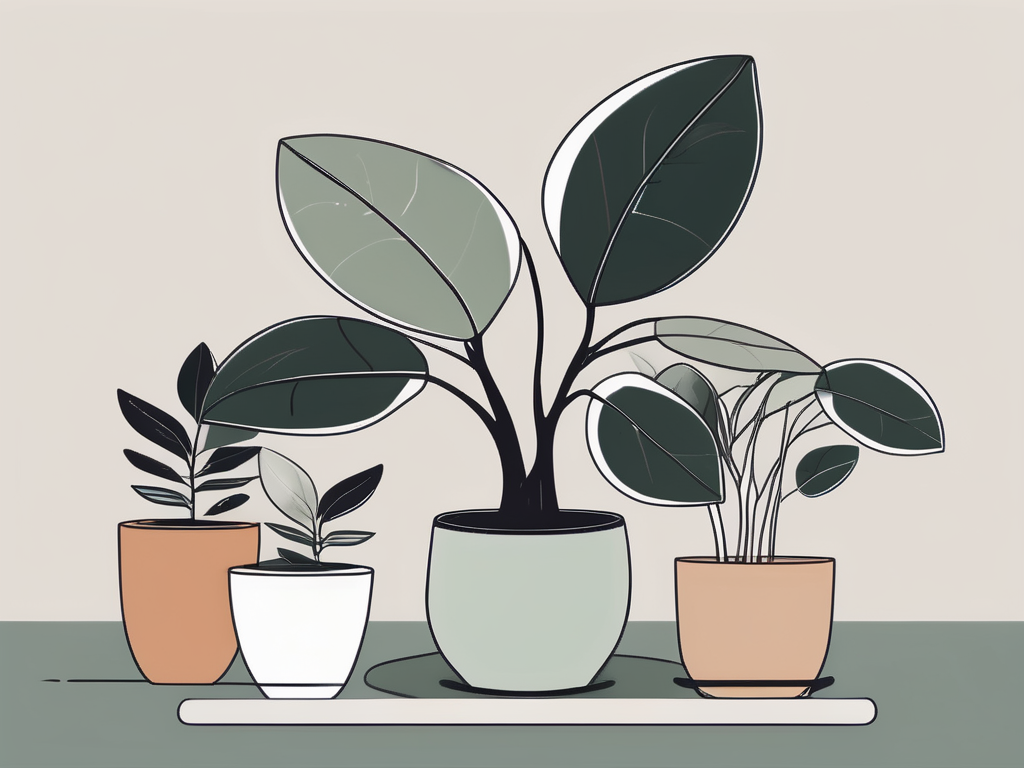
- Group with other plants: Combine your rubber tree with other houseplants of varying heights and textures for a lush, layered look.
- Choose stylish pots: A beautiful pot can elevate the look of your plant. Consider colors and materials that complement your home's decor.
Incorporating your rubber tree into your interior design not only enhances your space but also brings a touch of nature indoors.
Final Thoughts
Repotting your rubber tree doesn't have to be a daunting task. By understanding when and how to repot, choosing the right materials, and providing proper post-care, you can ensure your plant continues to thrive. Remember to watch for signs of stress and adjust your care routine as needed.
At Cafe Planta, we're passionate about helping you care for your plants. Whether you're searching for new houseplants or need advice on plant care, we're here for you. Feel free to email us or reach out on Instagram. Let's connect and share the joy of plants together!

