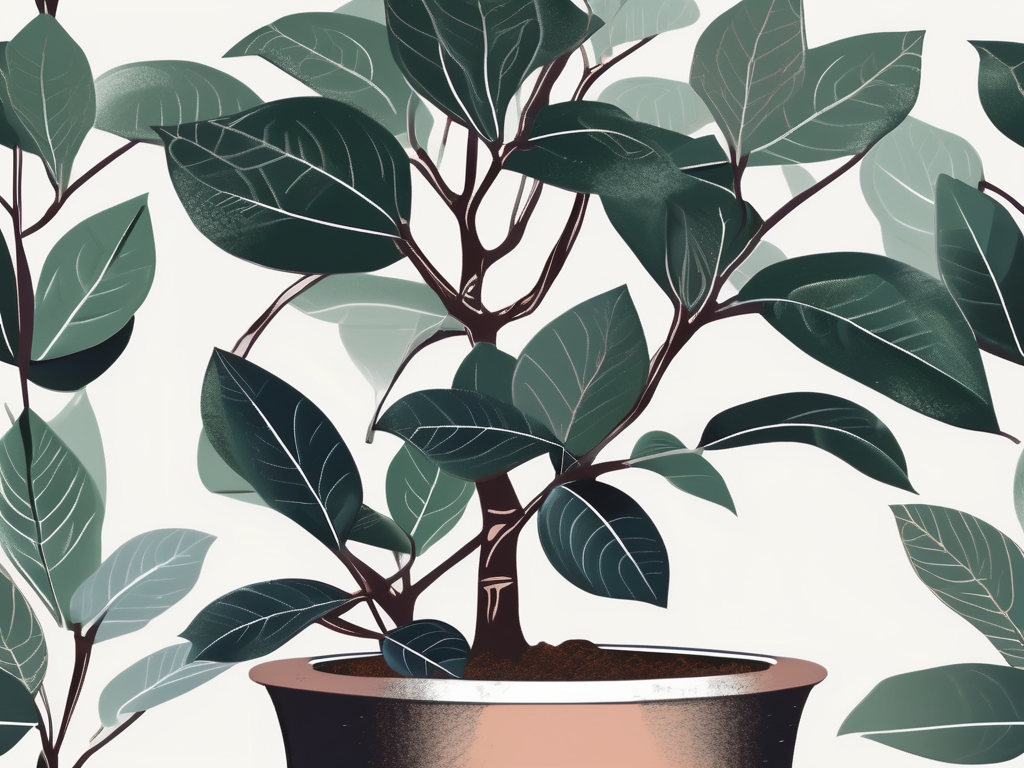
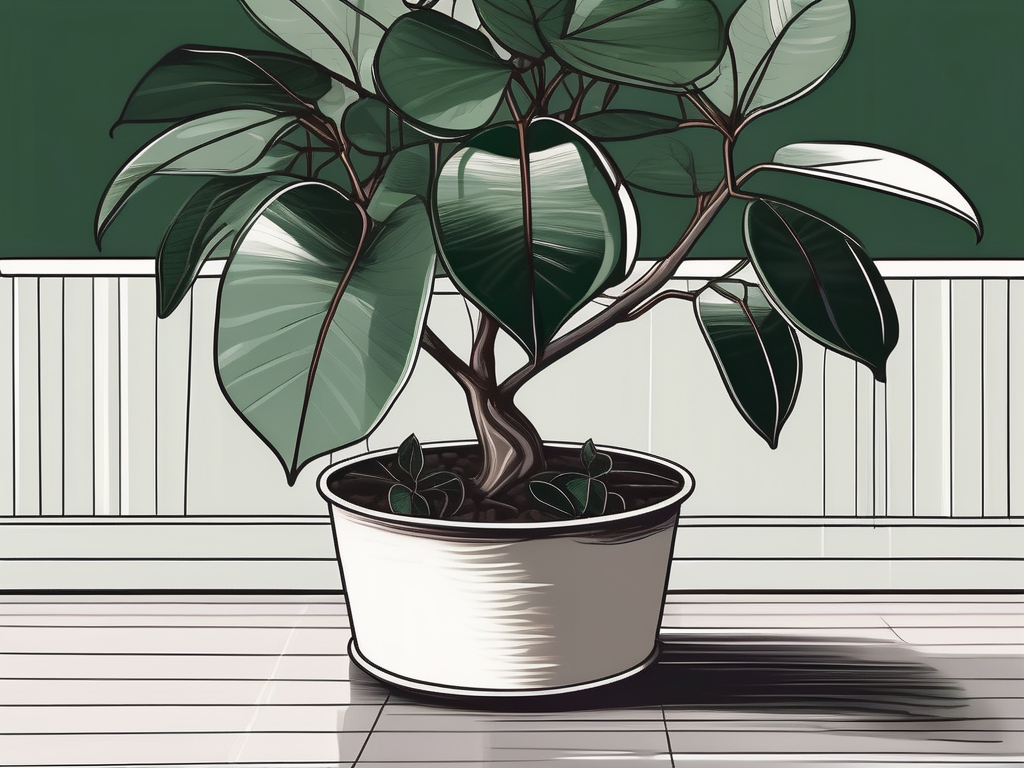
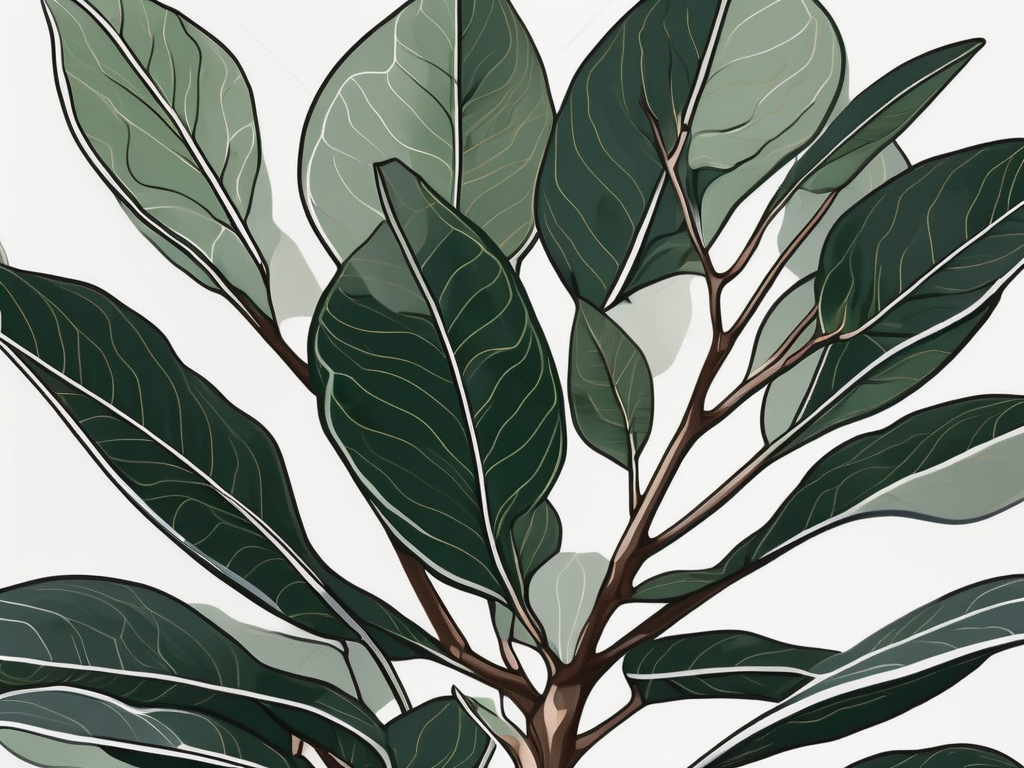
Rubber trees, with their glossy leaves and robust presence, have become a favorite among plant lovers. They’re not only visually striking, but they also bring a touch of the tropics to your home. But, like all houseplants, they have specific needs, and one of the most important is the right soil. Choosing the best soil for your rubber tree can make all the difference between a thriving, lush plant and one that's struggling to survive.
In this article, we’ll explore everything you need to know about selecting the perfect soil mix for your rubber tree. From understanding its natural habitat to crafting the ideal home environment, we'll cover practical tips and insights to help you nurture your rubber tree to its fullest potential. So, let’s get started!
Understanding the Rubber Tree’s Natural Habitat
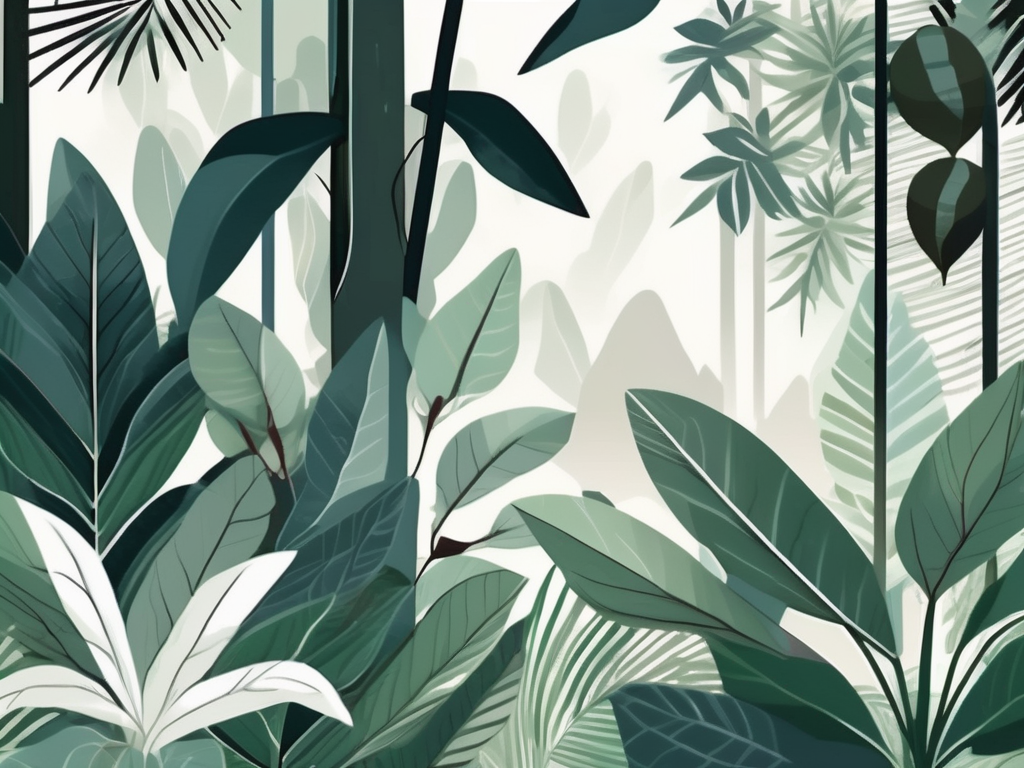
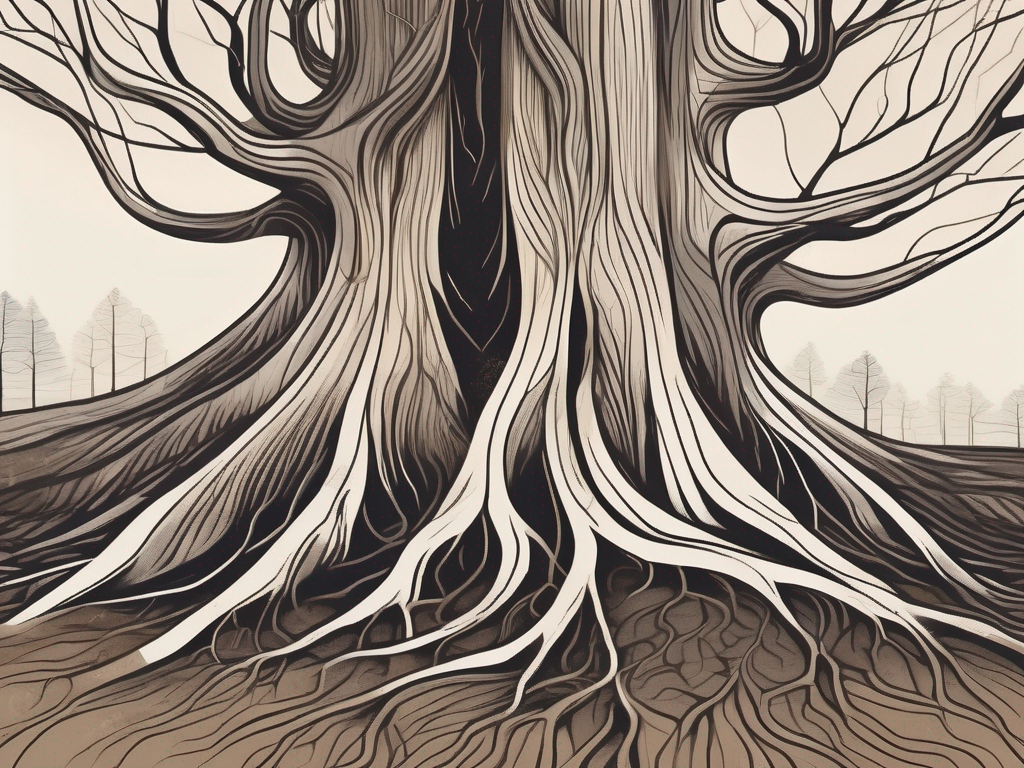
To truly appreciate what your rubber tree needs, it’s helpful to know a bit about where it comes from. Native to Southeast Asia, rubber trees (Ficus elastica) naturally grow in tropical rainforests. These environments are warm, humid, and have rich, well-draining soils. The forest floor is often covered with decaying leaves and organic matter, providing a nutrient-rich base for plants.
This natural environment gives us important clues about what your rubber tree requires. In its native habitat, it’s used to soil that retains moisture but also drains well, preventing the roots from sitting in water. This balance is crucial because too much water can lead to root rot, while too little can cause the plant to dry out and wilt.
So, when we’re talking about creating the ideal soil mix for a rubber tree, we’re essentially trying to replicate this natural balance of moisture retention and drainage. Keep this in mind as we move forward to discuss specific soil components and mixes.
The Importance of Drainage
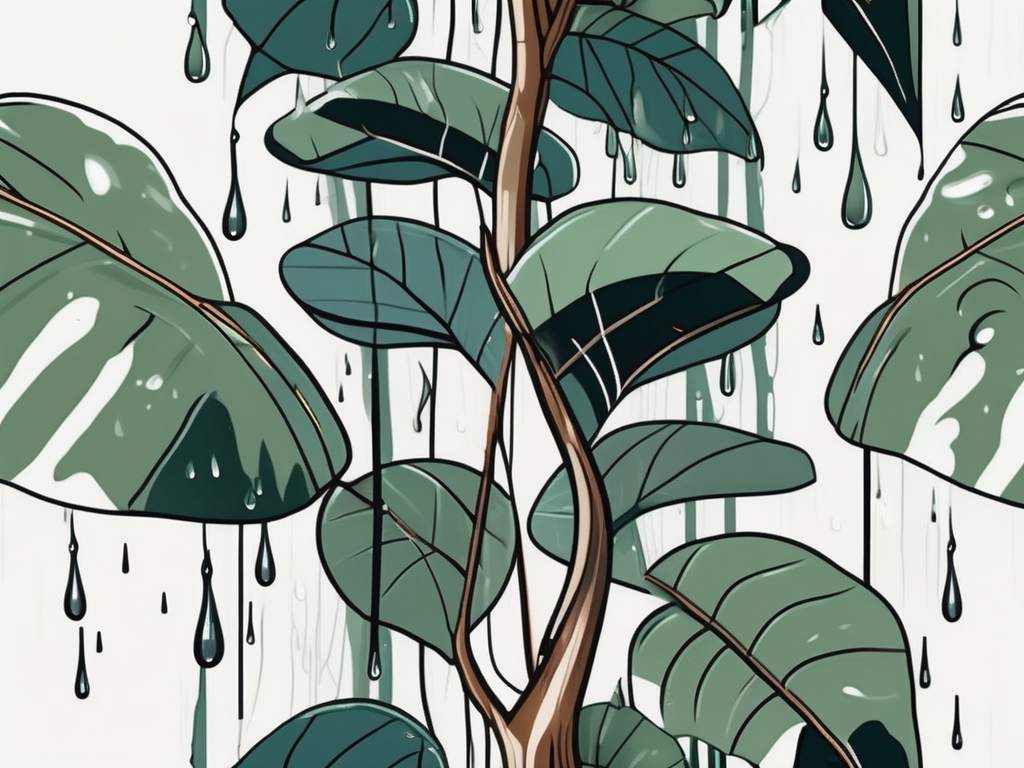
If there’s one thing that can’t be emphasized enough, it’s the importance of drainage. Rubber trees are particularly sensitive to being overwatered, and poor drainage is often the culprit. When water can’t escape from the soil, it leads to soggy conditions that rubber trees despise. This can cause root rot, a common issue that can be fatal for your plant.
To ensure proper drainage, your pot should have several drainage holes. This allows excess water to escape easily. You can also add a layer of small stones or gravel at the bottom of the pot, which helps prevent water from accumulating around the roots.
When it comes to soil, a mix that includes materials like perlite or coarse sand is ideal. These components create spaces within the soil, allowing water to flow through rather than sit around the roots. Think of it like giving your rubber tree a pair of breathable shoes – it keeps things airy and comfortable.
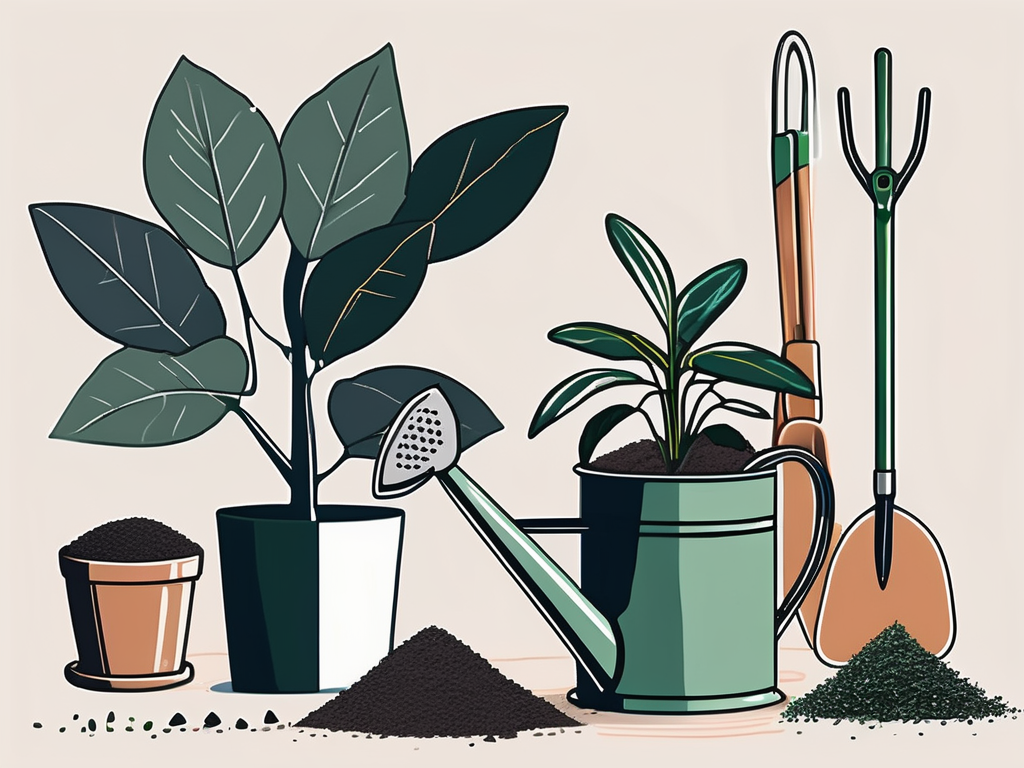
Components of an Ideal Soil Mix
Now that we know the importance of drainage, let's talk about the specific components that make up an ideal soil mix for rubber trees. The goal here is to create a balance between moisture retention and aeration, providing the plant with both the water and air it needs to thrive.
- Potting soil: A base of high-quality potting soil provides the essential nutrients your rubber tree needs. Look for a potting mix that’s light and fluffy, which helps with aeration.
- Perlite: This volcanic glass is a fantastic addition to any soil mix. It’s lightweight and helps improve drainage and aeration, preventing the soil from becoming too compact.
- Coarse sand: Adding sand to your soil mix aids in drainage. It keeps the soil from holding onto too much water, which can be a lifesaver for plants that don’t like to be waterlogged.
- Coconut coir or peat moss: These materials help retain moisture without making the soil overly wet. They’re great for maintaining a consistent level of hydration in between waterings.
Mix these components together, aiming for a balanced blend that allows water to flow freely while still holding onto enough moisture to keep your rubber tree happy.
Creating Your Own Soil Mix
For those who enjoy a bit of DIY, mixing your own soil can be a rewarding endeavor. Not only do you get to control the components, but you also gain a deeper understanding of your plant’s needs. Here’s a simple recipe to get you started:
- 2 parts high-quality potting soil
- 1 part perlite
- 1 part coarse sand
- 1 part coconut coir or peat moss
Start by combining the potting soil with perlite and sand. Mix these thoroughly to ensure even distribution. Next, add the coconut coir or peat moss. Stir everything together until you get a uniform mix. This blend should feel light and crumbly, not heavy or dense.
Remember, this is just a starting point. Feel free to adjust the ratios based on your plant's specific needs or the conditions in your home. If you notice your rubber tree is drying out too quickly, add a bit more coconut coir. If it’s staying too wet, increase the perlite.
Pre-Made Soil Mixes: A Convenient Option
If mixing your own soil sounds a bit daunting, don’t worry – there are plenty of pre-made options available that work wonderfully for rubber trees. Many garden centers and plant shops sell soil mixes specifically designed for houseplants, including those that favor well-draining conditions.
Look for mixes labeled as “cactus” or “succulent” soil, which often have the right balance of drainage and moisture retention. These are typically lighter than standard potting soil and contain added components like perlite or sand to ensure good aeration.
While pre-made mixes are convenient, it's still a good idea to check the components listed on the bag. You want to ensure it doesn’t contain too much peat moss, which can retain excess moisture. To be on the safe side, you can always enhance a pre-made mix by adding extra perlite or sand, giving it that extra boost of drainage and aeration.
Adjusting Soil for Different Environments
Your home environment plays a significant role in how your rubber tree soil should be adjusted. If your home is naturally more humid, you might find that your rubber tree needs a soil mix with more drainage. On the flip side, if your home is dry, a mix that retains a bit more moisture could be beneficial.
Think of it as tailoring the soil to your specific climate. If you live in a humid area, consider increasing the amount of sand or perlite in your mix to boost drainage. If it's dry, adding more coconut coir or using a heavier hand with your watering can help maintain the necessary moisture levels.
Observing your plant and its environment is key. If you notice the leaves turning yellow or drooping, it might be signaling a need for different soil conditions. Adjustments can be as simple as tweaking the components of your mix until you find the perfect balance for your rubber tree.
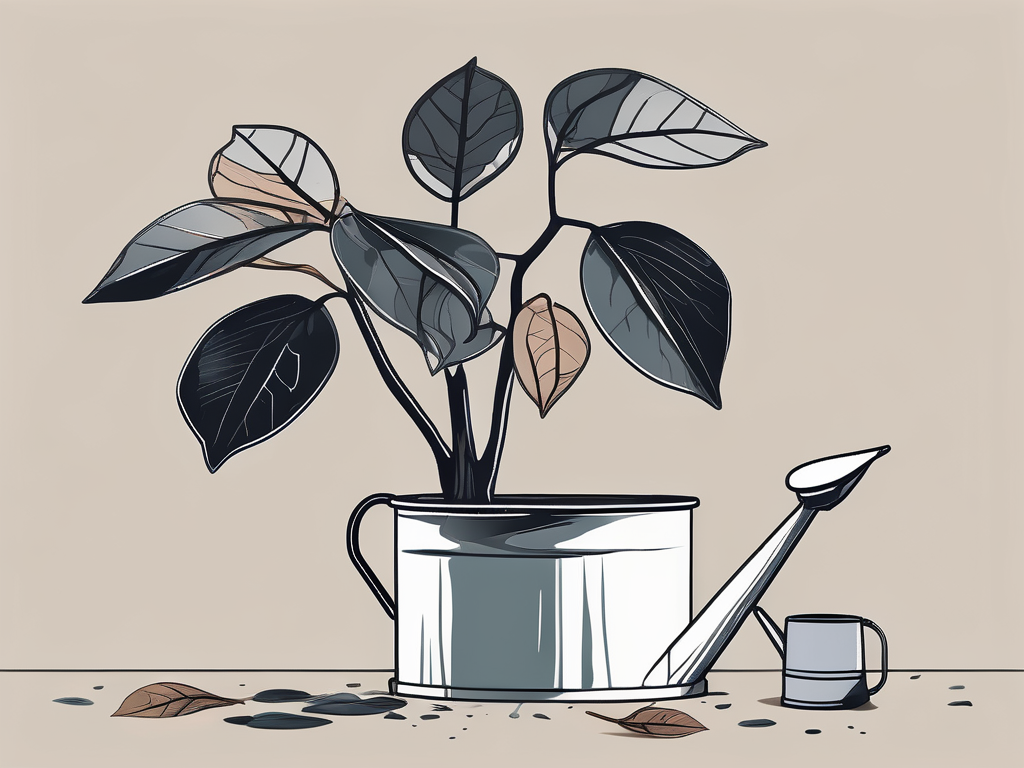
Signs of Soil Problems
Even with the best intentions, sometimes things don’t go as planned. Recognizing signs of soil problems early can help you take corrective action before they escalate. Here are some common signs that your rubber tree might be unhappy with its soil:
- Yellowing leaves: This can indicate either too much water or not enough. Check your soil's moisture level and adjust your watering schedule accordingly.
- Droopy leaves: If the leaves are wilting, it could be a sign of underwatering or, interestingly enough, overwatering. Ensure your soil is well-draining and that you’re watering appropriately.
- Root rot: This is a serious issue often caused by poorly draining soil. If you suspect root rot, check the roots for mushiness or a foul odor.
Addressing these issues promptly by adjusting your soil mix can help bring your rubber tree back to health. Remember, plants communicate through their leaves and growth habits, so keep an observant eye on any changes.
Repotting Your Rubber Tree
As your rubber tree grows, it will eventually need repotting. This is an excellent opportunity to refresh its soil and ensure it's in an environment that supports its continued growth. Typically, rubber trees should be repotted every 1-2 years, or when you notice roots poking out of the drainage holes.
When repotting, choose a pot that’s about 1-2 inches larger in diameter than the current one. This gives the roots space to expand without overwhelming the plant. Gently remove the rubber tree from its pot, being careful not to damage the roots. Shake off excess soil and inspect the roots for any signs of rot or damage.
Fill the new pot with fresh soil mix, place the rubber tree in the center, and fill in around the roots, pressing the soil gently to eliminate air pockets. Water thoroughly after repotting to help the plant settle into its new home.
Final Thoughts
In summary, choosing the right soil for your rubber tree involves finding a balance between drainage and moisture retention. By understanding its natural habitat and adjusting your soil mix accordingly, you can provide the ideal environment for your rubber tree to thrive.
Here at Cafe Planta, we're more than happy to help you with any plant care questions you might have. Whether you're looking for the perfect houseplant or need advice on soil mixes, feel free to email us or DM us on Instagram. We believe in the power of plants to bring joy and connection, and we’re excited to be part of your plant journey!