Compact Dracaena, with its striking foliage and easy-care nature, has quickly become a favorite among plant people worldwide. Whether you're a seasoned plant parent or just starting your green journey, this versatile plant fits perfectly into any space, lending a touch of nature's elegance.
In this article, we'll walk through everything you need to know about caring for Compact Dracaena. From choosing the right spot in your home to troubleshooting common issues like pests and yellowing leaves, we've got you covered. Let's get started!
Choosing the Perfect Spot for Your Compact Dracaena
So, you've decided to bring a Compact Dracaena into your home. Excellent choice! But where should you place it? Finding the right spot is crucial for ensuring your plant thrives. These plants are pretty adaptable, but they do have their preferences.
Compact Dracaenas love bright, indirect light. Think of a sunlit room where the sun doesn’t directly hit the plant. Direct sunlight can scorch their leaves, leading to unsightly brown spots. If your space doesn't get much natural light, don't worry too much. These plants can tolerate low light conditions, although their growth might slow down a bit.
Another consideration is temperature. Compact Dracaenas prefer temperatures between 65°F and 75°F. Try to keep them away from drafty windows or heating vents, as sudden temperature changes aren't their friends. If you're comfortable in the room, chances are, your Dracaena will be too.
Lastly, these plants are moderately sensitive to humidity. While they can survive in drier conditions, a little extra humidity won't hurt. A simple way to boost humidity is to place a small tray of water near your plant or use a room humidifier. This can particularly help during the winter months when indoor air tends to be drier.
Potting and Soil Requirements
When it comes to potting your Compact Dracaena, it's all about balance. You want a pot that's not too big or too small. A pot that's too large can hold too much moisture, leading to root rot, while a pot that's too small might restrict growth. Ideally, choose a pot that allows about an inch of space all around the root ball.
Now, let's talk soil. Your Compact Dracaena needs well-draining soil. A standard potting mix works well, but you can add a bit of perlite or sand to improve drainage. Think of it like making a cake mix with just the right consistency—not too wet, not too dry. The goal is to keep the roots from sitting in water, which can lead to decay.
If you decide to repot your Dracaena, it's best done in the spring or summer when the plant is actively growing. Gently remove the plant from its current pot, loosen the root ball, and place it into the new pot with fresh soil. Water thoroughly after repotting to help the plant settle in.
And remember, if you're worried about overwatering, you can always use a pot with drainage holes to help excess water escape. This little trick can save your plant from potential waterlogged woes.
Watering Your Compact Dracaena
Watering can be a bit of a balancing act with Compact Dracaenas. They prefer their soil to dry out a bit between waterings. A good rule of thumb is to water when the top inch of soil feels dry to the touch. This usually means watering every two to three weeks, but it can vary depending on your home's humidity and temperature.
When watering, make sure to soak the soil thoroughly until water drains out of the bottom. This ensures the roots get enough moisture. However, avoid letting your plant sit in standing water. Dracaenas are prone to root rot if they're overwatered, so err on the side of underwatering if you're unsure.
It's also worth mentioning that Compact Dracaenas are sensitive to fluoride, which is often present in tap water. If you notice the tips of the leaves turning brown, it might be due to fluoride. Using distilled or rainwater can help prevent this issue. Alternatively, letting tap water sit out overnight can allow some chemicals to dissipate.
Consistency is key. Try to water your Dracaena at the same time of day and with similar amounts, creating a routine that your plant can thrive in. Over time, you'll get a feel for what your plant needs, making care both easier and more intuitive.
Feeding Your Plant
Feeding your Compact Dracaena isn't overly complicated. These plants aren't heavy feeders, so you won't need to worry about fertilizing every week. During the growing season, which is typically spring and summer, you can feed your plant once a month with a balanced, water-soluble fertilizer.
It's important not to over-fertilize, as this can lead to salt build-up in the soil and potentially harm your plant. If you're using a standard houseplant fertilizer, following the instructions on the package should work just fine. If you notice white crust forming on the soil surface, it might be a sign of over-fertilization or poor drainage.
During the fall and winter months, your Dracaena will enter a resting phase, so you can cut back on feeding completely. This period of rest is crucial for the plant, allowing it to conserve energy and store nutrients for the next growing season.
Sometimes, less is more. If your plant looks vibrant and healthy, you might not need to fertilize as often. Listen to your plant—it’s often a better guide than any schedule.
Pruning and Maintenance
Pruning your Compact Dracaena is a straightforward task that can keep your plant looking its best. Regular pruning helps manage the shape and encourage new growth. If you notice any yellow or brown leaves, you can simply trim them off with clean scissors or pruning shears.
When pruning, it's a good idea to make your cuts just above a leaf node. This encourages new growth in that area, helping your plant maintain a full and bushy appearance. Don't worry if you accidentally cut too much—Dracaenas are quite forgiving and will bounce back with time.
In addition to removing dead leaves, you might want to give your plant a little grooming every now and then. Wiping the leaves with a damp cloth can help remove dust, improving both the plant's appearance and its ability to photosynthesize efficiently.
Another maintenance tip: if your Dracaena becomes too tall or leggy, you can propagate the cuttings. Simply cut a section of the stem, let it dry for a day or two, and then place it in water or soil to root. This not only rejuvenates your plant but also gives you an opportunity to share the joy of plants with friends or family.
Dealing with Pests
Even the most diligent plant parent might encounter pests at some point. Compact Dracaenas, though generally hardy, can sometimes fall victim to common houseplant pests like spider mites, mealybugs, and aphids.
If you notice tiny webs, white cottony masses, or sticky residues on your plant, it's time to take action. Start by isolating the affected plant to prevent the pests from spreading. Then, give your Dracaena a thorough shower, washing away as many pests as possible.
For more stubborn infestations, you can use insecticidal soap or neem oil. These are effective yet gentle solutions that won't harm your plant when used as directed. Be sure to apply them to both the tops and undersides of the leaves, as pests like to hide in nooks and crannies.
Regular checks can help catch pest problems early. Make it a habit to inspect your plant every week or so, especially the new growth and undersides of leaves. Catching an infestation early makes it much easier to manage.
Common Issues and How to Fix Them
Even with the best care, you might run into some issues with your Compact Dracaena. Luckily, most problems have straightforward solutions.
One common issue is yellowing leaves. This can result from overwatering, underwatering, or even low humidity. Check the soil moisture and adjust your watering routine if necessary. Increasing humidity levels or moving the plant to a more suitable environment can also help.
Brown tips are another concern, often caused by fluoride in tap water or low humidity. Switching to distilled water and increasing humidity can mitigate this. If your Dracaena is shedding leaves, it might be a natural process as the plant grows. However, drastic leaf loss can indicate stress, often from a change in environment or improper care.
Don't be discouraged by these setbacks. Plants, much like us, need some time to adapt to their surroundings. With patience and a little trial and error, you'll find the right balance for your Dracaena.
Design Ideas for Incorporating Dracaena Into Your Home
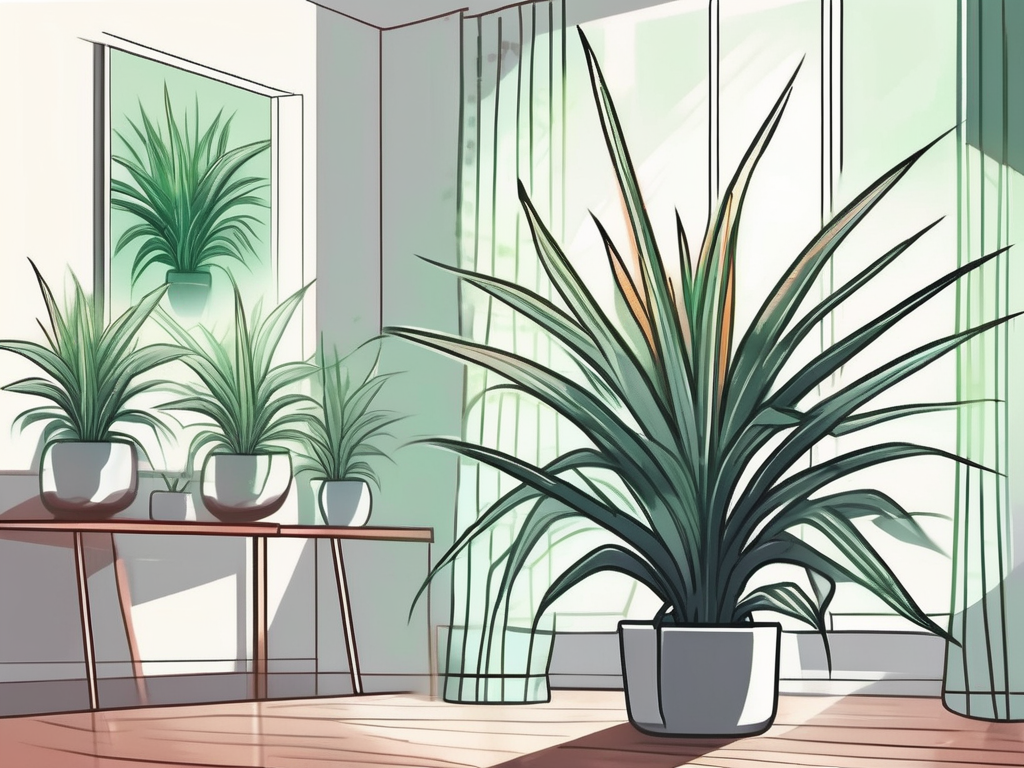
Compact Dracaenas are not just easy to care for, they also bring a stylish touch to any room. Their sleek, vertical growth makes them perfect for corners or as a focal point in your living space.
Place your Dracaena on a plant stand to add height and dimension to your decor. It can also anchor a grouping of smaller plants, creating an eye-catching ensemble. Pair it with pots in neutral tones or bold colors, depending on your design preferences.
If you're looking to create a tranquil nook, consider placing your Dracaena near a comfy chair with a small table and a cozy throw. This setup invites relaxation, offering a perfect spot to unwind with a book or a cup of tea.
In smaller spaces, like apartments or offices, the Compact Dracaena's ability to thrive in low light makes it an ideal choice. Its adaptability and striking appearance ensure it fits seamlessly into any room, adding a touch of nature without overwhelming the space.
Final Thoughts
Caring for a Compact Dracaena can be a rewarding experience, bringing a bit of the outdoors inside while offering a stylish addition to your home decor. With the right light, water, and a little loving attention, your Dracaena will thrive, adding beauty and tranquility to your space.
At Cafe Planta, we're passionate about helping you succeed in your plant journey. Whether you're a seasoned plant lover or just starting, we offer a wide range of houseplants and care accessories to suit your needs. If you have questions or need advice, feel free to email us or send a message on Instagram. Let's grow together!