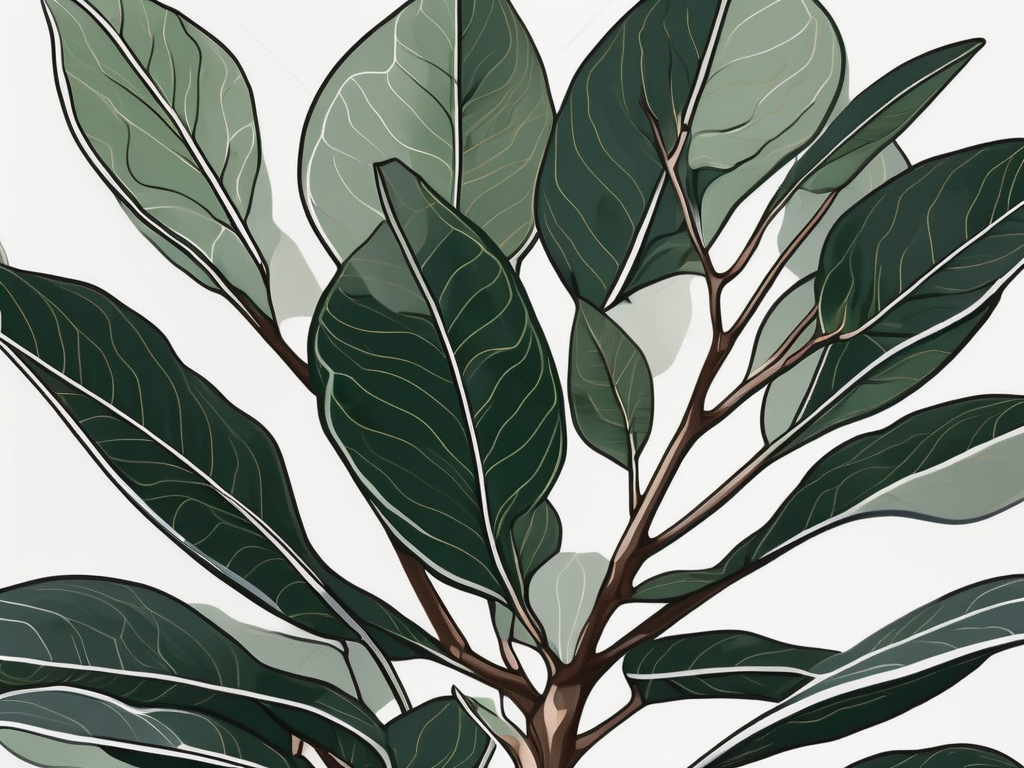
Rubber trees, also known as Ficus elastica, are beloved by plant lovers for their striking leaves and easygoing nature. If you've ever admired one of these beauties, you might have wondered how they start life from a tiny seed. Growing rubber trees from seeds can be an exciting journey, filled with unique challenges and rewards that deepen your connection with nature.
This article will take you through everything you need to know about rubber tree seeds, from sourcing and germinating them to nurturing young plants and integrating them into your home design. Grab a comfy chair and a cup of tea, and let's chat about how you can grow your very own rubber tree from seed!
Understanding Rubber Tree Seeds
Rubber tree seeds are the starting point in the life cycle of these magnificent plants. However, they are not as commonly seen as seeds from other houseplants, largely because rubber trees are more often propagated through cuttings. So, what's the deal with seeds? Let's take a closer look.
First off, rubber tree seeds are not something you'll typically find in your local plant shop. They are more likely sourced from specialized suppliers or online stores that focus on exotic plant seeds. The seeds themselves are small, oval-shaped, and bear a resemblance to other Ficus seeds.
Interestingly, not all rubber tree seeds will germinate. This is because they require specific conditions to sprout, which can be a bit tricky to replicate outside their native habitats. Think of it like baking the perfect soufflé: you need the right temperature, humidity, and a lot of patience. But don't worry, we'll guide you through it.
Sourcing Rubber Tree Seeds
Finding rubber tree seeds can be a bit like a treasure hunt. As mentioned earlier, they aren't typically found at your neighborhood garden center. However, there are a few places you can look:
- Online retailers: Websites that specialize in rare or exotic seeds often carry rubber tree seeds. It's essential to read reviews and ensure the seller has a good reputation for quality and germination success rates.
- Botanical gardens: Some botanical gardens have seed banks or gift shops where you might stumble upon rubber tree seeds. It's worth reaching out to see if they can point you in the right direction.
- Seed swaps or plant groups: Connecting with other plant people can be a fantastic way to find seeds. Online communities or local plant clubs often organize seed swaps, where you might find a fellow enthusiast willing to share rubber tree seeds.
When sourcing seeds, check their freshness and viability. Seeds that have been stored correctly and are relatively fresh will have a higher chance of germinating. Always ask sellers about their seed storage practices before purchasing.
Preparing Seeds for Germination
Once you've got your hands on some rubber tree seeds, the next step is preparing them for germination. This process can be quite exciting as it marks the beginning of your journey to growing a rubber tree from scratch.
First, you’ll want to give the seeds a good soak. Place them in a bowl of lukewarm water for about 24 hours. This helps to soften the tough outer shell, making it easier for the seedling to break through. You might notice some seeds sink while others float. Typically, the ones that sink are more viable.
After soaking, it's time to plant them. Here’s a straightforward method:
- Prepare your soil: Use a well-draining potting mix, ideally one that's rich in organic matter. A mix of peat moss, perlite, and vermiculite works well.
- Plant the seeds: Sow the seeds about half an inch deep in the soil. Cover them lightly and water gently.
- Maintain moisture: Keep the soil consistently moist but not soggy. You can cover the pot with a plastic wrap or use a humidity dome to help retain moisture.
Place the pot in a warm spot with indirect sunlight. Rubber tree seeds need warmth to germinate, so consider using a heat mat if your home is on the cooler side.
Caring for Germinating Seeds
The waiting game begins once your seeds are planted. Germination can take anywhere from a few weeks to a few months, so patience is key. During this period, you'll need to maintain optimal conditions for the seeds to sprout.
Here are a few tips to ensure success:
- Consistent warmth: Keep the temperature around 70-85°F. Rubber tree seeds are sensitive to cold, which can hinder germination.
- Light control: While seeds don't need direct sunlight to germinate, they do benefit from bright, indirect light. Consider placing them near a window with filtered light or using grow lights.
- Soil moisture: Regularly check the soil to ensure it stays moist. A dry soil can cause the seeds to fail, while overly wet soil can lead to rot.
Check for any signs of mold or fungus, as these can be common issues when maintaining high humidity. If you notice mold, allow the soil to dry out slightly and improve air circulation around the pot.
Transplanting Seedlings
Once your seeds have germinated and you've got tiny seedlings, it's time to think about transplanting. This stage marks a significant milestone in your rubber tree's life and requires careful handling.
Here's how you can successfully transplant your seedlings:
- Choose the right pot: Start with small pots that have good drainage. A 4-inch pot is usually a good size for young seedlings.
- Use appropriate soil: A well-draining potting mix with added organic matter will support root growth. Consider adding some sand or perlite for extra aeration.
- Handle with care: Seedlings are delicate. Gently lift them by the leaves rather than the stem to avoid damage.
Plant the seedlings at the same depth they were growing in the germination tray. Water them lightly to settle the soil around the roots. It's crucial to give them a stable environment as they adapt to their new homes.
Watering and Fertilizing Young Rubber Trees
Young rubber trees have specific needs when it comes to watering and fertilizing. Getting these elements right can help your plant grow into a robust and healthy tree.
For watering, aim to keep the soil consistently moist but not waterlogged. Allow the top inch of soil to dry out between waterings. Overwatering is a common mistake, and it can cause root rot, which is a rubber tree's worst enemy.
When it comes to feeding your rubber tree, start with a diluted, balanced liquid fertilizer every 4-6 weeks. As the tree matures, you can increase the frequency and strength of the fertilizer. Avoid fertilizing in the colder months when the plant's growth naturally slows down.
Dealing with Pests and Diseases
Like any other plant, rubber trees can face challenges from pests and diseases. While they're generally hardy, it's essential to keep an eye out for common issues like spider mites, scale, and mealybugs.
Here's how you can manage these pests:
- Regular inspections: Check the leaves and stems for any signs of pests. Sticky residue or discolored spots often indicate an infestation.
- Natural remedies: Insecticidal soap or neem oil can be effective against many pests. Apply as directed and repeat treatments as necessary.
- Maintain cleanliness: Keep the area around your rubber tree clean and free of fallen leaves or debris that could harbor pests.
For diseases, good air circulation and avoiding overwatering are crucial preventive measures. Most fungal issues stem from excess moisture, so be mindful of your watering routine.
Designing with Rubber Trees
Rubber trees aren't just about function—they offer fabulous form too, making them a fantastic addition to your home decor. With their glossy leaves and striking stature, they can be a centerpiece or a complementary accent in any room.
Consider these design ideas:
- Statement piece: A mature rubber tree can be a stunning focal point in a living room or entryway. Pair it with a stylish pot that complements your decor.
- Corner filler: If you have an empty corner that needs some life, a rubber tree is a great option. Its vertical growth can add height and drama to the space.
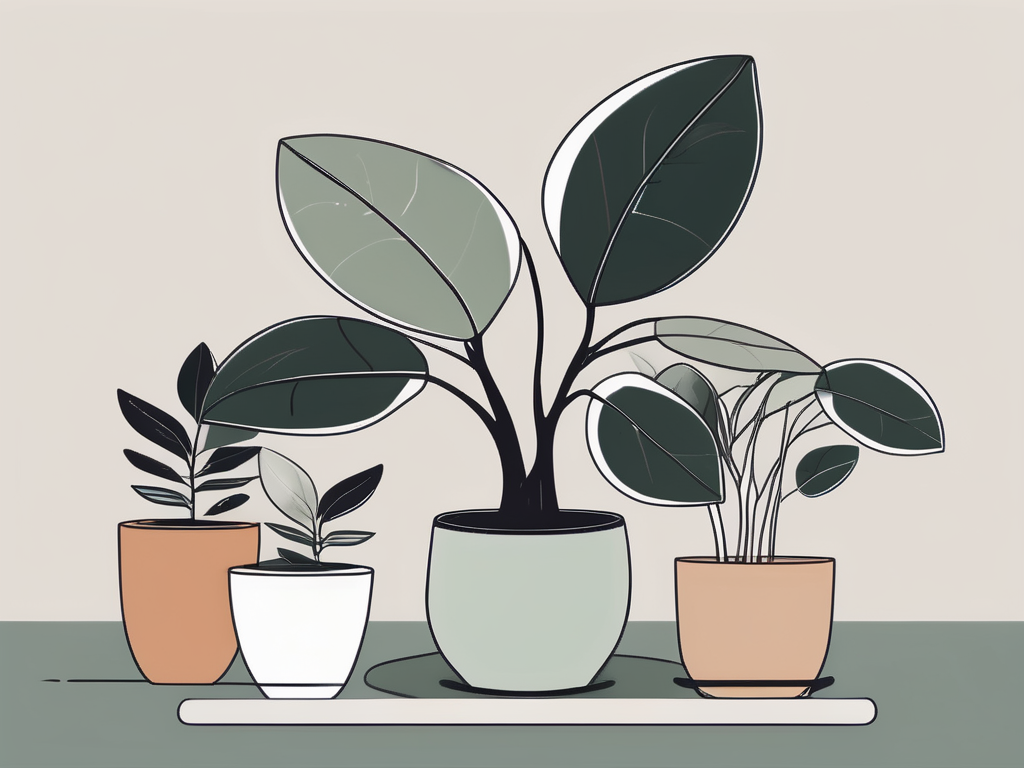
- Group with other plants: Rubber trees look fantastic when grouped with other houseplants. Mix them with plants of varying heights and textures for a lush, layered effect.
Remember to consider the light and humidity needs of your rubber tree when choosing its spot in your home. It's all about balancing aesthetics with the plant's well-being.
Common Mistakes and How to Avoid Them
Even seasoned plant parents can slip up now and then, but knowing common mistakes can help you steer clear of them. Here are a few pitfalls to watch out for:
- Overwatering: This is probably the most common mistake. Remember, it's better to keep the soil slightly dry than too wet.
- Ignoring light needs: Rubber trees love bright, indirect light. Too little light can cause them to become leggy, while too much can scorch their leaves.
- Neglecting humidity: Rubber trees thrive in moderate humidity. If your home is particularly dry, consider using a humidifier or placing a tray of water near the plant.
By being aware of these mistakes, you can create the ideal environment for your rubber tree to flourish.
Final Thoughts
From tiny seeds to towering trees, rubber trees have a fascinating lifecycle that can bring joy and greenery into your home. By understanding their needs and providing the right conditions, you can successfully grow your own rubber tree from seed.
At Cafe Planta, we're here to help you on your plant journey. Whether you're looking for unique plants, need advice on plant care, or just want to chat about your latest plant project, don't hesitate to email us or reach out on Instagram. We believe in the power of plants to connect and inspire, and we're excited to be a part of your plant adventure!

