If you're looking to add a splash of color and a touch of the exotic to your indoor plant collection, the Rhoeo Oyster might just be your new best friend. This striking plant, with its vibrant foliage and low-maintenance care, is a dream come true for both experienced plant lovers and those just starting their plant journey.
In this article, we'll explore everything you need to know about caring for the Rhoeo Oyster, from selecting the right pot and soil to managing pests and incorporating this beauty into your interior design. So, grab your gardening gloves and let's get started!
Getting to Know the Rhoeo Oyster
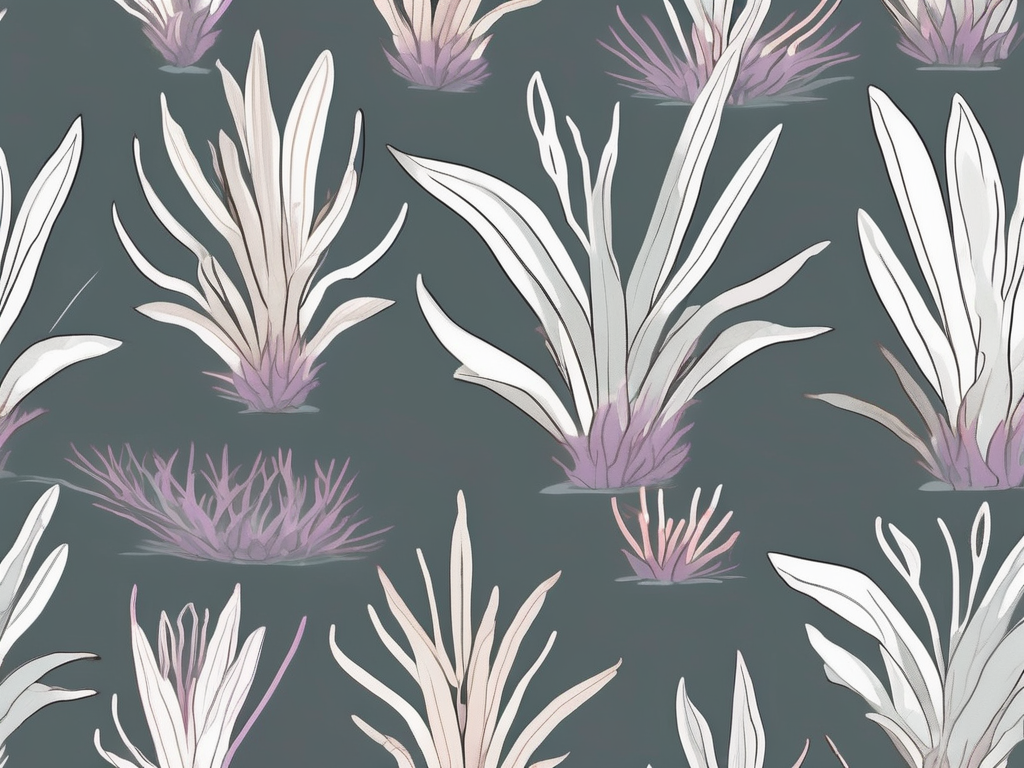
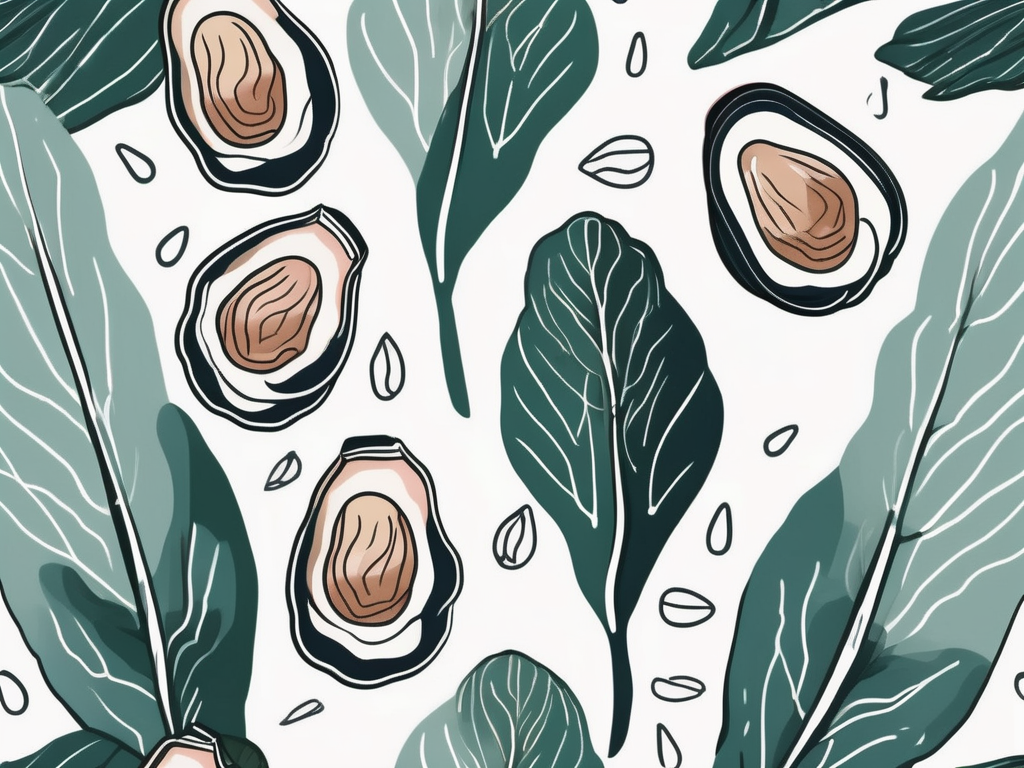
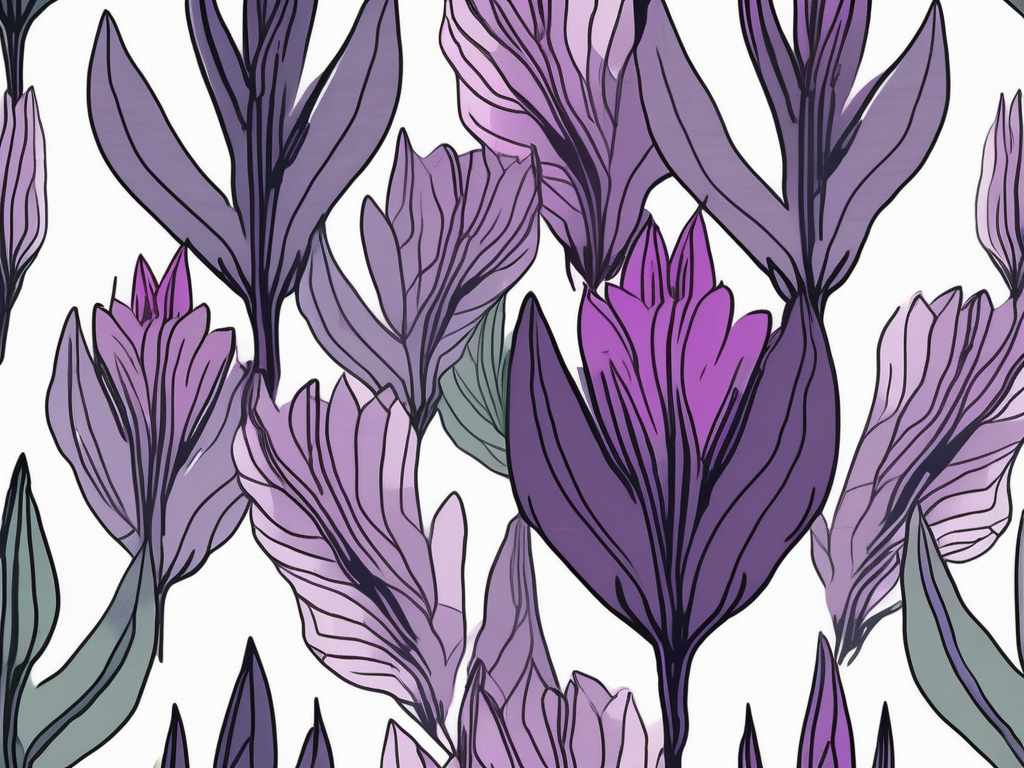
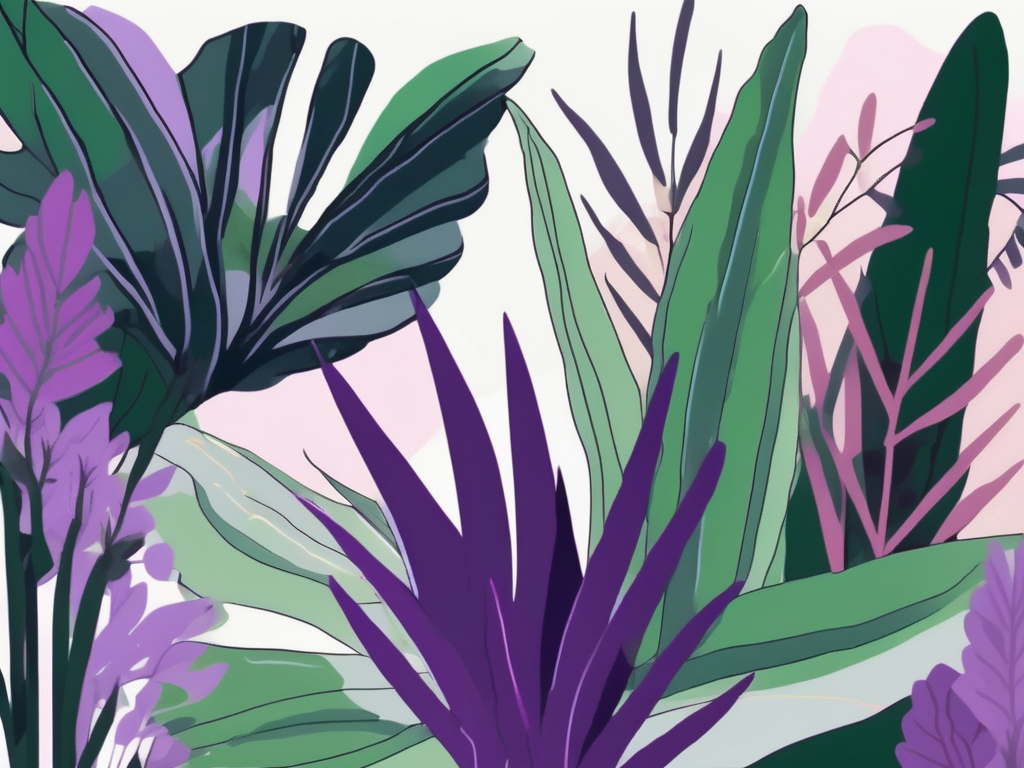
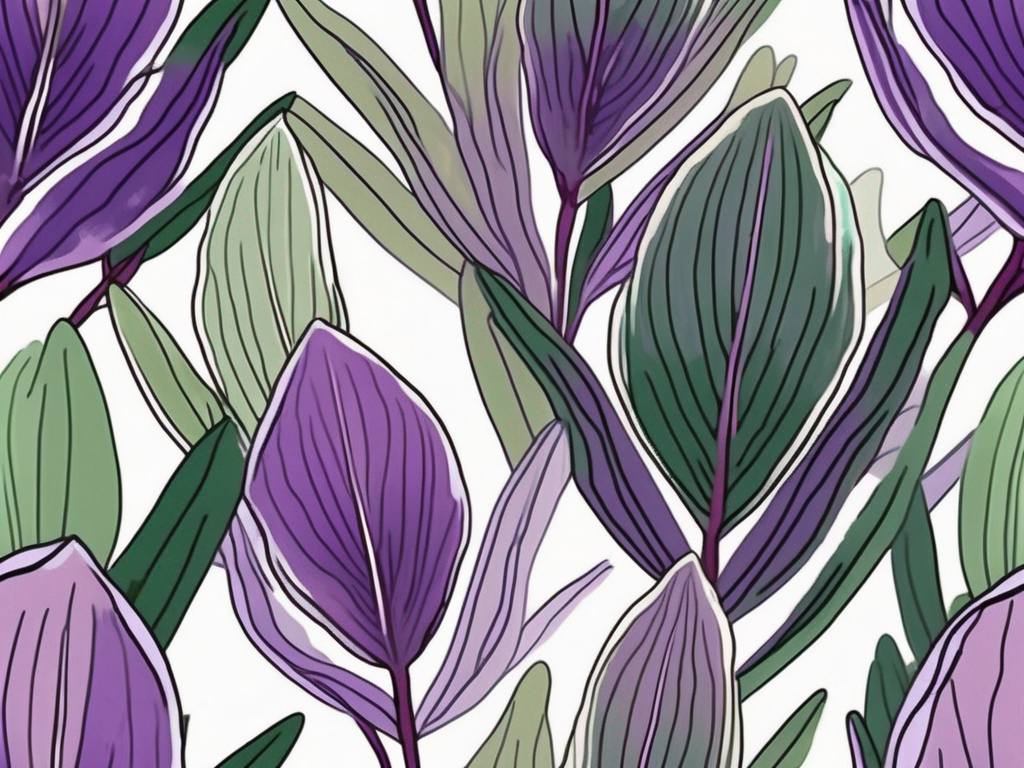
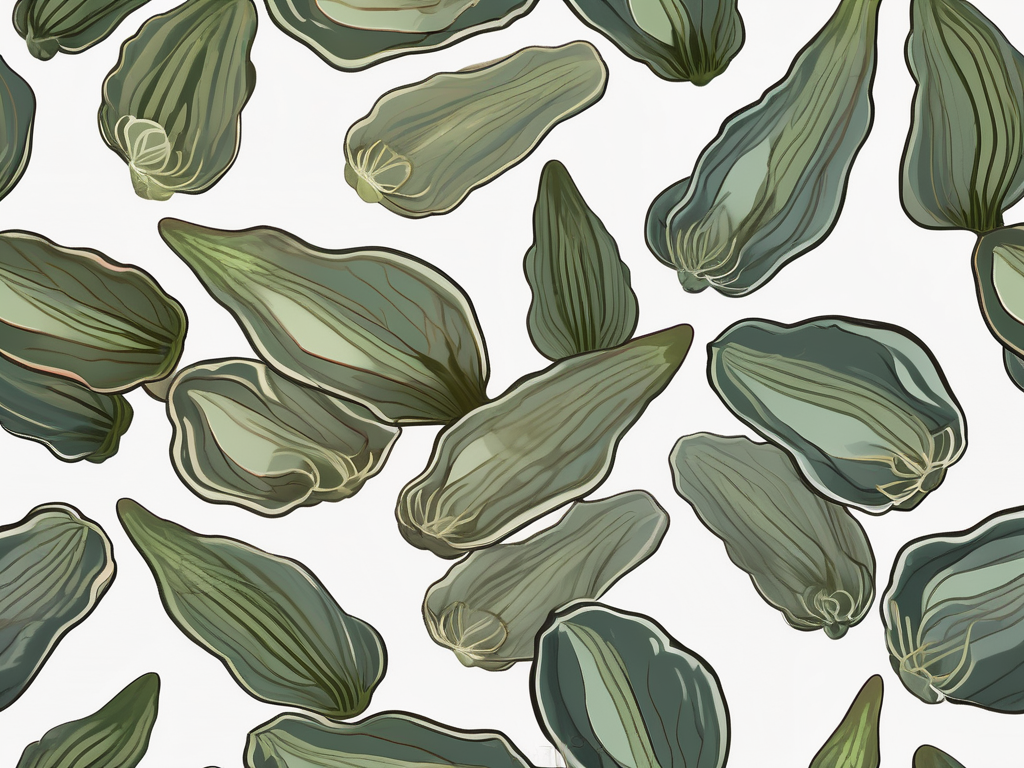
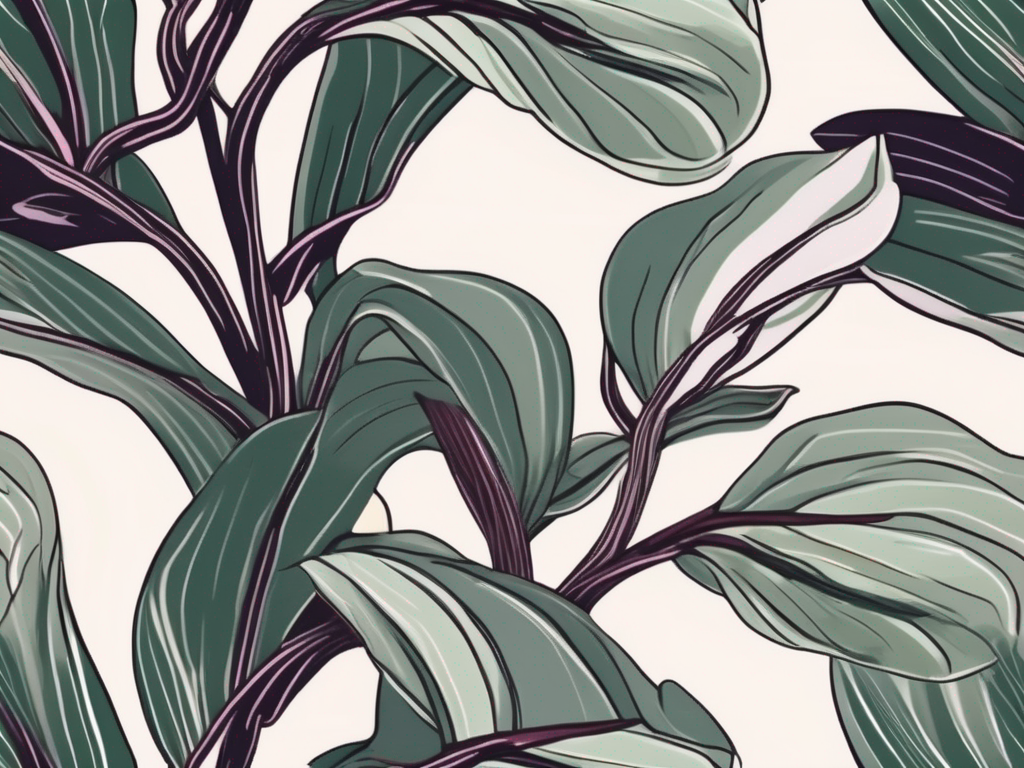
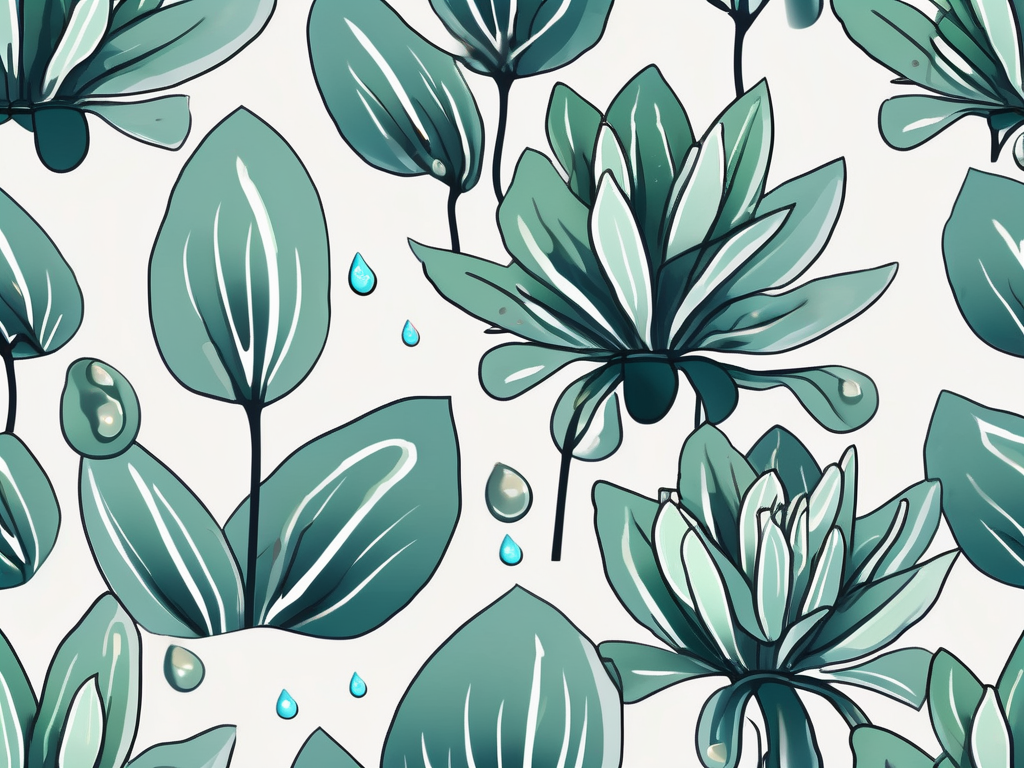
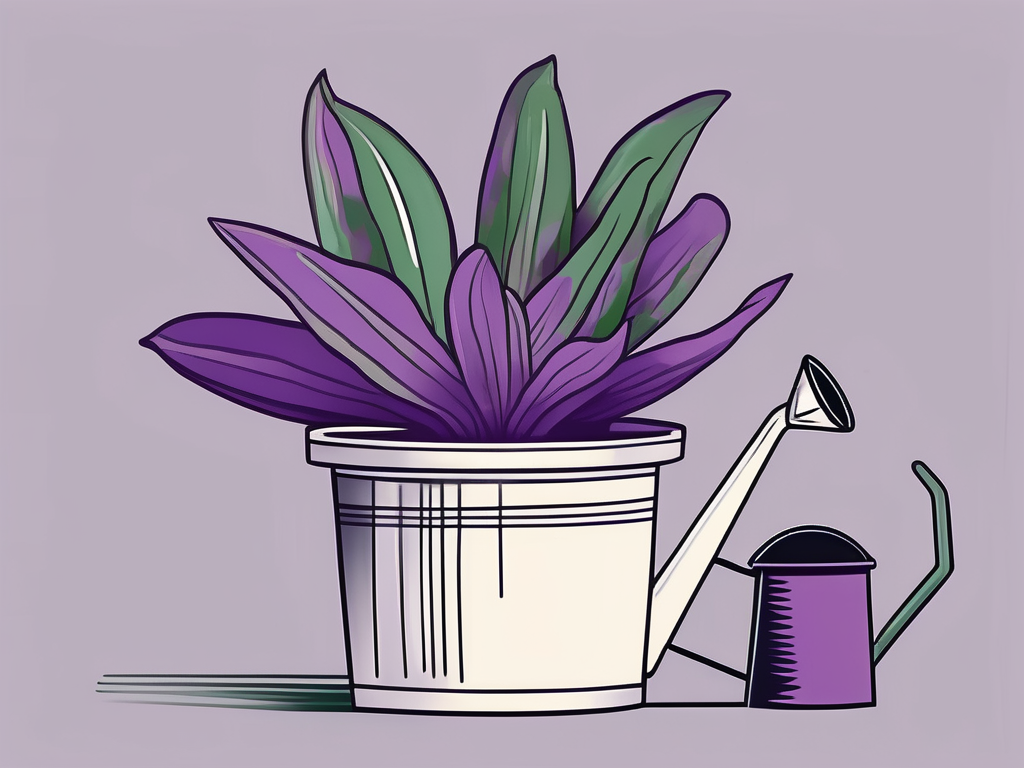
The Rhoeo Oyster, often referred to as the Moses-in-the-Cradle due to its boat-shaped bracts, is a member of the Tradescantia family. It's native to Central America and the Caribbean, which gives it its tropical flair. Known for its stunning leaves, this plant showcases an eye-catching combination of green, purple, and sometimes pink hues.
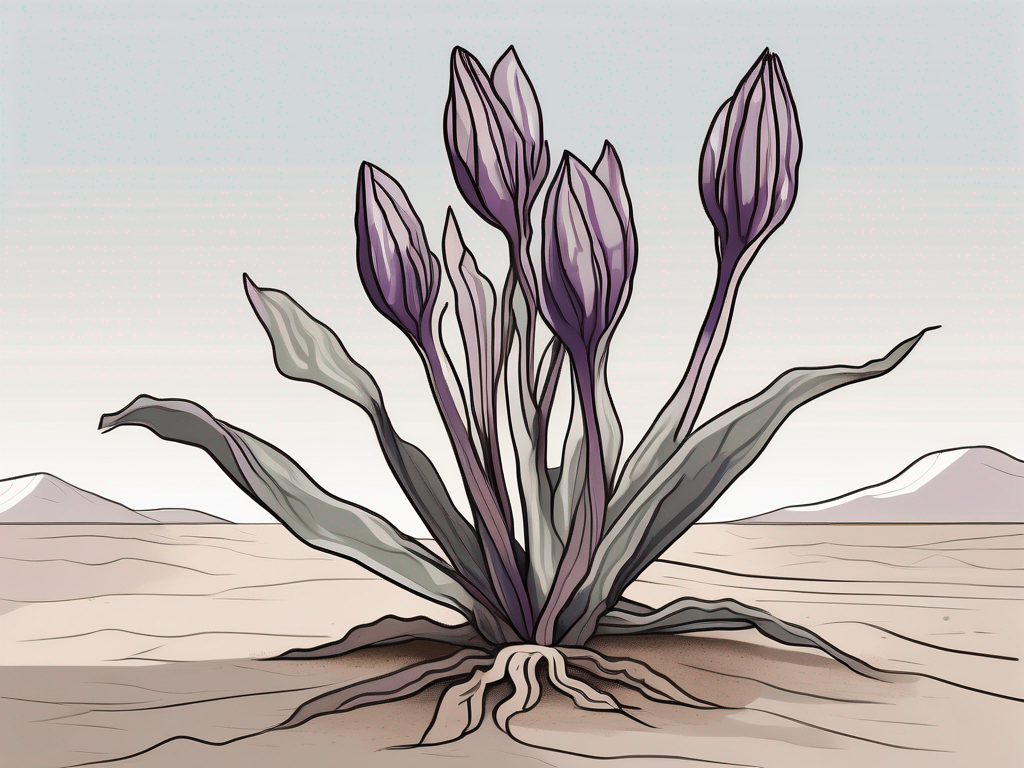
Its unique leaves are not just for show; they play a critical role in the plant's survival. The thick, fleshy leaves help the Rhoeo Oyster retain moisture, making it quite drought-tolerant. This feature makes it perfect for indoor environments where humidity might be on the lower side. Plus, it's a relatively compact plant, so it won't take over your living space.
Before we dig into the specifics of how to care for this beauty, it's worth noting that the Rhoeo Oyster is not just pretty—it's also quite tough. It's a forgiving plant that can bounce back from minor neglect, making it ideal for busy plant parents or those just starting out.
Choosing the Right Pot and Soil
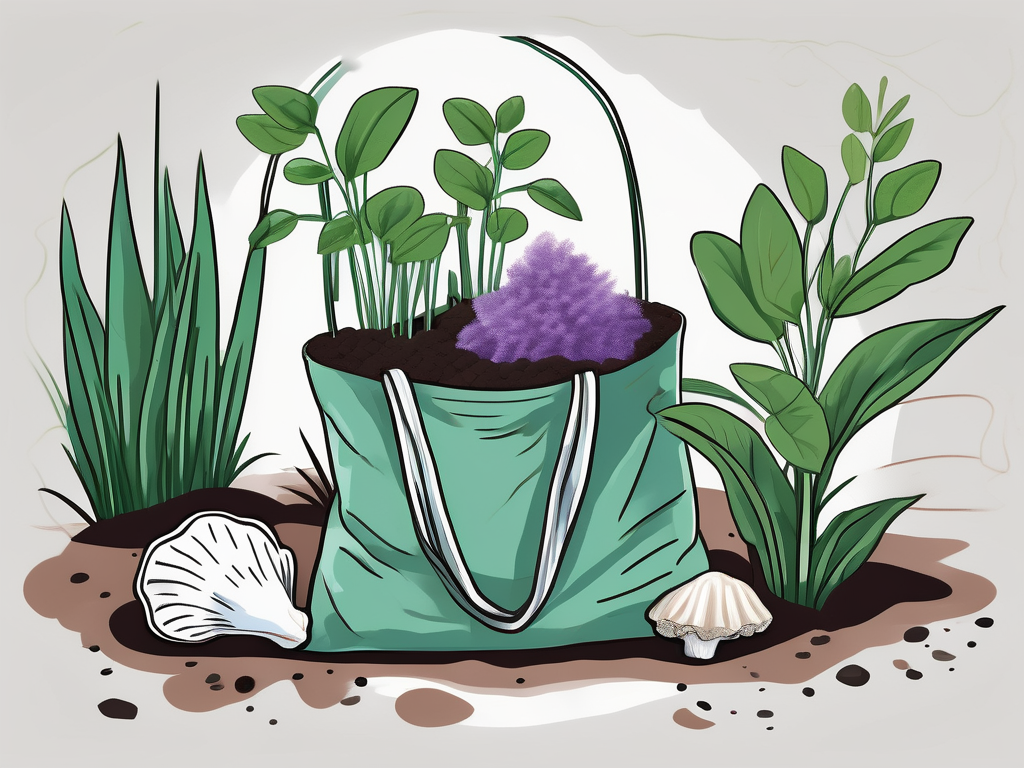
When it comes to potting your Rhoeo Oyster, drainage is the name of the game. This plant thrives in well-draining soil that allows excess water to escape, preventing root rot. A good potting mix for your Rhoeo Oyster would be a cactus or succulent mix, which you can easily find at most garden centers.
If you're the DIY type, you can create your own mix by combining standard potting soil with perlite or coarse sand. This mix will ensure your plant's roots have enough air circulation to stay healthy. Remember, the goal is to keep the roots from sitting in water.
As for the pot, choose one with drainage holes. This might sound like a no-brainer, but it's easy to fall in love with a beautiful pot that doesn't have them. If you must use a pot without holes, consider using it as a decorative cover for a smaller pot that does have drainage.
When repotting, ensure the new pot is just a bit larger than the old one. The Rhoeo Oyster doesn't need a lot of extra space, so avoid the temptation to give it a pot that's too big. This can lead to overwatering and root issues. A pot that's one or two inches larger in diameter than the current one is plenty.
Light Requirements
The Rhoeo Oyster loves bright, indirect light. Think of it like a sunbather who enjoys the warmth but doesn't want to get burnt. Placing your plant near a window with filtered sunlight is perfect. If your home lacks natural light, don't worry—this plant is quite adaptable and can tolerate lower light conditions, though you might notice its colors becoming less vibrant.
Avoid placing your Rhoeo Oyster in direct sunlight for extended periods. The intense rays can scorch the leaves, leaving unsightly burn marks. If you notice your plant isn't thriving, try adjusting its location to see if that helps. Sometimes, a simple move can make a big difference.
If you're using artificial light, such as grow lights, position your Rhoeo Oyster about a foot away from the source. This will mimic the indirect light it craves. Remember to rotate your plant occasionally so all sides receive equal light, promoting even growth.
Watering Your Rhoeo Oyster
Watering is where many plant parents, myself included, have slipped up from time to time. The Rhoeo Oyster prefers to dry out a bit between waterings, so it's essential not to overdo it. A good rule of thumb is to allow the top inch or so of soil to dry before giving it another drink.
During the growing season, typically spring and summer, your Rhoeo Oyster will need more frequent watering. In the cooler months, you can dial it back since the plant's growth slows down. If you're unsure, it's better to err on the side of underwatering rather than overwatering.
When you do water, make sure it seeps through the drainage holes, ensuring the roots get a thorough soak. Empty any excess water from the saucer to prevent the roots from sitting in it. If you're a data enthusiast, consider using a moisture meter to take the guesswork out of watering.
Feeding and Fertilizing
Feeding your Rhoeo Oyster is pretty straightforward. During the growing season, use a balanced, water-soluble fertilizer every four to six weeks. This will provide the nutrients it needs to thrive and maintain its vibrant colors.
When applying fertilizer, always follow the instructions on the package. It's easy to overdo it, and too much fertilizer can harm your plant. If you're nervous about over-fertilizing, you might consider diluting the solution to half-strength. This way, your plant gets a gentle nutrient boost without the risk of fertilizer burn.
In the fall and winter months, you can pause fertilizing. The plant's growth will naturally slow down, and it won't need as many nutrients. This rest period is crucial for your Rhoeo Oyster to gather energy for the next growing season.
Temperature and Humidity
The Rhoeo Oyster is a tropical plant, but it's not overly fussy about temperatures. It does best in a typical indoor environment, between 60-80°F (15-27°C). Try to keep it away from cold drafts or sudden temperature changes, as these can stress the plant.
While the Rhoeo Oyster can tolerate lower humidity levels, it will appreciate a little extra moisture in the air. If your home is particularly dry, especially during winter, consider using a humidifier or placing a water-filled tray near your plant. You can also group it with other plants to create a mini humidity oasis.
Another trick is to occasionally mist the leaves, though this isn't a necessity. If you do mist, use distilled water to avoid mineral spots on the leaves. This simple act can mimic the plant's natural environment, giving it a little extra TLC.
Pest and Disease Management
Even the most robust plant can fall victim to pests. The Rhoeo Oyster, while generally hardy, can occasionally attract unwanted visitors like spider mites and aphids. Regularly inspect your plant for any signs of infestation, such as webbing, sticky residue, or discolored spots on the leaves.
If you notice pests, don't panic. A gentle washing with soapy water can often do the trick. Simply mix a few drops of mild dish soap with water, spray it on the affected areas, and gently wipe the leaves. For more stubborn infestations, insecticidal soap or neem oil can be effective solutions.
As for diseases, root rot is the primary concern. This usually happens when the plant is overwatered or sitting in waterlogged soil. To prevent this, ensure you're following the watering advice we've covered and that your pot has adequate drainage.
Incorporating Rhoeo Oyster into Your Home Design
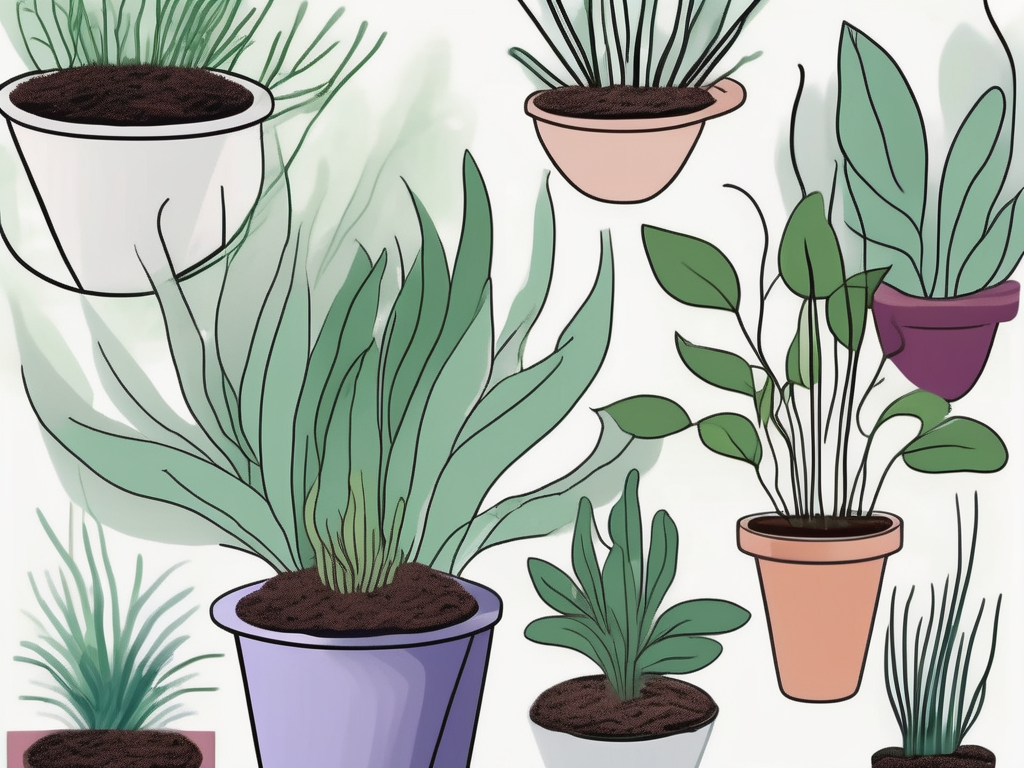
The Rhoeo Oyster isn't just a plant—it's a statement piece. Its vibrant colors can brighten up any room, making it a fantastic addition to your home decor. Here are a few ideas for incorporating it into your space:
- Accent Piece: Use it as a focal point on a shelf or coffee table. Its bold colors will draw the eye and add a pop of color to the room.
- Group Arrangement: Pair it with other plants for a lush, tropical vibe. Mixing different textures and heights can create an engaging display.
- Hanging Basket: If you have limited floor space, consider a hanging planter. The Rhoeo Oyster's cascading leaves look stunning when allowed to drape down.
Remember to consider the light requirements when selecting a spot for your plant. A well-placed Rhoeo Oyster can enhance the ambiance and bring a touch of nature indoors.
Propagation Tips
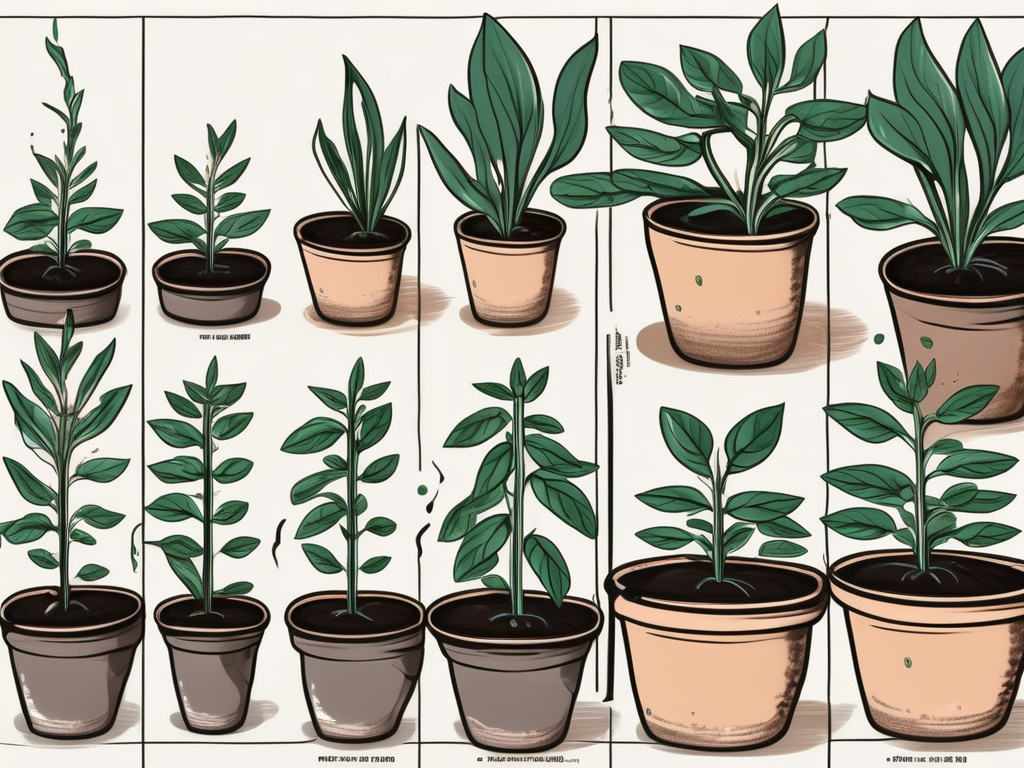
If you've fallen in love with your Rhoeo Oyster and want more of them (or perhaps you'd like to share the love with friends), propagation is a rewarding way to do it. The easiest method is dividing the plant, which can be done when it's time to repot.
Here's a simple step-by-step guide to propagating your Rhoeo Oyster:
- Remove the Plant: Gently take the plant out of its pot. You might need to loosen the soil around the edges first.
- Divide the Roots: Look for natural divisions in the root system. Gently separate these sections, ensuring each has a good amount of roots and leaves.
- Replant: Place each division into its own pot with fresh potting mix. Water them lightly to help them settle in.
Propagation not only helps you grow your collection but also keeps your plant healthy by preventing overcrowding. It's a win-win!
Common Issues and Troubleshooting
Even with the best care, you might encounter a few hiccups with your Rhoeo Oyster. Here are some common issues and how to address them:
- Yellowing Leaves: This could be a sign of overwatering. Check the soil moisture and adjust your watering schedule if needed.
- Browning Leaf Tips: Often caused by dry air or under-watering. Try increasing humidity or adjusting your watering routine.
- Faded Colors: If your plant's colors aren't as vibrant, it might need more light. Consider moving it to a brighter spot.
Addressing these issues promptly can keep your plant looking its best and prevent more severe problems down the line.
Final Thoughts
Caring for a Rhoeo Oyster can be a delightful experience, bringing a splash of color and life into your home. With the right light, watering routine, and occasional TLC, this plant is sure to thrive and become a cherished part of your indoor garden.
At Cafe Planta, we're all about helping you nurture your plant collection. Whether you're looking for new houseplants, care accessories, or plant-themed apparel, we've got you covered. And if you have any questions about plant care, we'd love to hear from you. Feel free to email us or send a DM on Instagram. Let's grow together and bring a little more greenery into our lives!