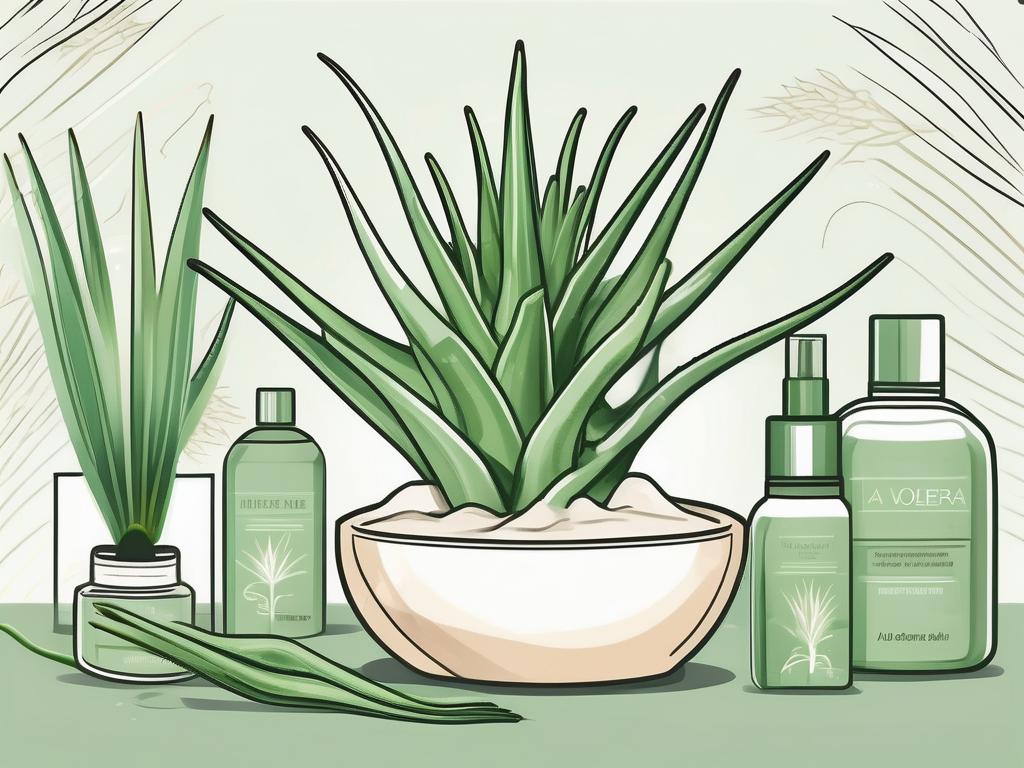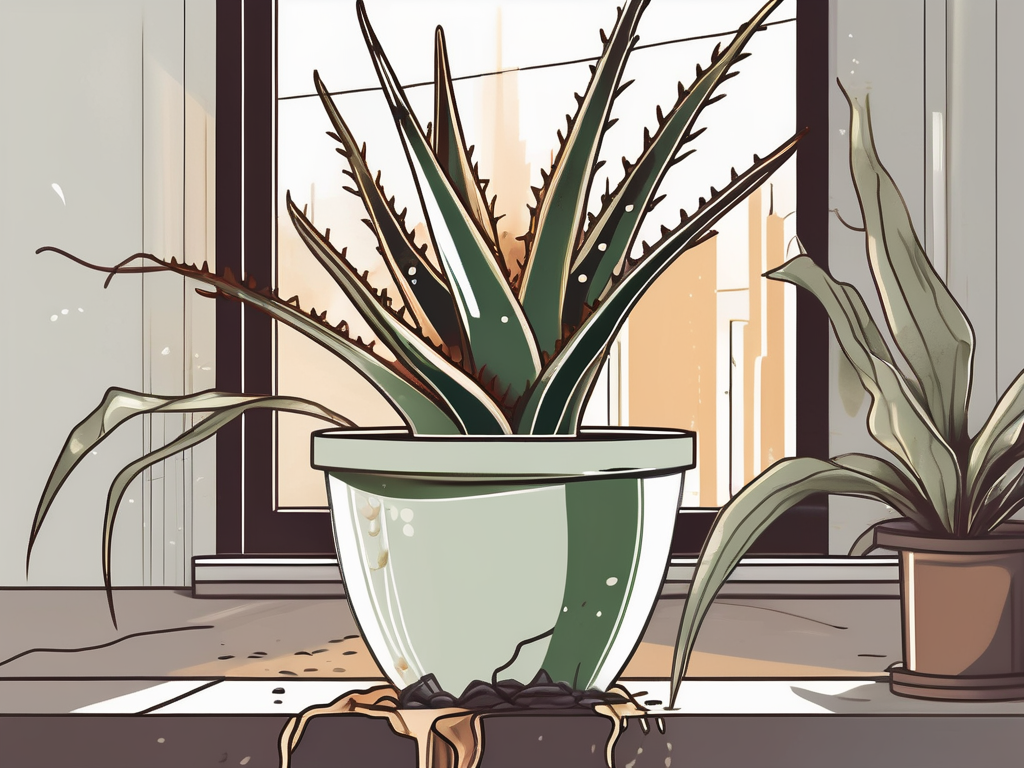
Have you ever wandered over to your Aloe Vera plant, only to find that it looks more like a sad lump than the vigorous green friend it once was? It’s a common scene for many plant parents. Fear not—you're definitely not alone, and there are plenty of reasons why your Aloe Vera might be feeling under the weather.
This article will help you get to the root of the problem. We'll cover everything from watering mishaps and lighting issues to pest invasions and more. By the time you’re done reading, you’ll have a toolkit of tips and tricks to nurse your Aloe back to health.
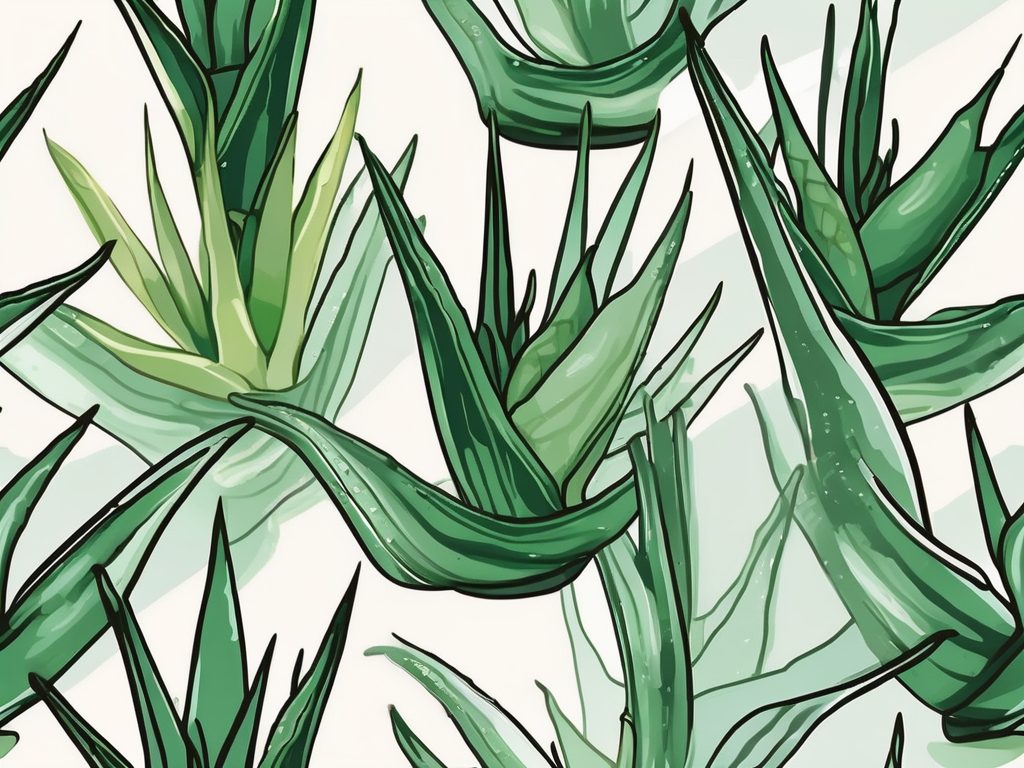
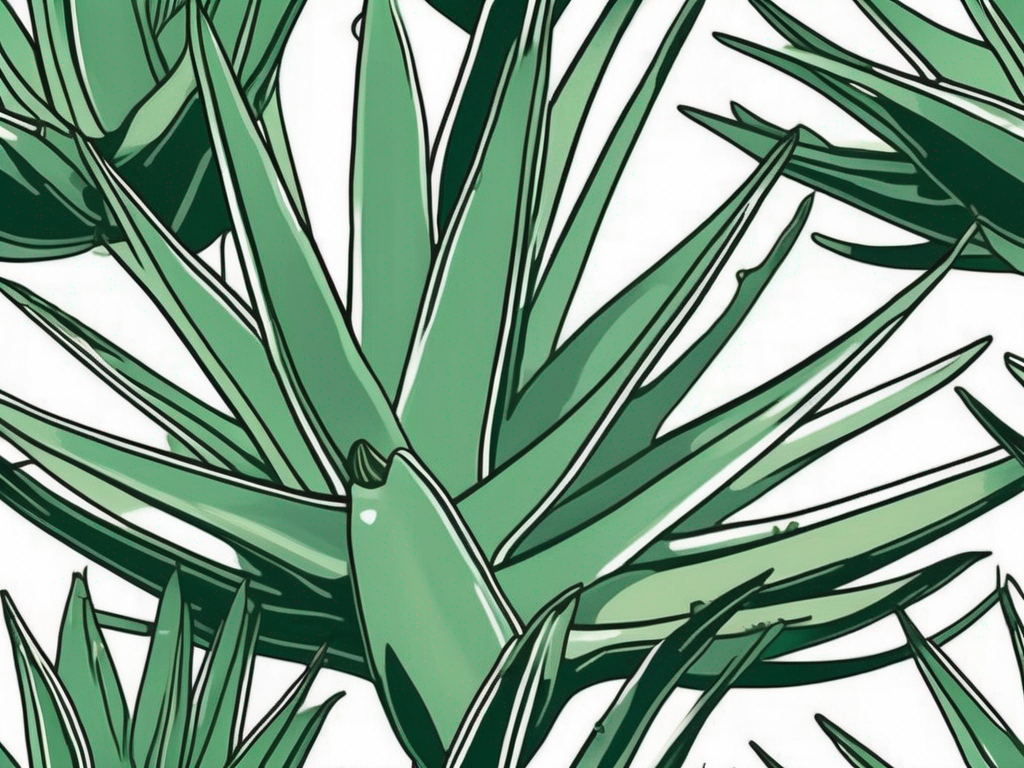
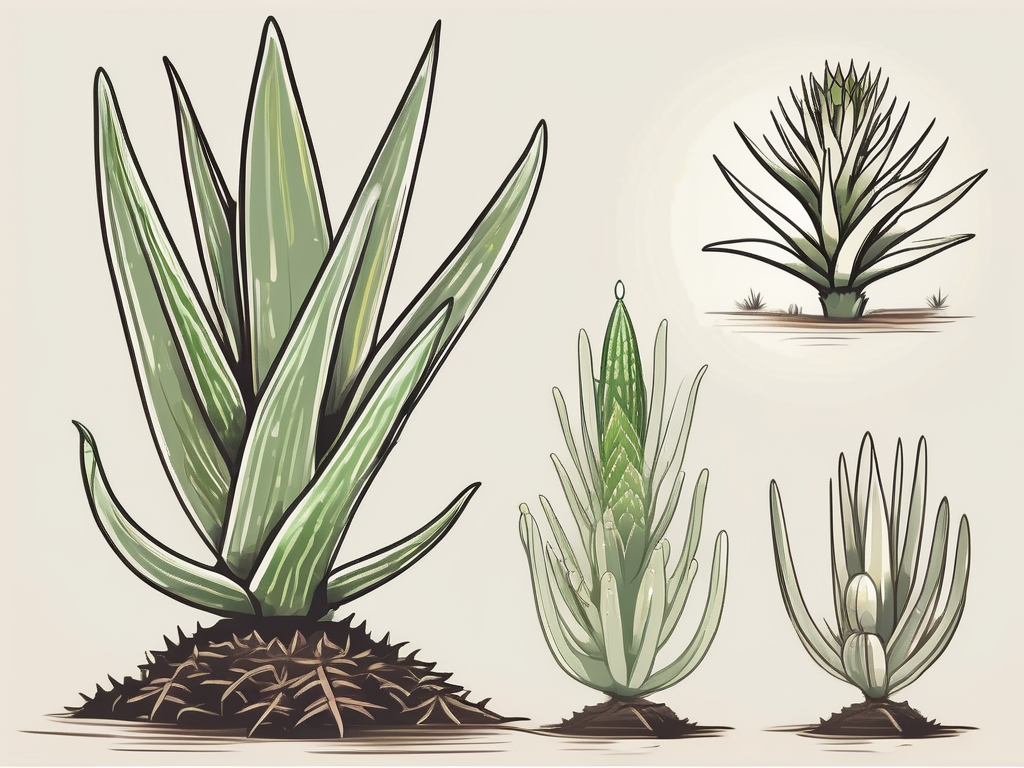
Understanding Aloe Vera's Natural Habitat
Before we jump into troubleshooting, it’s helpful to know where Aloe Vera comes from. Originating from arid regions, Aloe Vera plants are succulents. This means they’re built to withstand dry conditions, storing water in their thick leaves. Imagine trying to keep a camel happy in a swamp—that’s your Aloe Vera in the wrong environment!
Understanding this background helps explain why Aloe Vera plants don’t do well with too much water. They're used to sandy, well-draining soil and lots of sunshine. So, if your Aloe isn’t thriving, it might be trying to tell you that it’s not in the right "desert" environment.
When you bring an Aloe Vera into your home, you're essentially inviting a little piece of the desert indoors. So, it’s crucial to mimic those conditions as closely as possible. Let’s break down what that really means for your plant care routine.
Watering Woes: Too Much or Too Little
If there’s one thing that can quickly turn a healthy Aloe Vera into a droopy mess, it’s improper watering. The balance is delicate—like Goldilocks figuring out which porridge is just right. Overwatering is the most common error, causing root rot, while underwatering can lead to shriveled leaves.
To check if you’re over or under watering, start by feeling the soil. If the top couple of inches are still damp, hold off on watering. Aloe Vera prefers to dry out between waterings. If it’s been a while and the soil feels bone dry, it’s time to give your plant a drink.
A good rule of thumb is to water your Aloe every two to three weeks, but this can vary depending on your home’s humidity and light conditions. In winter, when Aloe Vera goes into a dormant phase, you might find you need to water even less.
Lighting: Finding the Right Spot
After water, light is the next big factor in Aloe Vera health. Inadequate lighting can make your plant look sad and stretched, a phenomenon known as etiolation. On the flip side, too much direct sunlight can scorch the leaves.
Aloe Vera loves bright, indirect sunlight. Placing it near a south or west-facing window is usually ideal. If you notice the leaves turning brown or red, they might be getting sunburned. Conversely, if they’re drooping and pale, they’re likely not getting enough light.
Consider moving your plant around to find the perfect spot. You can also rotate the pot every few weeks to ensure all sides get equal light exposure. If natural light is scarce, a grow light can be a lifesaver.
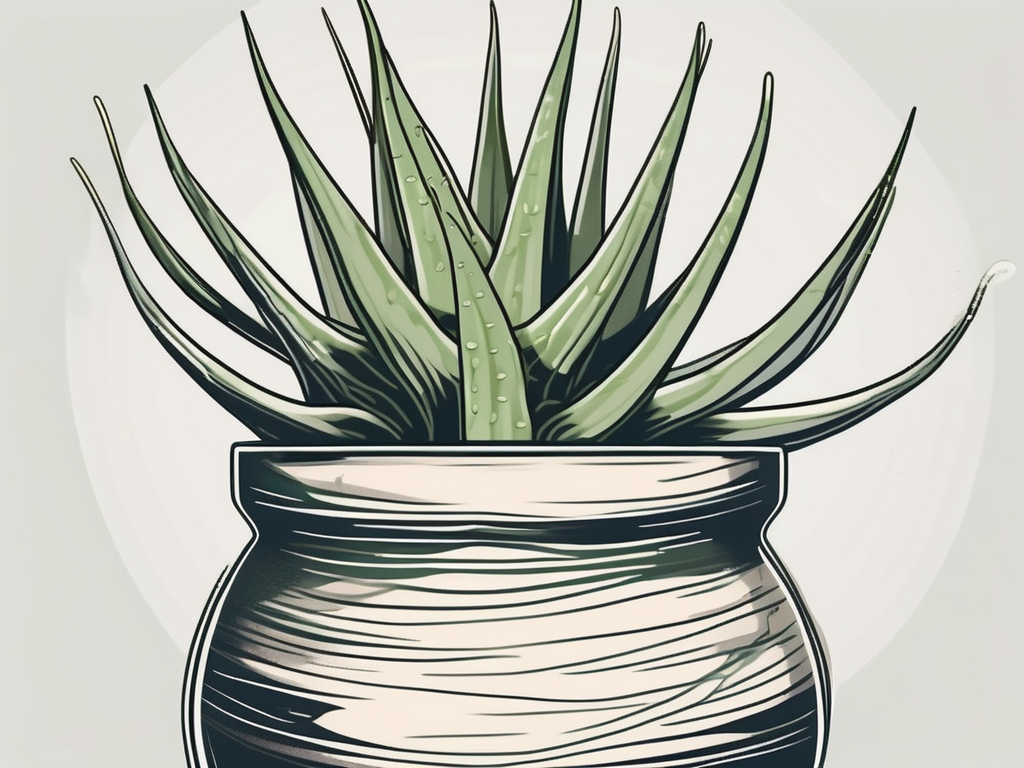
Soil and Drainage: The Foundation Matters
Your Aloe’s soil can make or break its health. Remember, these plants hail from the desert, where water drains quickly. If your potting mix holds onto moisture, it could be suffocating your Aloe’s roots.
Opt for a well-draining soil mix, something designed for cacti or succulents. If you want to make your own mix, try combining potting soil with sand or perlite. The soil should crumble easily and not clump together when wet.
Equally important is the pot you choose. A pot with drainage holes is non-negotiable. This ensures excess water escapes, preventing your Aloe from sitting in water—a surefire way to invite root rot.
Pests and Diseases: Unwanted Guests
Just when you think you’ve covered all bases, along come pests. While Aloe Vera isn’t a pest magnet, it’s not immune. Common invaders include mealybugs and aphids. These pests can sap the life from your plant, leaving behind a sticky residue or white cotton-like fluff.
If you spot these critters, don’t panic. A simple solution of water and a few drops of dish soap sprayed on the affected areas can do wonders. Neem oil is another effective, natural remedy.
In terms of diseases, root rot is the most prevalent, often caused by overwatering or poor drainage. If you notice black, mushy roots when you check the soil, it’s time to act fast. Trim away the affected roots and repot your plant in fresh, dry soil.
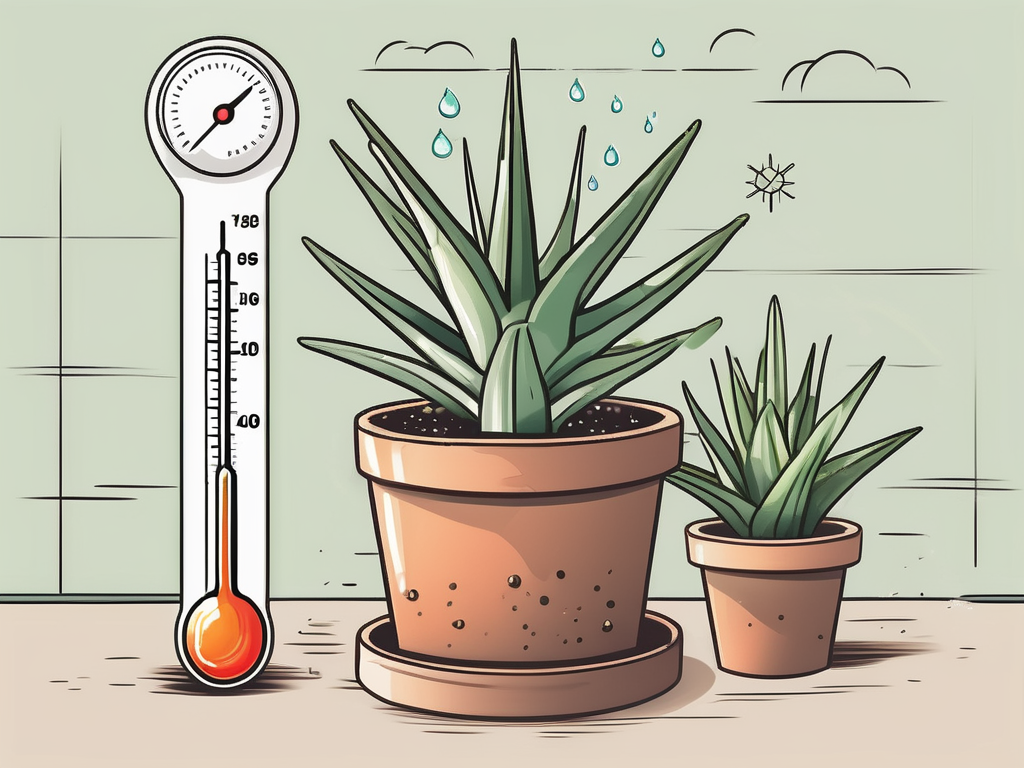
Temperature and Humidity: Keeping It Cozy
Aloe Vera isn't a fan of extreme temperature changes. It thrives in temperatures between 55°F and 80°F (about 13°C to 27°C). Keep your plant away from cold drafts, heating vents, and air conditioners.
While low humidity isn’t usually a problem for Aloe, very high humidity can encourage rot and disease. If you live in a humid area, make sure your plant’s environment is well-ventilated.
If you’re struggling to maintain the right temperature, consider using a thermometer to monitor your plant’s environment. This can help you make any necessary adjustments, like moving your Aloe to a cozier spot during colder months.
Repotting: Give It Some Space
Sometimes, your Aloe Vera just needs a little more room to grow. If you notice your plant is becoming top-heavy or the roots are peeking out of the pot’s drainage holes, it’s probably time to repot.
Choose a pot that’s only slightly bigger than the current one. Too much extra space can lead to overwatering issues. Follow the same guidelines for soil and pot choice to ensure a smooth transition.
Spring is the best time to repot, as your Aloe will be entering its growing season. Be gentle when removing the plant from its old pot, and don’t worry if you have to trim a few roots.
Feeding Your Aloe Vera: Fertilizing Basics
While Aloe Vera isn’t particularly needy when it comes to nutrients, it can benefit from occasional feeding. During the growing season (spring and summer), you can fertilize once a month using a balanced, water-soluble fertilizer diluted to half strength.
Avoid fertilizing in fall and winter, as your Aloe will be resting and won’t need the extra nutrients. Over-fertilizing can lead to salt buildup in the soil, which can harm your plant.
Keep an eye on your Aloe’s leaves for signs of nutrient deficiencies, like pale or yellowing leaves. This can indicate it’s time for a feeding, but remember, moderation is key.
Common Mistakes and How to Avoid Them
Even the most experienced plant parents make mistakes. Here are some common pitfalls and how you can steer clear of them:
- Overwatering: Remember, less is more. Always let the soil dry out before watering again.
- Ignoring Light Needs: Don’t forget, your Aloe loves bright, indirect sunlight.
- Wrong Soil: Use a well-draining mix to keep your Aloe happy.
- Skipping Pest Checks: Regularly inspect your plant for any unwelcome guests.
- Neglecting Temperature: Keep your Aloe away from extreme temperatures.
By being mindful of these common issues, you can give your Aloe Vera the best chance at a long, healthy life.
Final Thoughts
There you have it—a roadmap to diagnosing and treating what ails your Aloe Vera. With a bit of attention to watering, light, soil, and temperature, your plant can bounce back from its droopy state.
At Cafe Planta, we’re here to support your plant journey. Whether you’re looking for plant care accessories or unique plant finds, we’ve got you covered. Feel free to reach out to us via email or connect with us on Instagram. We’re excited to help you nurture and grow your indoor garden!