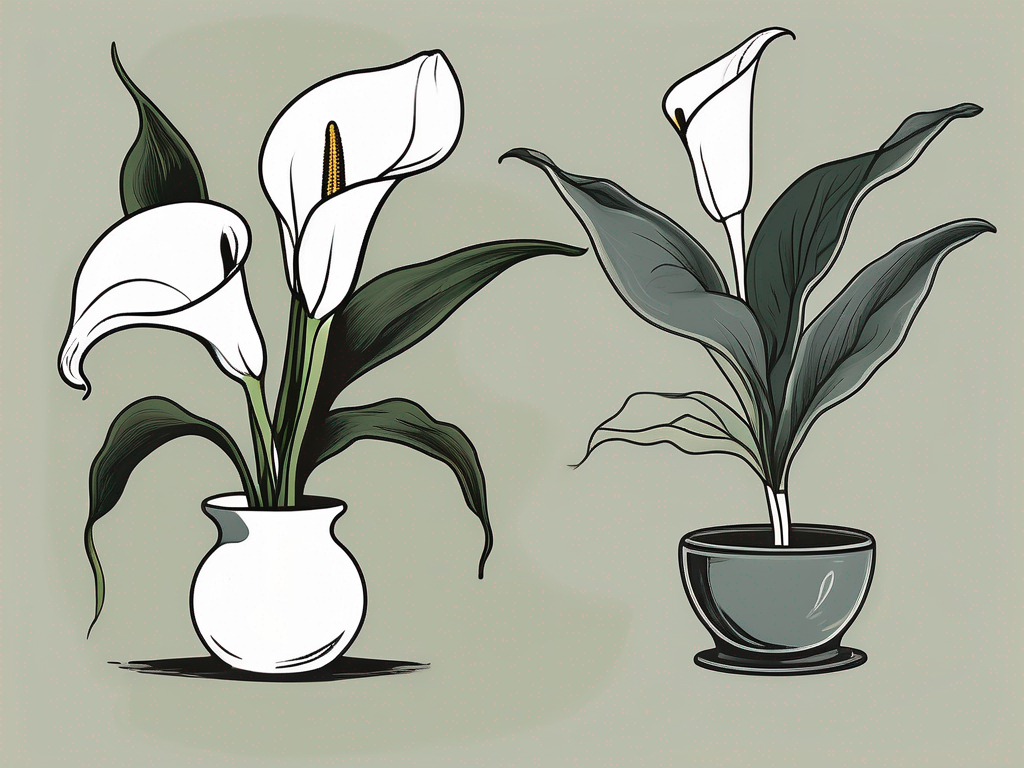
Imagine having a piece of the lush rainforest right on your windowsill. That's what a Peace Lily, with its glossy leaves and elegant white blooms, brings to your home. But did you know you can grow more of these stunning plants using just water? It's a fascinating process that allows you to multiply your collection without needing to buy more plants.
In this article, we'll chat about how you can propagate your Peace Lily using water. From choosing the right cutting to watching it sprout new roots, we'll cover everything you need to know with practical tips and simple steps. Whether you're a seasoned plant parent or just getting started, you're in the right place!
Understanding the Basics of Peace Lily Propagation
Before you dive into the process, it's helpful to know a bit about what makes Peace Lilies tick. These plants, known scientifically as Spathiphyllum, are native to tropical regions. They're prized for their ability to thrive indoors with minimal fuss. But what makes them extra special is their knack for propagating easily in water.
Propagation is simply the process of creating new plants from a parent plant. When it comes to Peace Lilies, this usually means taking a section of the plant—often a division of its roots—and encouraging it to grow independently. While soil is the traditional medium, water propagation is gaining popularity for its simplicity and effectiveness.
So, why choose water? For one, it's an incredibly clean method. You can see the roots develop, which is both educational and satisfying. Plus, water propagation reduces the risk of soil-borne diseases and pests. However, it's key to start with a healthy plant and use the right technique to ensure a successful outcome.
Choosing the Right Time and Tools
Timing can make a difference when it comes to propagation. Spring and early summer are typically the best times for most plants, including Peace Lilies. During these months, the plant is in a growth phase, which means it's more likely to respond well to propagation efforts.
As for tools, you won't need much—just a few basics:
- Sharp knife or scissors: Ensure they are clean and sterilized to prevent infection.
- Clear container: A glass jar or vase works perfectly. Make sure it's clean and large enough to support the plant cutting.
- Fresh water: Use distilled or rainwater if possible, as tap water may contain chemicals that could harm the plant.
Having the right tools at hand makes the process smooth and increases the chances of your cutting taking root successfully.
Selecting and Preparing the Cutting
Now to the exciting part—selecting your plant cutting. Look for a healthy portion of the plant that includes at least one leaf and a small section of the root system. Ideally, you'll want a portion of the plant with a few leaves that are vibrant and free from any signs of disease or damage.
Here's a step-by-step guide to prepare your cutting:
- Identify the section: Choose a part of the plant where the roots can be easily separated. This is often near the base where the plant naturally divides.
- Make the cut: Use your sterilized knife or scissors to carefully cut away the section, ensuring you include both roots and leaves.
- Inspect the roots: Check that the roots are healthy—white and firm. Remove any damaged or decayed roots with a clean cut.
- Rinse the cutting: Gently wash the cutting in lukewarm water to remove any soil and debris.
Preparing your cutting correctly is crucial. It sets the stage for successful water propagation, allowing the new plant to establish itself without the stress of disease or poor initial conditions.
Setting Up the Water Container
Once your cutting is ready, it's time to set up its new home in water. This step is straightforward but important to get right. The idea is to provide a stable environment where the plant can focus on growing roots.
Follow these steps to prepare your water container:
- Choose the container: A clear glass jar or vase is ideal. It allows you to monitor root development and ensures the cutting receives enough light.
- Fill with water: Use distilled or rainwater to fill the container. Tap water can be used if it's left to sit for 24 hours, allowing chlorine to dissipate.
- Position the cutting: Place the cutting in the water, ensuring the roots are submerged. The leaves should remain above water to prevent rot.
Make sure the container is placed in a location with bright, indirect light. Avoid direct sunlight as it can heat the water and damage the plant. The goal is to provide the optimal conditions for root growth without causing stress to the plant.
Caring for the Cutting During Root Development
While your Peace Lily cutting is busy growing roots, there are a few care tips to keep in mind. This stage requires a little patience, as roots can take several weeks to develop. However, with the right care, you'll soon see the fruits of your labor.
Here are some tips to ensure your cutting thrives:
- Change the water regularly: Refresh the water every 5-7 days to keep it clean and oxygenated.
- Monitor for disease: Check the roots and leaves regularly for any signs of mold or rot. If you spot any, trim the affected areas and change the water.
- Provide ample light: Ensure the cutting receives plenty of indirect sunlight. If necessary, move it to a brighter spot or use a grow light.
- Be patient: Root development can take time. Typically, you'll see new roots form within 2-4 weeks.
Patience is key here. It's normal for the cutting to take some time to adjust and start producing roots, so don't worry if you don't see immediate progress. Just keep the conditions optimal, and nature will do the rest.
Transferring to Soil: When and How
Once your Peace Lily cutting has developed a healthy root system, it's time to think about transferring it to soil. This step is crucial for the long-term health of the plant, as soil provides the nutrients and stability needed for robust growth.
Here's how to make the transition from water to soil:
- Check the roots: Wait until the roots are at least 1-2 inches long. They should appear healthy and robust.
- Choose the right pot: Select a pot with drainage holes. This prevents water from pooling at the bottom, which can lead to root rot.
- Prepare the soil: Use a well-draining potting mix. A mix designed for houseplants or one with added perlite works well.
- Plant the cutting: Gently plant the cutting in the soil, covering the roots completely. Firmly press the soil around the base to stabilize the plant.
- Water thoroughly: Give the plant a good watering, ensuring the soil is evenly moist. Avoid overwatering, as Peace Lilies prefer to dry out slightly between waterings.
After planting, continue to care for your Peace Lily as you would normally. Keep it in a bright spot with indirect light, and water it regularly. With time, the plant will establish itself in its new environment and continue to grow.
Common Problems and Solutions
Like any gardening endeavor, propagating Peace Lilies can come with its challenges. Fortunately, most issues are easy to address with a little know-how. Here are some common problems you might encounter and how to solve them:
- Wilting leaves: This can be a sign of inadequate water or light. Ensure the cutting has enough water, and adjust its light exposure if needed.
- Mold or algae growth: Change the water more frequently and ensure the container is clean. If mold persists, try using a diluted hydrogen peroxide solution to clean the container.
- Slow root growth: Patience is essential, but if roots aren't developing, consider moving the cutting to a brighter location or using a mild rooting hormone to encourage growth.
Remember, every plant is unique, so what works for one may not work for another. Don't get discouraged if things don't go perfectly the first time. Adjusting your approach based on the plant's needs is part of the learning process.
Creative Ways to Display Your Peace Lily
Once your Peace Lily is thriving, it's time to show it off! These plants are not only easy to care for but also incredibly versatile when it comes to home decor. Here are some creative ways to incorporate your Peace Lily into your interior space:
- Centerpiece: Place a healthy plant in a decorative pot as a centerpiece on your dining or coffee table. Its lush foliage adds a touch of elegance to any room.
- Hanging Gardens: Use macrame hangers to create a vertical garden. Peace Lilies look stunning when suspended at different heights, adding depth and interest to a room.
- Bathroom Oasis: Peace Lilies thrive in humidity, making them perfect for bathrooms. Place one near a window for a fresh, spa-like feel.
- Bookshelf Buddy: Let the leaves of a smaller Peace Lily cascade over the edge of a bookshelf. It's a great way to add greenery to a reading nook.
Whether your style is modern, bohemian, or classic, Peace Lilies fit seamlessly into any decor. Their simple elegance is a testament to the beauty of nature, providing a touch of greenery that's both soothing and stylish.
Peace Lily Propagation: A Journey of Growth
Propagating a Peace Lily is more than just a gardening project—it's a journey of growth and learning. As you nurture your plant, you'll discover the joys of watching it develop from a simple cutting into a lush, vibrant part of your home.
This process isn't just about adding to your plant collection; it's about connecting with nature and experiencing the satisfaction of helping something grow. It's a lesson in patience, care, and the simple pleasures that come from getting your hands a little dirty.
As you continue on your plant journey, remember that each new leaf is a testament to your efforts, and every bloom is a reward for your care. Happy growing!
Final Thoughts
We've covered the steps to propagate your Peace Lily in water, from choosing the right cutting to caring for it until it's ready for soil. By following these tips, you're well on your way to growing beautiful, healthy plants.
Here at Cafe Planta, we're all about helping you nurture your green thumb. If you have any questions or need more plant care advice, feel free to email us or reach out on Instagram. Whether you're an experienced plant parent or just starting out, we're here to support your plant journey and share our love of nature with you.


