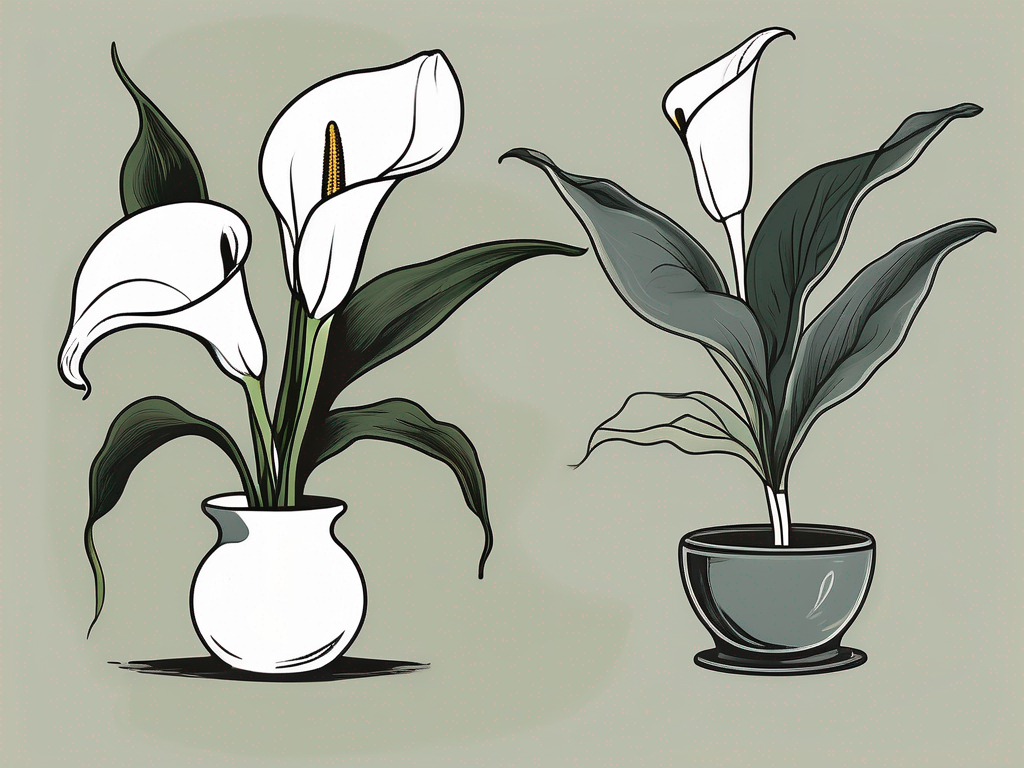
Growing a peace lily in water is not just a unique way to enjoy this popular houseplant, but it's also a fascinating method that can add a touch of green to any space without the need for soil. If you're looking for a low-maintenance option that still offers the beauty and air-purifying qualities of a peace lily, growing one in water might be your next project.
In this article, we'll walk you through everything you need to know about growing a peace lily in water, from selecting the right plant to maintaining it once it's thriving. We'll cover each step in detail, so you can enjoy a happy and healthy peace lily in your home.
Selecting Your Peace Lily
Before you start this watery adventure, choosing the right peace lily is the first step. Not all peace lilies are created equal, and picking one that's healthy will make your life a lot easier down the road. When you're at the nursery or store, look for a plant with vibrant green leaves and no signs of wilting or yellowing. A plant with new growth is a good indicator that it’s in great shape and ready for a new home.
It's also important to consider the size of the plant. Peace lilies can range from small tabletop varieties to larger floor plants. If you're new to growing plants in water, starting with a smaller plant can be a bit more manageable. Plus, it'll be easier to find a suitable container for it.
Once you've chosen your peace lily, you'll need to gently remove it from its pot. This can be a bit of a messy process, so it might be a good idea to do this over a sink or outside. Be careful not to damage the roots as you remove the soil. You'll want to rinse the roots thoroughly under lukewarm water to get rid of any remaining dirt.
- Choose a healthy plant with vibrant leaves.
- Consider starting with a smaller plant.
- Gently remove the plant from its pot and wash the roots.
Choosing the Right Container
Now that you have your peace lily ready, it's time to pick a container. While it might be tempting to grab any old glass jar, it's worth taking a moment to consider a few factors. First, make sure the container is large enough to accommodate the roots of your peace lily. A clear container can be a fun way to watch the roots grow, but it’s not a necessity.
Containers that are too small can stunt the growth of your peace lily, while those that are too large might not provide the support the plant needs. Aim for a container that gives your peace lily enough room to grow comfortably. Additionally, consider the aesthetics of the container. After all, your new plant is going to be a part of your home’s decor.
It's also essential to ensure the container is clean. Any residue or chemicals from previous uses can harm your peace lily. A quick wash with soap and water should do the trick. If you want to be extra cautious, a rinse with vinegar can help neutralize any lingering substances.
- Choose a container that fits the plant's roots comfortably.
- Consider using a clear container to view root growth.
- Ensure the container is thoroughly cleaned.
Preparing the Water
Water is the lifeblood of your peace lily, so it’s crucial to use the right kind. Tap water often contains chlorine and fluoride, which can be harmful to plants. If you can, let tap water sit out for 24 hours to allow these chemicals to evaporate. Alternatively, you can use distilled or rainwater, which is usually free from these additives.
It’s also a good idea to check the temperature of the water. Room temperature water is ideal for peace lilies, as water that's too cold or too hot can shock the plant. You can test this by simply dipping your finger in the water—it should feel comfortable to the touch.
Once your water is ready, fill your container just enough to cover the roots of the peace lily. You don’t want to submerge the entire plant, as the leaves need to stay dry to avoid rot. This is an important step, so take your time and make sure you get it right.
- Use distilled or rainwater, or let tap water sit for 24 hours.
- Ensure the water is at room temperature.
- Fill the container to just cover the roots, keeping leaves dry.
Transitioning Your Peace Lily to Water
Transitioning your peace lily from soil to water can be a bit stressful for the plant, but with a little patience, it can be done successfully. Start by gently placing the plant into the prepared container. The roots should be fully submerged, but the base of the plant and the leaves should remain above water.
During the first few weeks, keep an eye on your peace lily. It may take a little time to adjust to its new environment. You might notice some yellowing of the leaves or a bit of wilting—this is normal as the plant adapts. Just be sure to remove any leaves that turn brown or look unhealthy.
If your peace lily seems to be struggling, it might be a sign that it needs a little extra care. Try changing the water more frequently or adjusting the light conditions (more on that next). It’s all about finding the right balance and ensuring your plant feels at home.
- Place the plant in the container with roots submerged.
- Monitor the plant for signs of stress.
- Remove any unhealthy leaves as needed.
Providing the Right Light
Peace lilies are known for their resilience, but they do have some preferences when it comes to lighting. They thrive in bright, indirect light, which means placing them near a window with filtered sunlight will usually do the trick. Direct sunlight can be too intense and may scorch the leaves, so finding a spot with dappled light is ideal.
If your home doesn’t have a spot with natural light that fits the bill, don’t worry. Peace lilies can adapt to lower light conditions, although they may not grow as quickly. You could also consider using a grow light to provide the extra light your peace lily might need.
Remember, lighting needs can change with the seasons. During winter months, you might need to move your peace lily to a brighter spot if it seems sluggish. On the flip side, during summer, keep an eye out for any signs of too much light, like browning leaf tips.
- Place in bright, indirect light for best growth.
- Avoid direct sunlight to prevent leaf damage.
- Consider a grow light if natural light is insufficient.
Nourishing Your Peace Lily
While peace lilies growing in water don’t require the same nutrients as those in soil, they still need a little boost now and then. Liquid fertilizers can be a good choice for providing essential nutrients. Look for a balanced, water-soluble fertilizer and use it sparingly.
Over-fertilizing is a common mistake and can lead to nutrient burn, which shows up as brown leaf tips. A general rule of thumb is to fertilize once a month during the growing season (spring and summer) and hold off during the fall and winter when growth slows.
Always follow the instructions on the fertilizer package, and when in doubt, err on the side of caution. It’s better to under-fertilize than to overdo it. With the right care, your peace lily will have everything it needs to flourish in water.
- Use a balanced, water-soluble fertilizer.
- Fertilize monthly during the growing season.
- Avoid over-fertilizing to prevent nutrient burn.
Maintaining Your Water-Grown Peace Lily
One of the joys of growing a peace lily in water is that it requires relatively little maintenance compared to soil-grown plants. However, regular care is still necessary to keep your plant happy. Change the water every two weeks to prevent stagnation and ensure that your peace lily has a clean environment.
During these water changes, take the opportunity to rinse the roots to remove any algae or build-up. It’s also a great time to inspect your peace lily for any signs of pests or disease. While peace lilies in water are less prone to pests, it’s always good to keep an eye out for any unwanted guests.
Maintaining a stable environment is also crucial. Try to keep your peace lily away from drafts or sudden changes in temperature, as these can stress the plant. A consistent and nurturing environment will help your peace lily thrive.
- Change the water every two weeks.
- Rinse the roots regularly to remove build-up.
- Avoid drafts and sudden temperature changes.
Troubleshooting Common Issues
Even with the best care, peace lilies can sometimes run into problems. Yellowing leaves can indicate a few different issues, from too much direct sunlight to a lack of nutrients. Adjusting the light or adding a bit of fertilizer might do the trick.
Brown tips are another common issue, often caused by over-fertilizing or poor water quality. If you notice brown tips, try reducing fertilizer applications and ensure you’re using clean, chlorine-free water.
If your peace lily seems to be wilting, it might be a sign that the plant is not getting enough water or is too cold. Check the water level and temperature, and adjust as necessary. Remember, every plant is unique, so it might take some trial and error to find the perfect balance for your peace lily.
- Yellowing leaves: Check light and nutrient levels.
- Brown tips: Reduce fertilizer and ensure water quality.
- Wilting: Check water level and temperature.
Final Thoughts
Growing a peace lily in water can add a beautiful and unique element to your home, giving you the joy of plant care with a bit less mess. By selecting the right plant and container, preparing your water, and providing the right light and nutrients, your peace lily can thrive and bring a touch of nature into your space.
At Cafe Planta, we love helping you with your plant adventures. Whether you need advice or are looking for new plants and accessories, we're here for you. Feel free to email us or drop us a message on Instagram. Let's make your home a lush, green oasis together!


