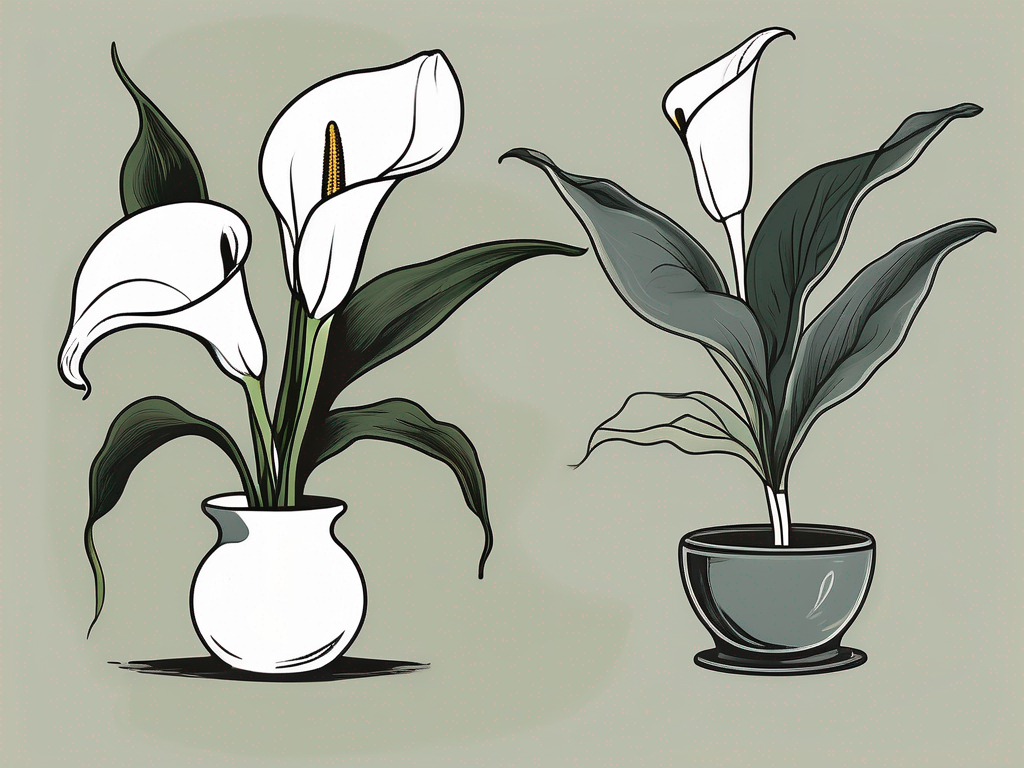
Peace lilies are a popular choice for plant lovers, thanks to their lush green leaves and elegant white blooms. But did you know you can easily propagate them and expand your indoor garden? Whether you're a seasoned plant parent or just starting out, propagating peace lilies is a rewarding process that lets you grow new plants from a single one.
This guide will walk you through the steps to successfully propagate peace lily cuttings. We'll cover everything from selecting the right plant to preparing the perfect environment for your new plants to thrive. So, grab your gardening gloves, and let's get started!
Choosing the Right Time to Propagate
Timing is everything when it comes to propagating your peace lily. While peace lilies are hardy and adaptable, they do have preferences when it comes to growth and propagation. The best time to propagate peace lilies is during the spring or early summer when the plant is in its active growing phase. During this time, the plant is more likely to recover from the stress of propagation and establish new roots quickly.
If you're wondering how to tell if your peace lily is ready for propagation, here are a few signs to look for:
- The plant is healthy and thriving, with no signs of disease or pest infestation.
- It has multiple stems or has outgrown its current pot.
- New growth is visible, indicating the plant is in an active growth phase.
By choosing the right time, you’re setting the stage for a successful propagation process, ensuring that your new peace lilies get off to the best start possible.
Gathering Your Tools and Materials
Before you dive into the propagation process, it's essential to gather all the necessary tools and materials. Having everything on hand will make the process smoother and more enjoyable. Here's a list of what you'll need:
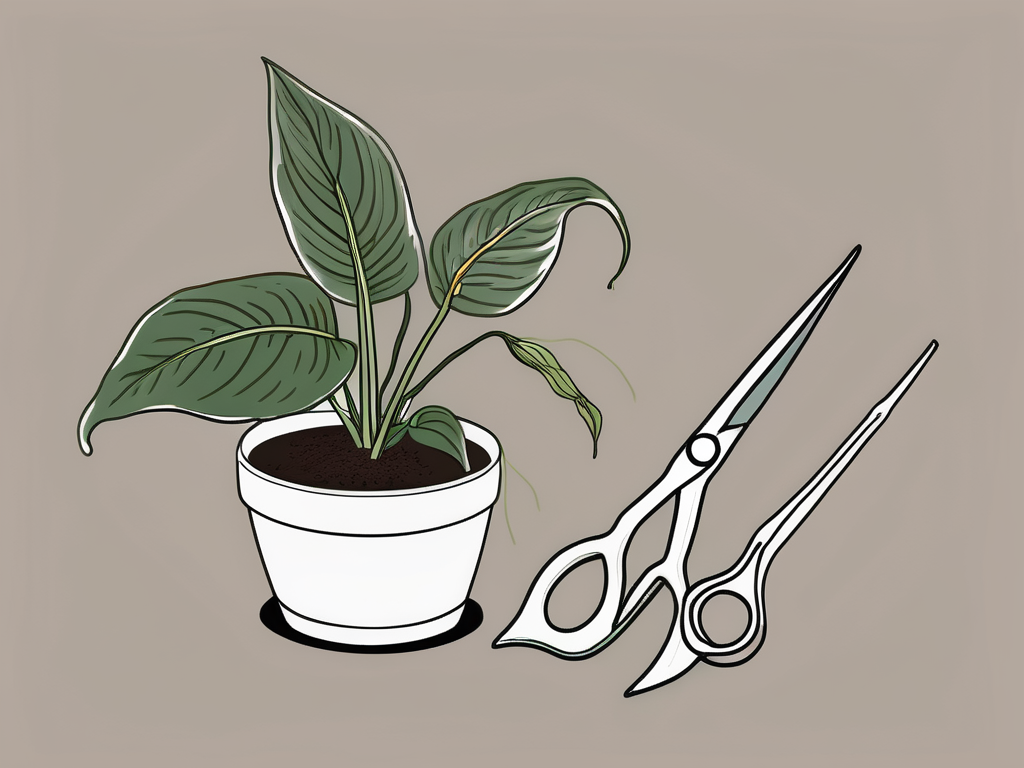
- Sharp, clean scissors or pruning shears: A clean cut is crucial to prevent damage and reduce the risk of infection.
- Small pots or containers: These will house your new plants. Make sure they have drainage holes to prevent waterlogging.
- Potting soil: Use a high-quality, well-draining potting mix. Peace lilies prefer soil that retains moisture but still allows for adequate drainage.
- Watering can or spray bottle: To keep the soil moist without overwatering.
- Plastic wrap or a plastic bag: This will help create a humid environment for your cuttings, which encourages root growth.
Having these items ready will make the propagation process much smoother, leaving you free to focus on caring for your new plants.
Selecting the Perfect Cutting
With your tools at the ready, it's time to select the perfect cutting for propagation. This step is crucial since the health and success of your new plant depend on the quality of the cutting you choose.
Look for a healthy, mature peace lily with multiple stems. The stem you choose should have several leaves and be free of any signs of disease or pests. Gently separate a stem from the main plant, being careful not to damage the roots.
It's also important to ensure that the cutting has a portion of the root system attached. Unlike some plants that can propagate from stem cuttings, peace lilies require a piece of the root to grow a new plant.
If you’re unsure about which stem to choose, don’t worry! It’s often a trial-and-error process, but with a little practice, you’ll become more confident in selecting the best cuttings.
Preparing the Cutting for Planting
Once you've selected your cutting, it's time to prepare it for planting. First, gently wash the roots to remove any soil. This step not only helps you inspect the roots for any signs of damage but also reduces the risk of introducing pests or diseases into your new potting soil.
Next, trim any damaged or unhealthy roots with your clean scissors or pruning shears. This encourages healthy root growth and prevents the spread of any potential issues. Additionally, trim any leaves that are brown or wilted. This helps the cutting focus on root development rather than maintaining damaged foliage.
Now that your cutting is ready, it's time to move on to the planting process. Remember, the more care you take in preparing your cutting, the better its chances of thriving in its new environment.
Planting Your Peace Lily Cutting
With your cutting primed and prepped, let's move on to planting it in its new home. Start by filling your chosen pot with a well-draining potting mix. You want the soil to be moist but not soggy, so give it a light watering beforehand if necessary.
Create a small hole in the center of the soil, large enough to accommodate the roots of your cutting. Carefully place the cutting into the hole, ensuring that the roots are well-covered by soil. Gently firm the soil around the base of the stem to provide stability.
At this stage, it's crucial to water the cutting lightly. This helps settle the soil around the roots and provides the moisture needed for root development. Be cautious not to overwater, as peace lilies are prone to root rot if left in overly damp conditions.
Creating the Ideal Environment
After planting, your peace lily cutting will need a nurturing environment to thrive. Peace lilies are tropical plants, so they appreciate warm, humid conditions. Here are some tips to create the perfect environment for your new plant:
- Temperature: Aim for a room temperature between 65-85°F (18-29°C). Avoid placing your cutting near drafts or in direct sunlight, which can stress the plant.
- Humidity: Peace lilies love humidity. You can increase humidity by placing a humidity tray beneath the pot or misting the leaves regularly. Alternatively, cover the plant with plastic wrap or a plastic bag to create a mini greenhouse effect, but make sure to allow for some airflow to prevent mold.
- Light: Provide bright, indirect light. Direct sunlight can scorch the leaves, while too little light can hinder growth.
By catering to these environmental needs, you’re more likely to see your peace lily cutting flourish into a healthy, thriving plant.
Nurturing Your New Plant
Now that your peace lily cutting is planted and settled in its new environment, the next step is to nurture it through careful care and attention. This stage is all about patience and consistent care as your plant establishes its roots and begins to grow.
Water the cutting sparingly at first, keeping the soil consistently moist but never waterlogged. As roots develop, you can gradually adjust the watering schedule to suit the plant's needs. Remember, overwatering is one of the most common issues for peace lilies, so err on the side of less rather than more.
Fertilization isn’t necessary immediately after planting, but once new growth appears, you can begin to introduce a balanced liquid fertilizer every 6-8 weeks. This provides essential nutrients that support healthy growth and development.
Keep an eye on your plant's leaves for any signs of stress or imbalance. Yellowing leaves can indicate overwatering, while brown tips might suggest low humidity or underwatering. Adjust your care routine accordingly to address these issues promptly.
Recognizing and Solving Common Problems
As with any plant care journey, you might encounter a few bumps along the way. Recognizing and addressing these common problems will help you maintain a healthy peace lily:
- Yellowing Leaves: This can be caused by overwatering or poor drainage. Make sure your pot has adequate drainage holes and adjust your watering schedule.
- Brown Leaf Tips: Often a sign of low humidity or underwatering. Increase humidity or adjust your watering habits to see if that helps.
- Pests: Keep an eye out for common pests like spider mites or aphids. If you notice these, gently wash the leaves with soapy water or use an insecticidal soap.
By staying vigilant and addressing issues as they arise, you can ensure your peace lily remains healthy and vibrant.
Celebrating Your New Plant Baby
Congratulations, you've successfully propagated a peace lily! This is the perfect time to celebrate your new plant baby and admire your hard work and dedication. Watching your cutting grow into a full-fledged plant is incredibly rewarding and adds a personal touch to your indoor garden.
Consider giving your new plant a special place in your home where it can thrive and be appreciated. Whether it’s on a windowsill, a plant stand, or as part of a larger plant display, your peace lily is sure to brighten up any space.
And remember, propagation is a journey of learning and growth for both you and your plant. So, take the time to enjoy the process and the beautiful greenery you've helped create.
Final Thoughts
Propagating peace lilies is a fun and fulfilling way to expand your plant collection while learning more about plant care. By following the steps outlined here, you'll be well on your way to growing healthy, thriving peace lilies from cuttings.
Here at Cafe Planta, we’re passionate about helping you succeed with your plant journey. We offer a wide variety of houseplants, plant care accessories, and even plant-themed apparel for those who love to wear their passion. If you have any questions or need further guidance, feel free to email us or send a DM on our Instagram. We believe plants bring people together, and we're here to support you every step of the way.


