Rubber trees, with their glossy leaves and sturdy presence, make a striking addition to any indoor space. However, like any other plant, they can face challenges, and one of the most common issues is root rot. This pesky problem can sneak up on even the most attentive plant parent, but with a little know-how and preventative care, you can keep your rubber tree thriving.
In this article, we'll go over the causes of root rot in rubber trees and share practical strategies to prevent it. From choosing the right potting mix to mastering the art of watering, you'll find everything you need to ensure your rubber tree stays healthy and vibrant. Let’s get started!
Understanding Root Rot in Rubber Trees
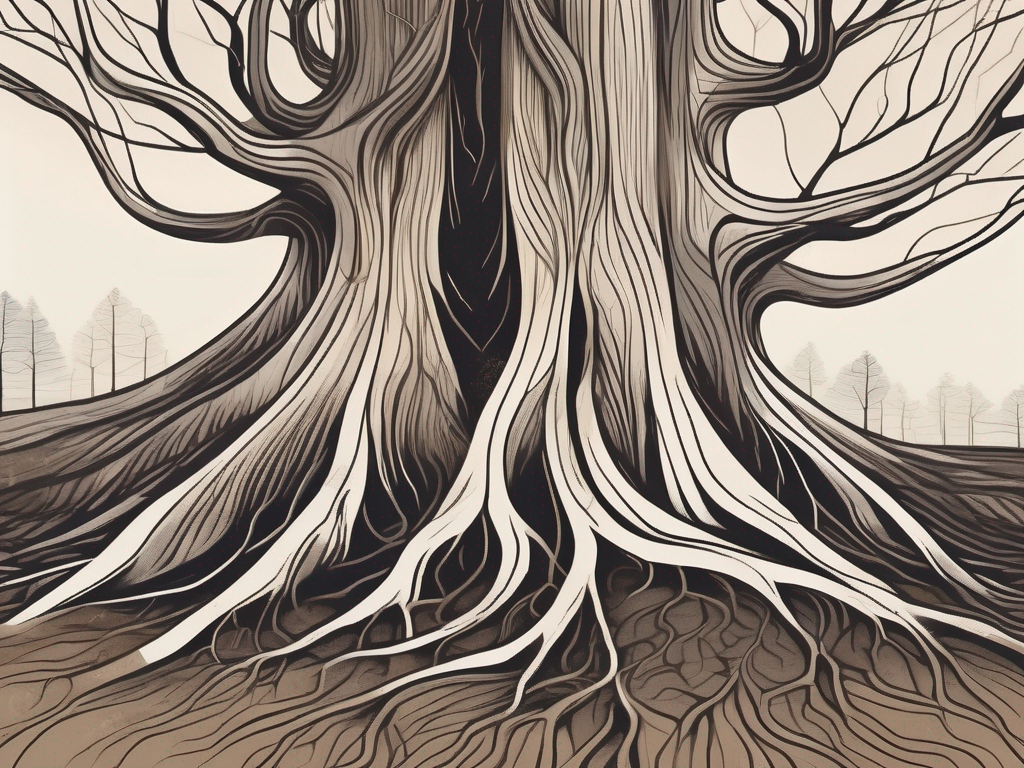
Root rot is a condition caused by overwatering and poor drainage, leading to the roots of the plant becoming waterlogged and eventually decaying. It's often a result of a fungal infection, but the real culprit is usually excess moisture. When roots sit in water for too long, they can't access the oxygen they need, which creates the perfect environment for fungi to thrive.
Signs of Root Rot
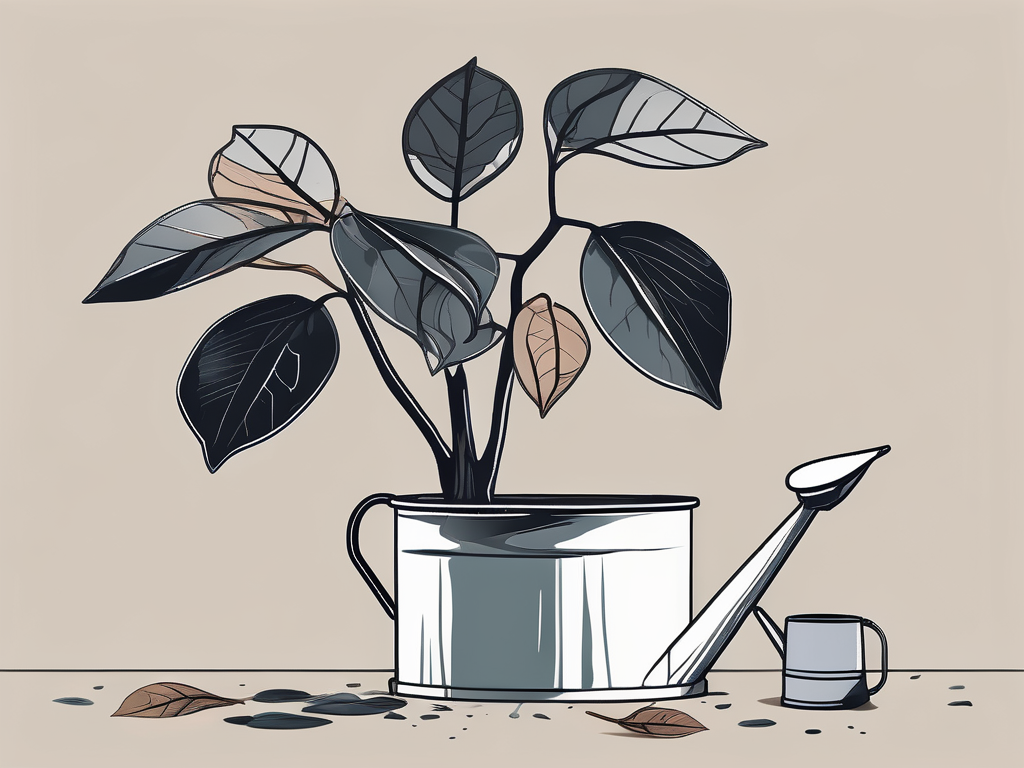
Before we talk about prevention, it's important to recognize the signs of root rot. Some common indicators include:
- Yellowing leaves
- Wilting, even when the soil is moist
- A musty or sour smell coming from the soil
- Roots that appear black or mushy when you inspect them
If you notice these symptoms, it's crucial to act quickly to save your plant. However, prevention is always better than cure, so let's explore how you can keep root rot at bay.
Choosing the Right Pot and Soil
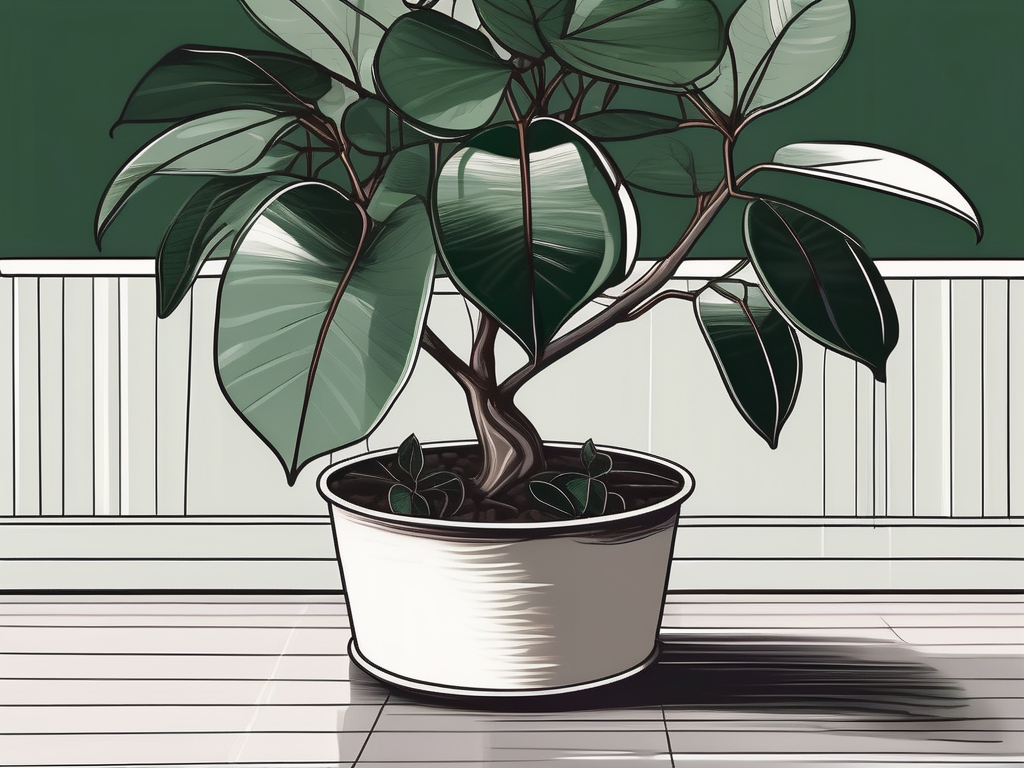
Your choice of pot and soil can make a big difference in preventing root rot. Rubber trees need a pot that allows excess water to drain away from the roots, so look for one with drainage holes at the bottom. Avoid decorative pots without drainage unless you plan to use them as outer pots, with the rubber tree sitting in a smaller, well-draining pot inside.
Potting Mix for Rubber Trees
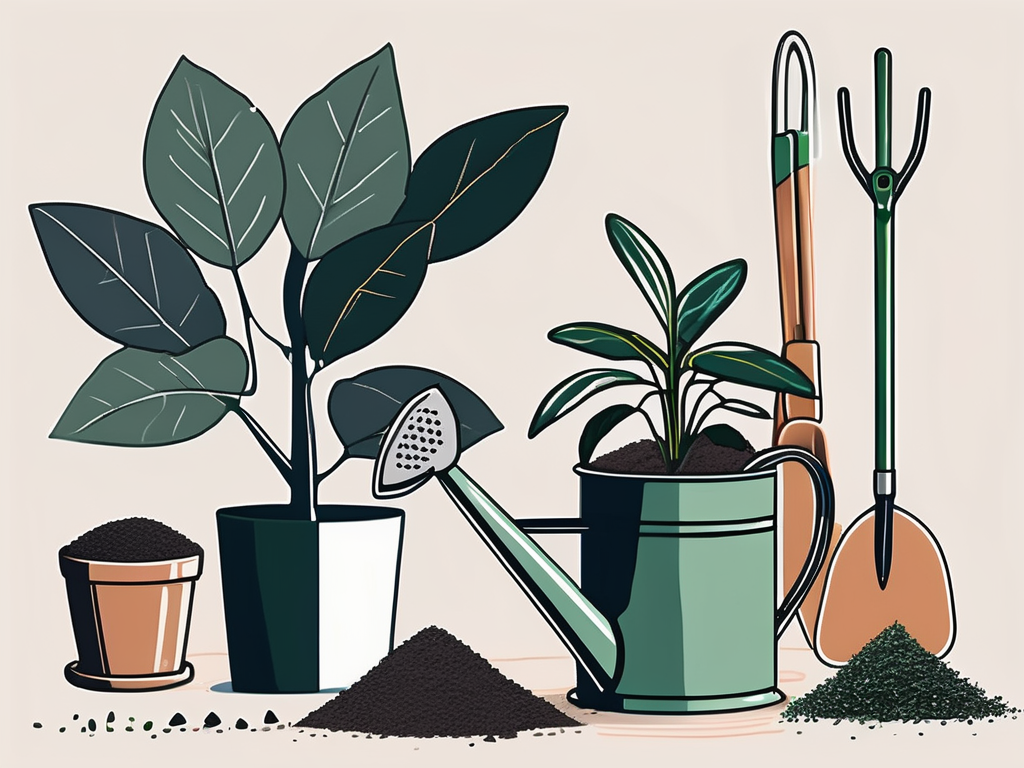
When it comes to soil, a well-draining potting mix is essential. You can buy a mix specifically designed for houseplants, which usually works well, or create your own by combining:
- 50% potting soil
- 20% perlite
- 20% orchid bark
- 10% horticultural charcoal
This combination ensures good aeration and drainage, reducing the risk of waterlogging. The charcoal helps absorb excess moisture and odors, keeping the soil fresh and healthy.
Mastering the Art of Watering
Watering is where many plant parents go wrong. Rubber trees don't like to be too wet or too dry, so finding the right balance is key. Here are some tips to help you water your rubber tree just right:
How Often to Water
Instead of watering on a schedule, check the soil first. Insert your finger about an inch into the soil. If it feels dry at that depth, it's time to water. In general, rubber trees need water about once a week, but this can vary based on factors like light, temperature, and humidity.
Proper Watering Technique
When you do water, do it thoroughly. Pour water evenly across the surface of the soil until it begins to drain from the bottom of the pot. This ensures all the roots get access to moisture, and it helps flush out any salts or minerals that might accumulate. Be sure to empty the saucer under the pot to prevent the roots from sitting in water.
Ensuring Proper Light Conditions
Light plays a crucial role in the health of your rubber tree. While they can tolerate lower light conditions, they thrive in bright, indirect light. A spot near a north or east-facing window is ideal. Too much direct sunlight can scorch the leaves, while too little light can slow down growth and make the plant more susceptible to problems like root rot.
Adjusting Light for Seasonal Changes
Be mindful of seasonal changes and adjust the position of your plant if necessary. In winter, when natural light levels drop, you might need to move your rubber tree closer to a window or supplement with a grow light to ensure it continues to receive adequate light.
Monitoring Humidity Levels
Rubber trees are native to tropical regions, so they prefer a bit of humidity. While they can adapt to the average indoor conditions, very dry air can cause stress. If your home has particularly low humidity, especially in winter when heating systems are on, consider using a humidifier or placing a tray of water near the plant to increase moisture in the air.
Simple Humidity Boosters
Another simple way to boost humidity is to group your plants together. They naturally release moisture into the air through a process called transpiration, and clustering them can create a little microclimate that's more humid.
Proper Feeding and Fertilization
While rubber trees are not heavy feeders, they do benefit from occasional fertilization to promote healthy growth. During the growing season (spring and summer), feed your rubber tree with a balanced, water-soluble fertilizer every 4-6 weeks. Be careful not to over-fertilize, as this can lead to salt buildup in the soil, which can harm the roots.
Signs You’re Over-Fertilizing
If you notice white crusts on the soil surface or leaf tips turning brown, you might be overdoing it with the fertilizer. In that case, flush the soil with water to remove excess salts and cut back on feeding.
Regular Pruning and Maintenance
Pruning your rubber tree not only keeps it looking tidy but also encourages healthy growth. Remove any dead or damaged leaves with clean, sharp scissors. If your rubber tree is getting too tall or leggy, you can trim back the stems to encourage bushier growth. Pruning also helps improve airflow around the plant, reducing the chances of fungal infections that could lead to root rot.
Cleaning the Leaves
Rubber tree leaves are prone to accumulating dust, which can block sunlight and hinder photosynthesis. Wipe the leaves with a damp cloth every few weeks to keep them clean and shiny. This simple habit not only makes your plant look better but also boosts its health.
Recognizing and Addressing Problems Early
Being proactive about monitoring your plant's health can prevent minor issues from becoming major problems. Check your rubber tree regularly for signs of stress or pests, such as discolored leaves or webbing from spider mites. Catching these issues early allows you to take corrective action before they affect the roots.
Common Pests to Watch For
Rubber trees can attract pests like spider mites, mealybugs, and scale. If you notice any of these critters, treat your plant with insecticidal soap or neem oil, and isolate it from other plants until the infestation is under control.
The Role of Repotting
Finally, don't overlook the importance of repotting your rubber tree. Over time, the soil can become compacted, reducing its ability to drain properly. Repotting every 2-3 years in fresh soil can rejuvenate your plant and ensure it has room to grow. This is also a good time to check the roots. If you notice any black or mushy roots, trim them away with clean scissors to prevent the spread of rot.
Choosing the Right Time to Repot
The best time to repot is during the spring or early summer when the plant is actively growing. This gives your rubber tree the best chance to recover quickly from any transplant shock and establish itself in its new environment.
Final Thoughts
Preventing root rot in rubber trees is all about providing the right conditions for your plant to flourish. By choosing the right pot and soil, watering wisely, and keeping an eye on light and humidity, you can create an environment where root rot is less likely to take hold.
At Cafe Planta, we're here to help you with all your plant care needs. From a wide selection of houseplants to plant care accessories, we've got you covered. If you have any questions about looking after your plants, feel free to reach out via email or connect with us on Instagram. We're excited to share our passion for plants with you and help you cultivate a thriving indoor garden.