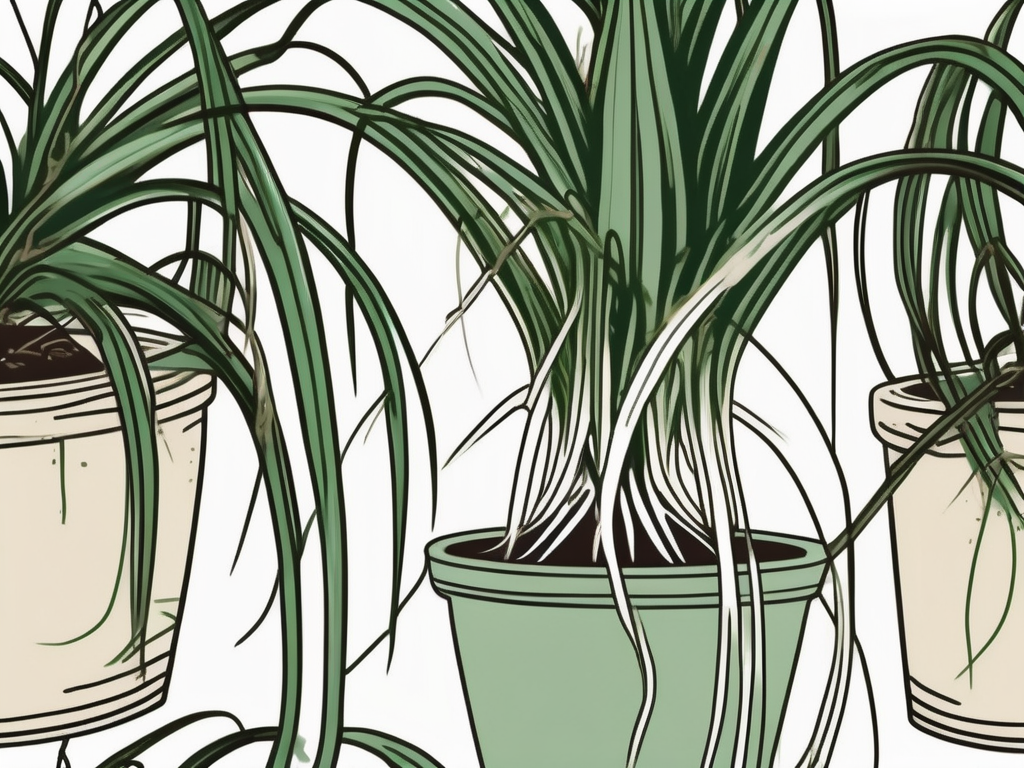
Spider plants are like the rockstars of the houseplant world, with their striking green and white-striped leaves and ability to survive a surprising range of conditions. But have you ever wondered what goes on behind the scenes of their growth? Capturing a spider plant's journey through a time-lapse is not just a visual treat, but also a fascinating way to understand how these plants thrive and multiply.
This article will take you on a journey through the life of a spider plant from a tiny sprout to a full-grown beauty. We'll also dive into some tips on how to care for them, deal with any pesky issues, and even incorporate them into your home decor. So, if you're a plant lover or just curious about these amazing plants, grab a cup of tea, and let's get started!
1. The Birth of a Spider Plant: From Seedling to Sprout
Spider plants can be grown from seeds, but most people start with a small plant or a cutting. If you’re starting from seeds, patience is key. Seeds should be planted in a well-draining soil mix and kept moist but not soggy. You’ll want to place them in a warm spot with indirect sunlight. After a couple of weeks, you’ll start to see tiny sprouts peeking through the soil.
Interestingly enough, spider plants are more often propagated from cuttings or the 'babies' that the mother plant produces. These tiny replicas of the adult plant, also known as spiderettes, can be snipped off and rooted in water or soil. Watching these little guys take root is quite rewarding and gives you a front-row seat to the plant’s growth journey.
Seeing a spider plant sprout is like watching a miracle unfold. The tiny leaves unfurl slowly, revealing their vibrant green stripes. It’s at this stage that you’ll want to ensure your plant has enough light to encourage healthy growth. Remember, too much direct sunlight can scorch their leaves, so aim for bright, indirect light.
2. The Growth Burst: Leaves and Roots
Once your spider plant has settled in, it’s time for the growth spurt. This is where having a time-lapse setup can be so rewarding, as you’ll see the leaves growing longer and the plant becoming bushier day by day. It’s like watching your favorite TV series but in plant form.
Spider plants grow rapidly, often doubling in size within a month or two. The key here is to ensure they have the right amount of water and light. They like their soil to dry out a bit between waterings, so overwatering can lead to root rot. Always check the top inch of soil with your finger — if it feels dry, it’s time to water.
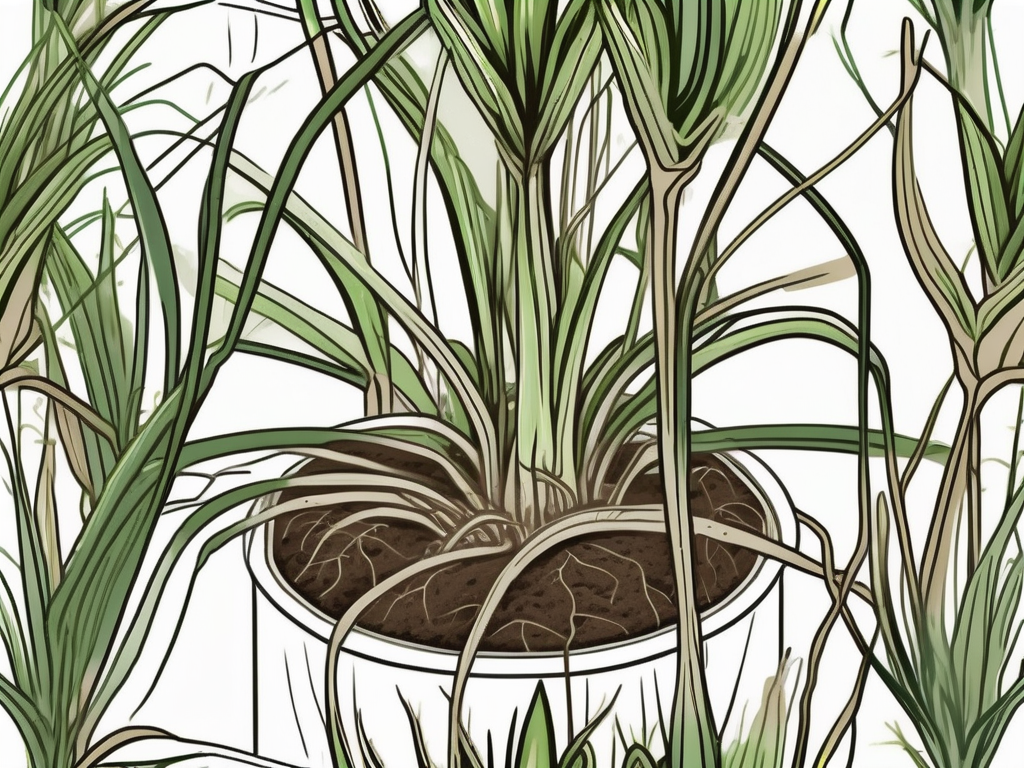
During this stage, the roots will start to fill out the pot. Spider plants are known for their root-bound nature, which means they actually thrive when their roots are a bit cramped. However, if you notice roots coming out of the drainage holes or the plant looking less vibrant, it might be time for a bigger pot. Repotting is best done in spring when the plant is actively growing.
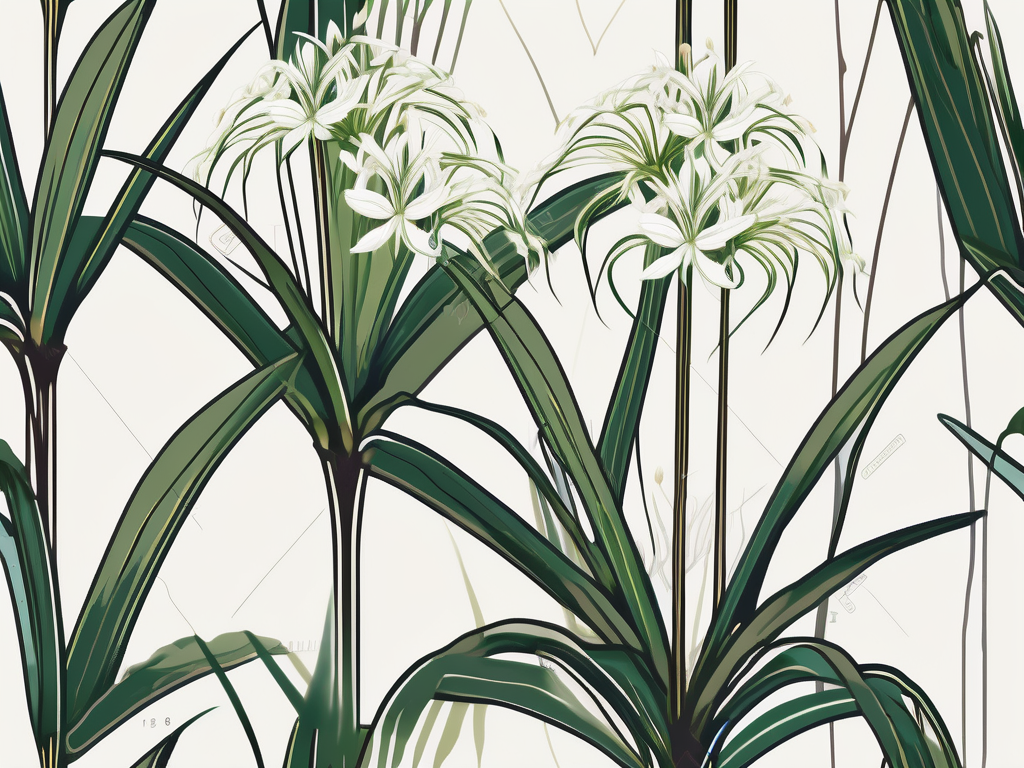
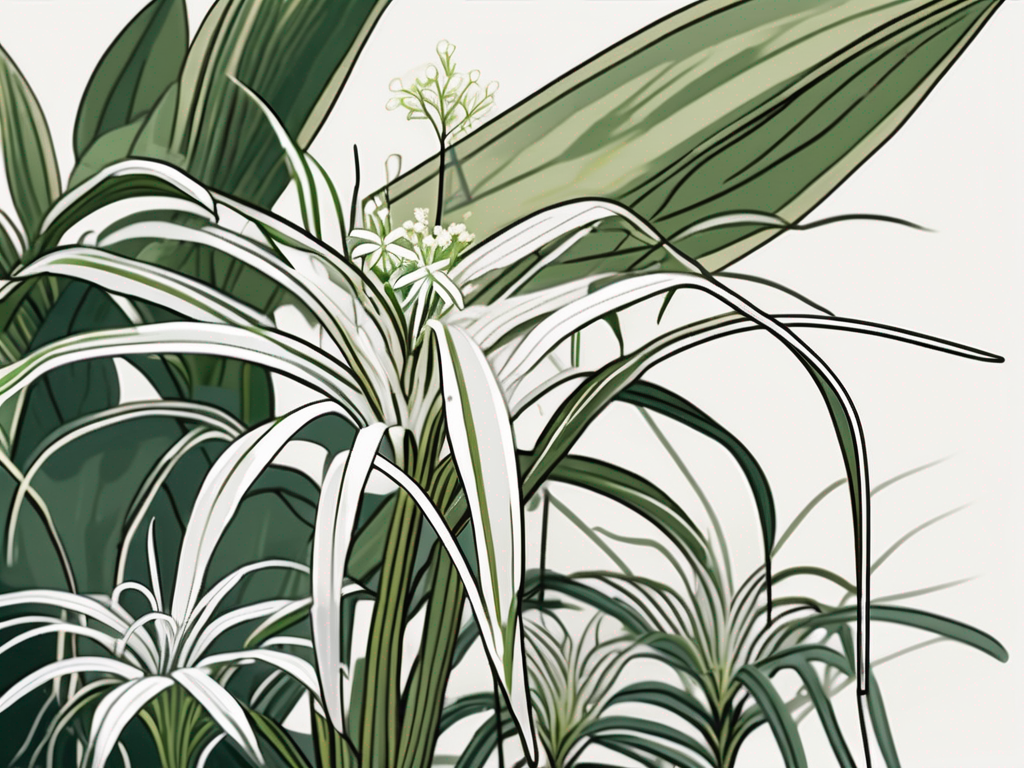
3. Reaching Maturity: Blossoms and Babies
The next exciting chapter in a spider plant’s life is reaching maturity. Once fully grown, your plant might start to produce small white flowers. These delicate blooms are the precursors to the spiderettes, which are like mini versions of the mother plant.
It’s quite a sight to see these little plantlets hanging from long stems. They’re not just cute but also a clear indication that your plant is happy and healthy. If you’re keen on propagating, these spiderettes can be rooted in water or soil to create new plants.
The flowering and propagation phase is often influenced by the plant’s environment. If your spider plant isn’t producing babies, check its light and feeding schedule. A little extra light or a balanced liquid fertilizer during the growing season might encourage flowering. But remember, patience is key — some plants take a little longer to reach this stage.
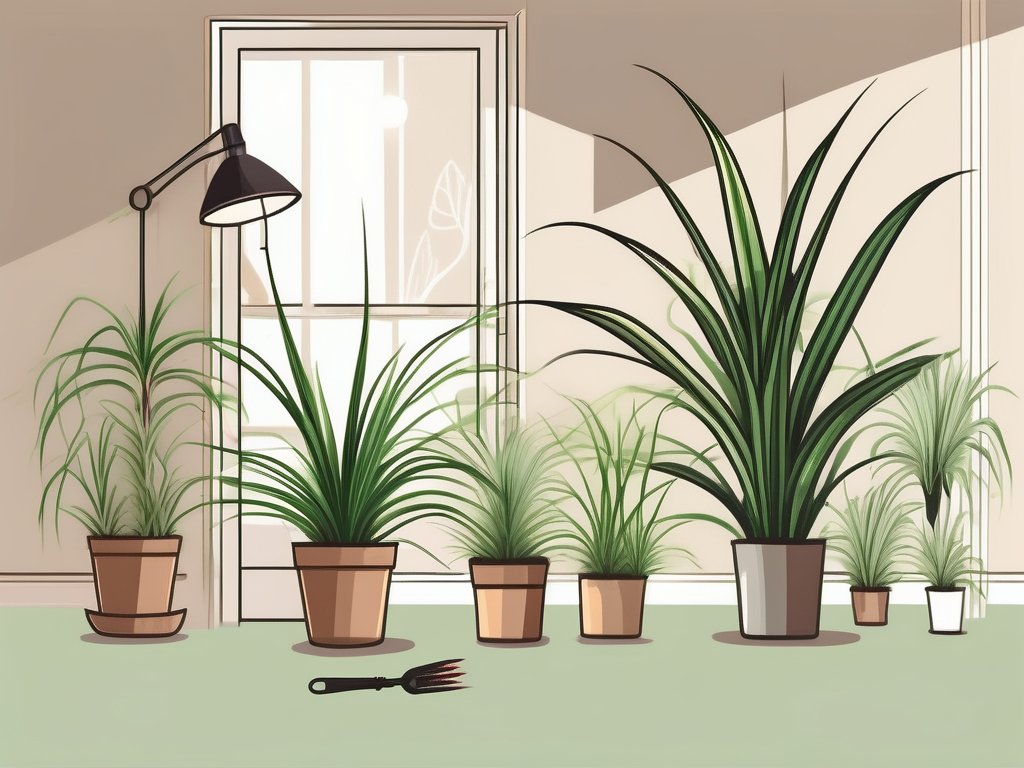
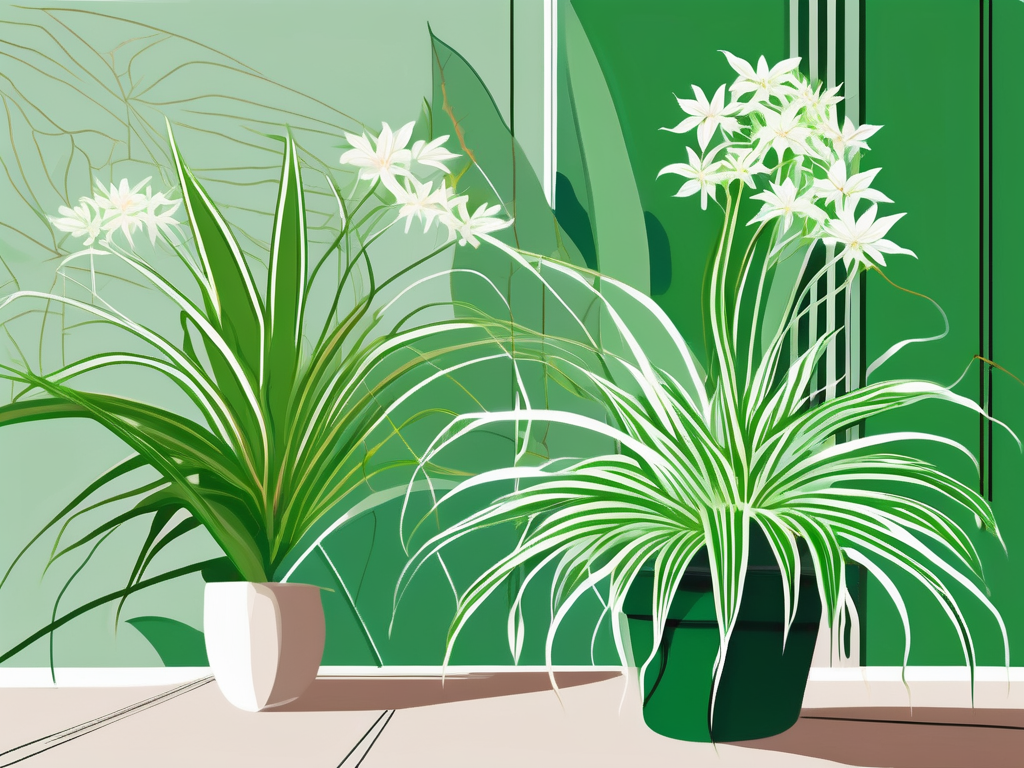
4. Spider Plants in Décor: Adding Green Glam to Your Space
Now that your spider plant is flourishing, it’s time to think about how to incorporate it into your living space. They’re incredibly versatile and can fit into almost any style of home décor.
For a minimalist look, place a single spider plant in a sleek white pot on a windowsill. If you’re into a more boho vibe, consider hanging your spider plant in a macramé hanger. The dangling spiderettes add a whimsical touch to any room.
These plants also do well in bathrooms since they thrive in humid environments. Consider setting one on a shelf or near the shower where it can soak up the moisture. Plus, they’re great at purifying the air, which is an added bonus for any room.
With their vibrant leaves and cascading growth, spider plants can also be a focal point in your home. Group them with other plants of varying heights to create a lush, green corner that draws the eye and invites relaxation.
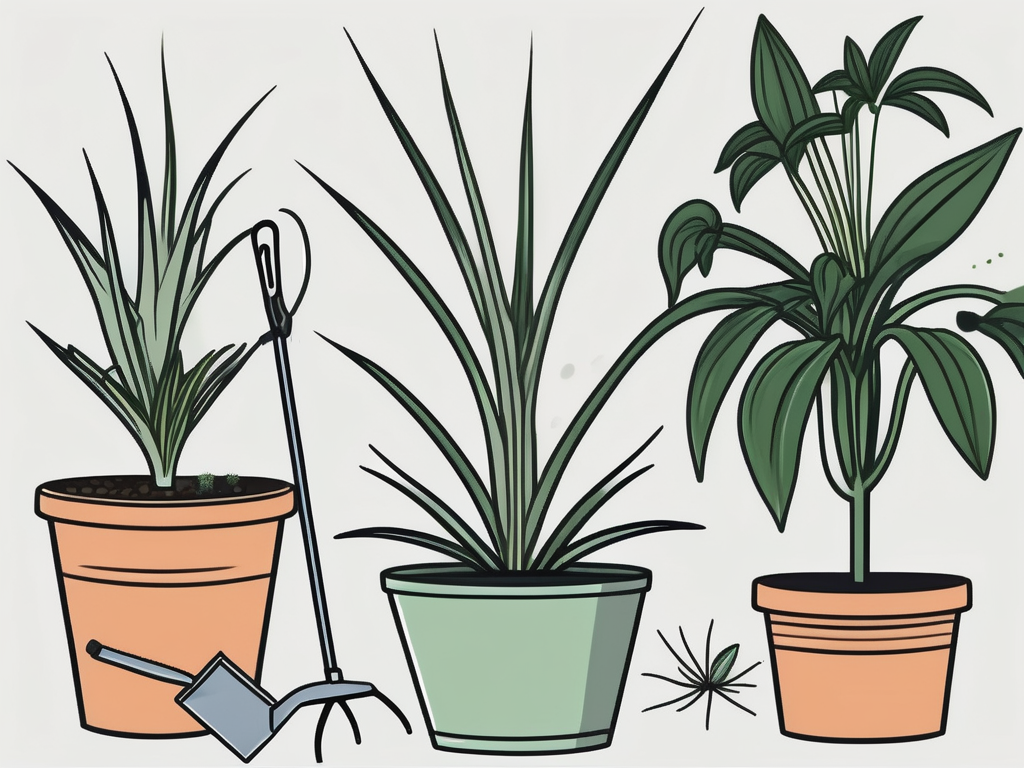
5. Troubleshooting: Dealing with Common Problems
Even the best plant parents encounter issues from time to time. With spider plants, the most common problems include browning leaf tips, pests, and root rot.
If you notice brown tips on your plant’s leaves, it could be due to fluoride in tap water, over-fertilization, or low humidity. To tackle this, try using distilled water or letting tap water sit out overnight before watering. Reducing fertilizer and misting the leaves can also help.
Pests like spider mites and aphids can occasionally make an appearance. A gentle spray of water or a mixture of water and mild soap can be effective in keeping these pests at bay. For more persistent infestations, consider using neem oil or a natural insecticide.
Root rot is usually a result of overwatering. If your plant’s leaves are yellowing or the plant looks generally unhappy, take it out of the pot and check the roots. Healthy roots are white, while rotten ones are brown and mushy. Trim away any rotten roots and repot the plant in fresh soil.
6. Nurturing Young Plants: Caring for Spiderettes
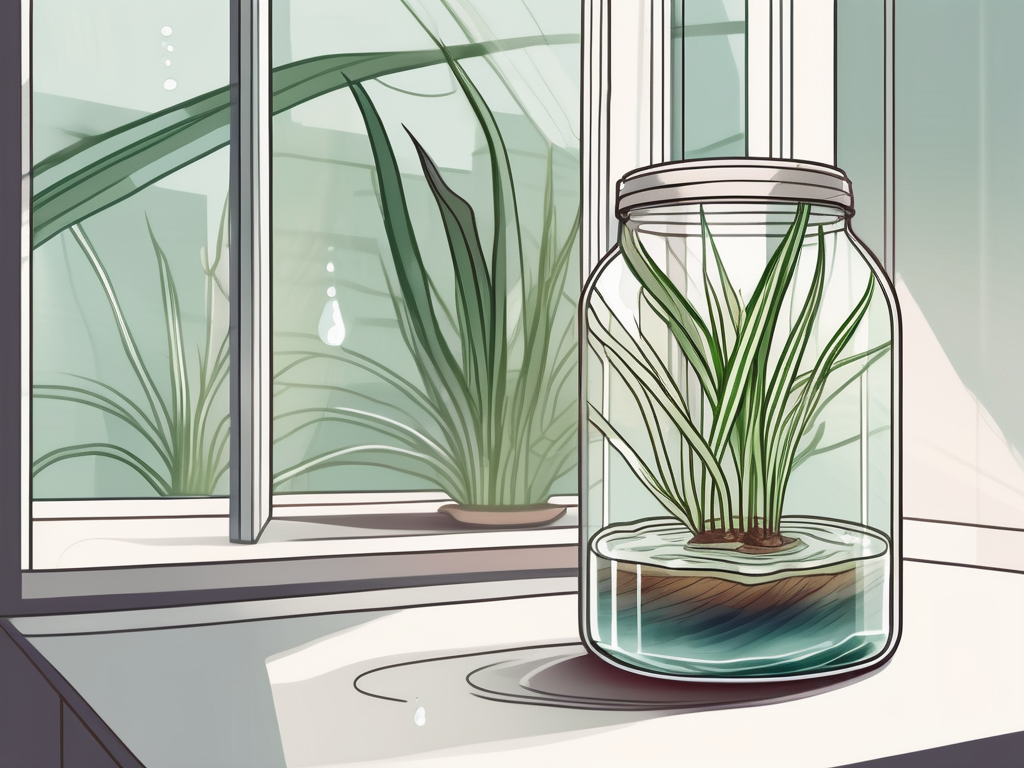
Once your spider plant starts producing spiderettes, you might feel the urge to propagate them, and who could blame you? These tiny offshoots are adorable and perfect for creating new plants.
To propagate, you can either cut the spiderette off from the mother plant and place it in a small pot with soil or suspend it over a glass of water until roots develop. If you choose the water method, change the water frequently to keep it fresh.
Once the spiderette has developed a decent root system, it can be planted in soil. Keep the soil lightly moist and place the new plant in a bright spot, but out of direct sunlight. Before you know it, you’ll have a whole new spider plant ready to start its own growth journey.
It’s like a fun game of plant dominoes — one plant becomes two, then four, and soon your home is filled with these charming air-purifying beauties. It’s a rewarding experience that doesn’t require a green thumb, just a little patience and care.
7. Seasonal Care: Adjusting Your Routine
Spider plants, like most houseplants, have different needs depending on the season. Understanding these seasonal shifts can help you provide the best care year-round.
During the growing season, which typically runs from spring to early fall, spider plants are more active. This is the time to fertilize monthly with a balanced liquid fertilizer and ensure they’re getting enough light and water.
In the winter months, growth slows down. You’ll want to cut back on watering and stop fertilizing altogether. Spider plants are pretty forgiving, but they do appreciate a period of rest during the cooler months.
Temperature is another consideration. Spider plants prefer temperatures between 65-75°F (18-24°C) but can tolerate a bit of fluctuation. Just make sure they’re not exposed to cold drafts or placed too close to a heater, as this can dry them out.
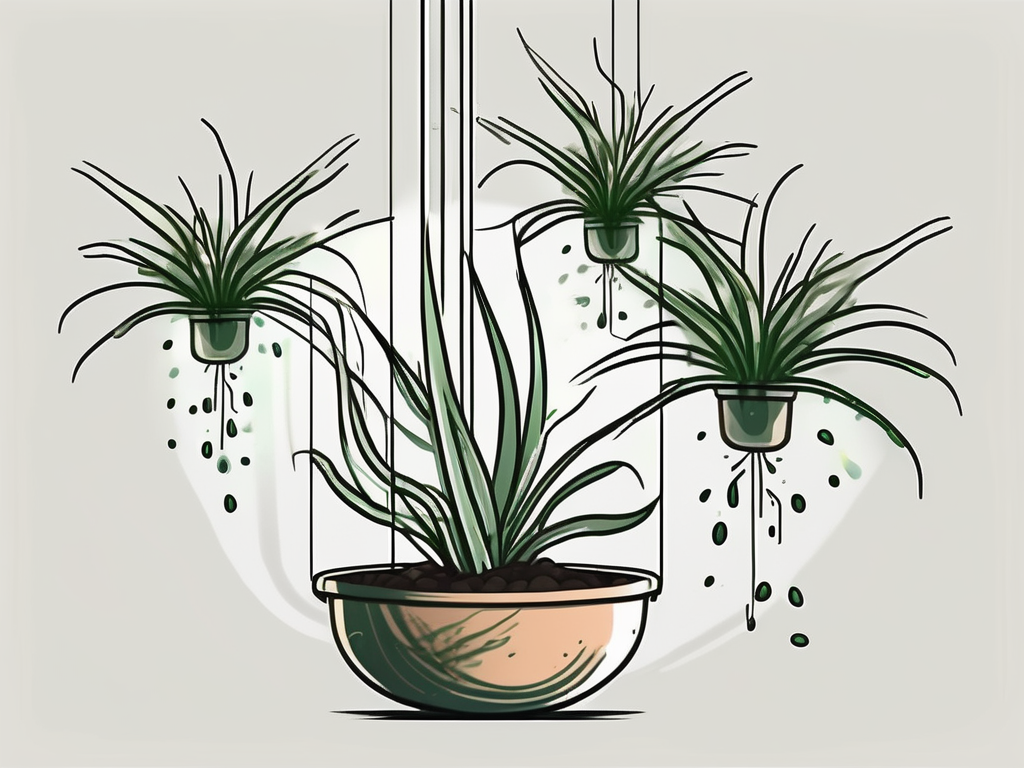
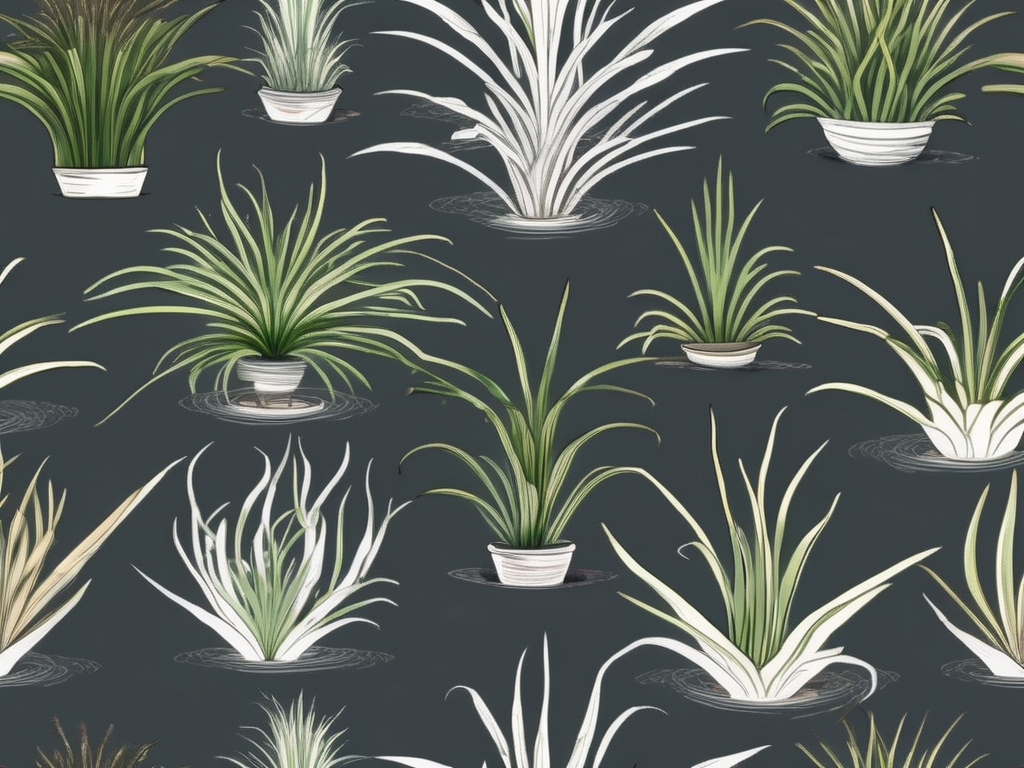
8. Creative Display Ideas: Show Off Your Spider Plant
Displaying your spider plant creatively can really make it the star of your home. Here are a few ideas to get you started:
- Vertical Gardens: Use a series of pots or a plant stand to create a vertical display that showcases the plant’s cascading leaves.
- Hanging Baskets: Spider plants look stunning in hanging baskets, especially when their spiderettes start to dangle down.
- Terrariums: Create a mini indoor garden by placing a spider plant in a terrarium. This is great for smaller spaces and adds a unique touch to your décor.
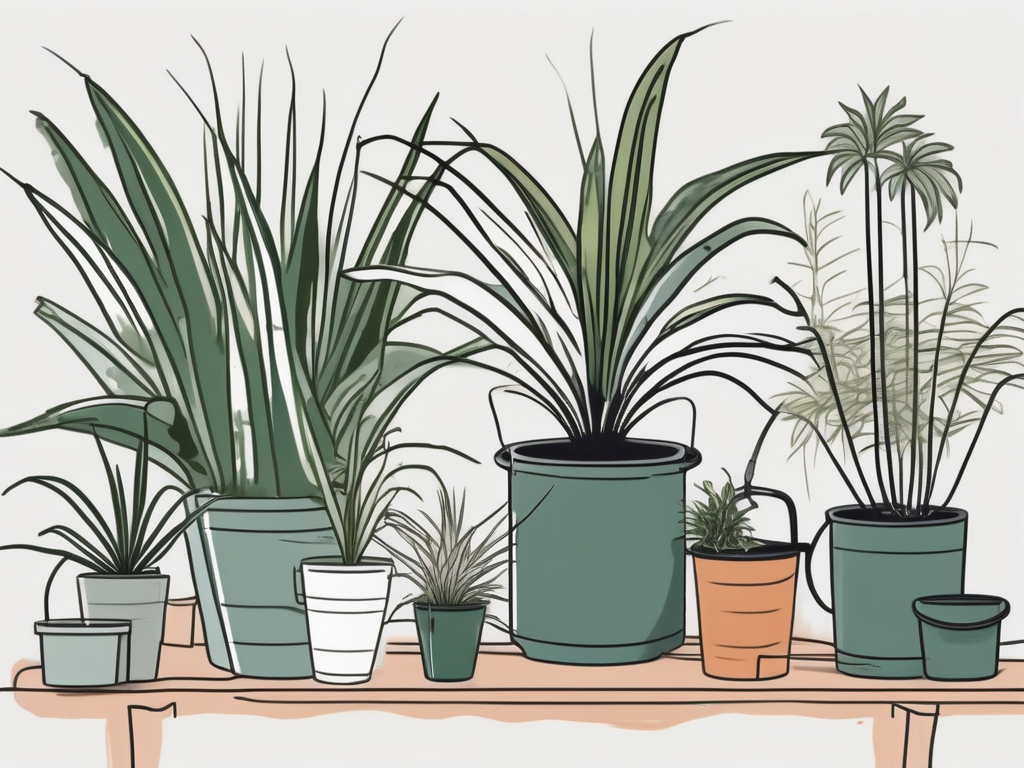
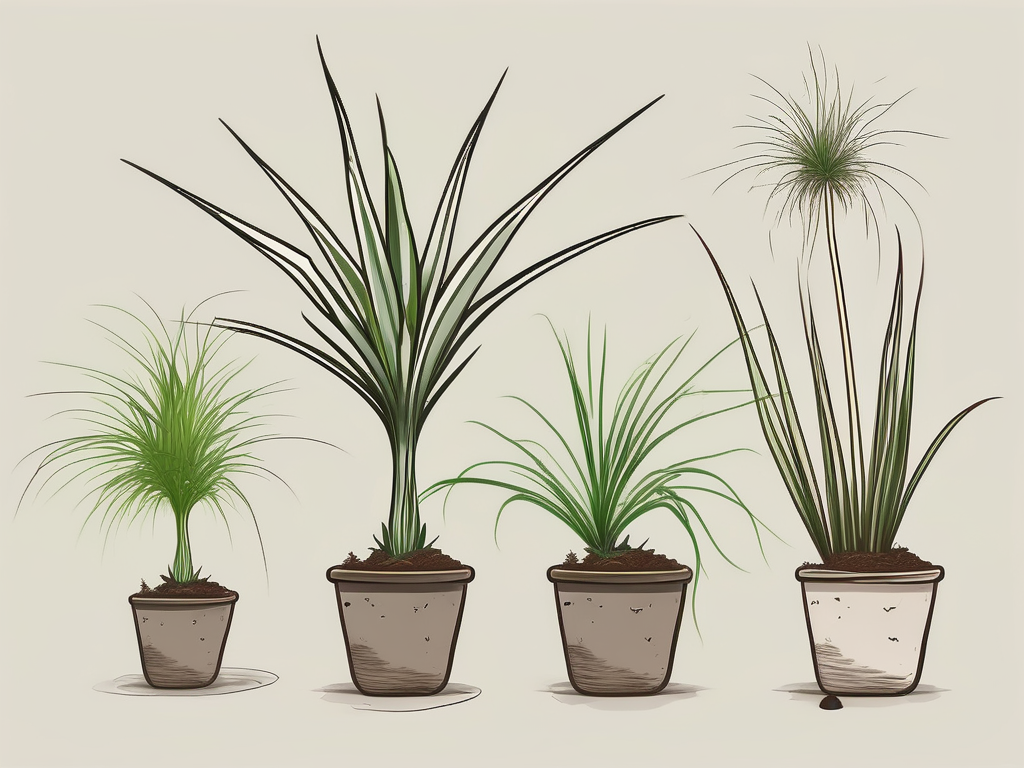
- Mixed Arrangements: Pair your spider plant with other houseplants in a large pot for a diverse and lush arrangement.
These ideas not only enhance the beauty of your plants but also let you express your personal style. Have fun experimenting with different arrangements and see what works best for your space.
9. The Joy of Sharing: Gifting Spider Plants
One of the best things about spider plants is how easy they are to share. Whether it’s a friend, family member, or neighbor, gifting a spider plant is like sharing a piece of nature’s joy.
Simply pot up a spiderette in a small pot and add a little tag with care instructions. It’s a thoughtful and personal gift that’s sure to be appreciated. Plus, it’s a great way to introduce someone to the world of plant care without overwhelming them.
Sharing plants also helps spread the love of greenery and encourages others to connect with nature. Who knows, your little gift might inspire someone to start their own plant journey!
Final Thoughts
From sprouting leaves to dangling babies, spider plants truly are a fascinating spectacle to watch. Their growth journey is not only captivating but also rewarding as you nurture them into mature plants that beautify your home and even purify the air.
At Cafe Planta, we’re passionate about helping you care for your houseplants and create a thriving indoor garden. Whether you're looking for advice or a new plant to add to your collection, feel free to email us or reach out on Instagram. We believe plants bring us closer to nature and each other, and we’re excited to share this journey with you.