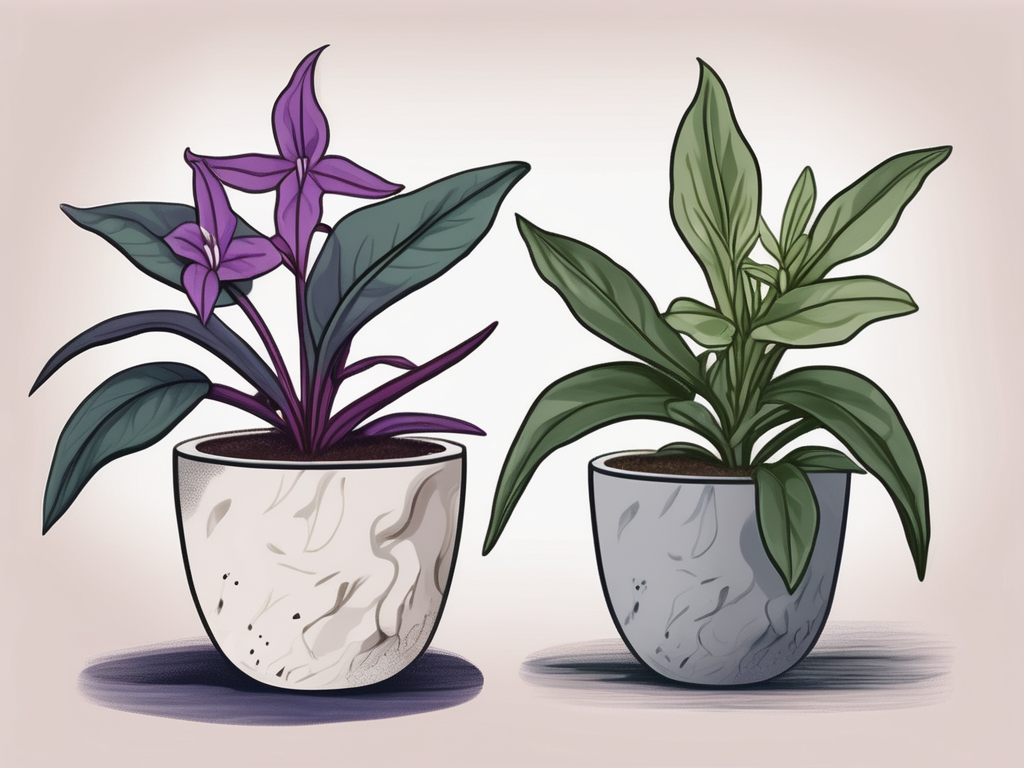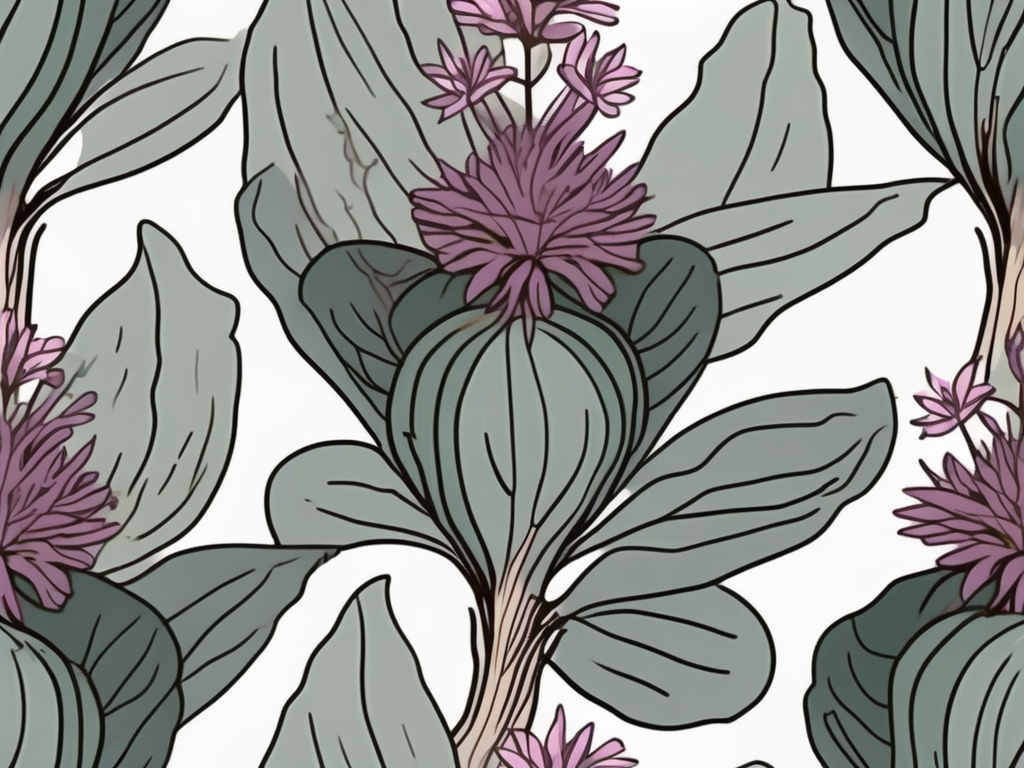
Oyster plants, known for their striking appearance and easygoing nature, are becoming quite popular among houseplant lovers. Their vibrant green leaves with purple undersides add a pop of color to any room, making them a lovely choice for both beginners and seasoned plant people. Whether you're looking to start your indoor jungle or add a unique touch to your existing collection, understanding how to care for oyster plants can make all the difference in keeping them healthy and vibrant.
This article covers everything you need to know about oyster plant care. We'll discuss how to choose the right location, potting and soil needs, watering requirements, as well as tips for dealing with common pests and problems. Plus, we'll touch on some design ideas to incorporate these beauties into your home decor. So, let's get started on your journey to becoming an oyster plant pro!
Choosing the Right Spot for Your Oyster Plant
One of the first things to consider when bringing an oyster plant into your home is where to place it. These plants thrive in bright, indirect light, which means they enjoy a well-lit spot but don't want to be in direct sunlight all day. Too much sun can scorch the leaves, while too little light can cause them to lose their vibrant color.
Think about placing your oyster plant near a north or east-facing window, where it can get plenty of light without being exposed to the harsh midday sun. If your home doesn't have a lot of natural light, don't worry! Oyster plants are quite adaptable and can tolerate lower light conditions, though their growth might slow down a bit.
Keep in mind that oyster plants also enjoy a warm environment. They're not fans of cold drafts or sudden temperature changes, so avoid placing them near doors or windows that are frequently opened and closed. A stable environment will keep your plant happy and thriving.
Potting and Soil Needs
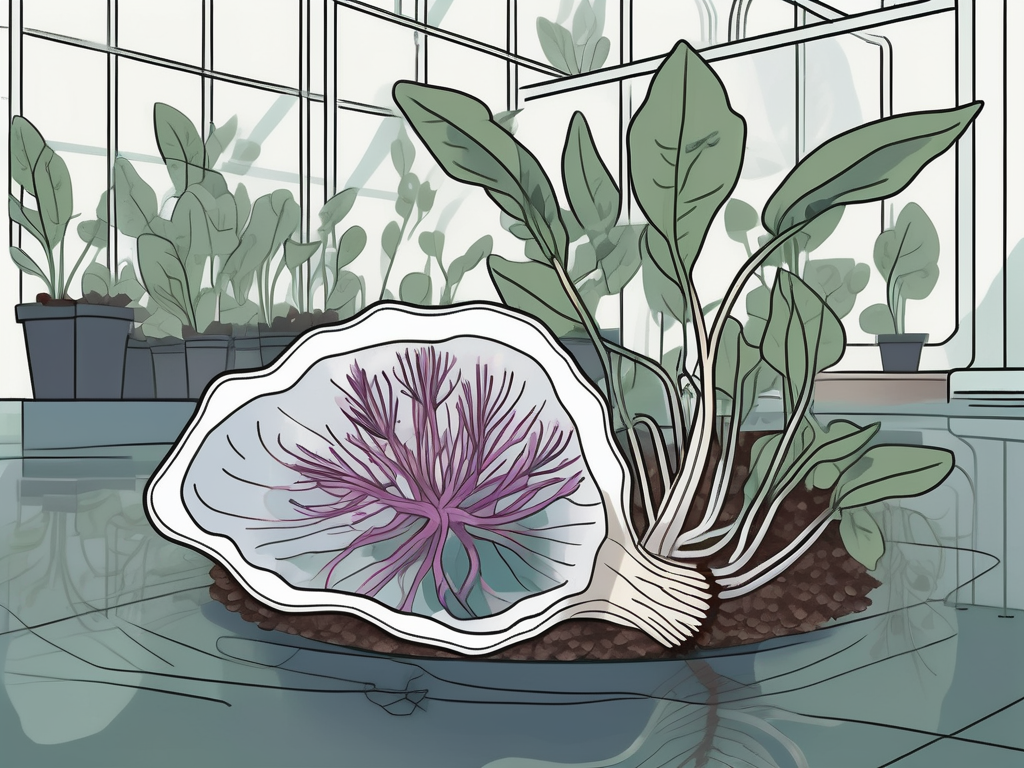
When it comes to potting your oyster plant, drainage is key. These plants don't like to sit in water, so choosing a pot with drainage holes is a must. This allows excess water to escape, preventing root rot, which is a common issue for many houseplants.
As for soil, a well-draining potting mix is ideal. You can use a standard houseplant potting soil, but consider adding some perlite or sand to improve drainage further. This helps to ensure that water moves through the soil quickly, keeping your plant's roots healthy and happy.
It's also a good idea to repot your oyster plant every couple of years. Over time, the soil can become compacted, limiting the plant's ability to access nutrients and water. When repotting, choose a pot that's slightly larger than the current one, giving your plant room to grow.
Watering Your Oyster Plant
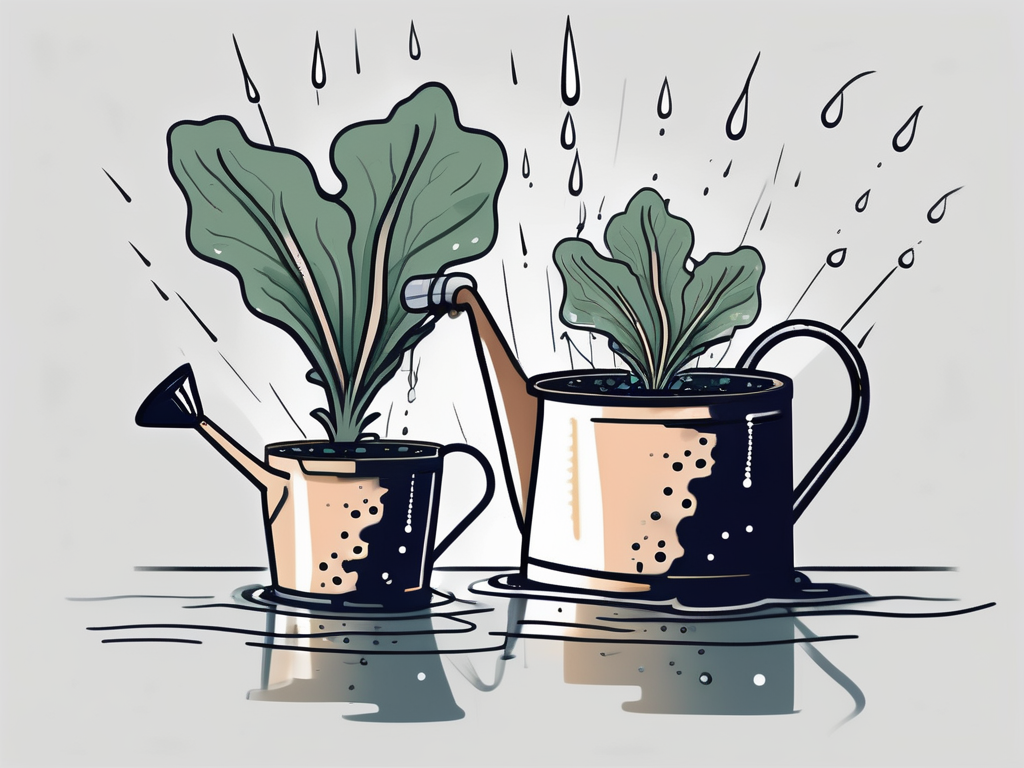
Watering is one of the most important aspects of plant care, and oyster plants are no exception. The key is to strike a balance between keeping the soil moist without over-watering. A good rule of thumb is to water when the top inch of soil feels dry to the touch.
During the growing season, which is typically spring and summer, your oyster plant will need more water as it grows. You might find yourself watering it once a week or so. In the fall and winter, when the plant's growth slows down, you can reduce the frequency of watering.
Always use room-temperature water, and try to water in the morning. This gives the plant the whole day to absorb the moisture and reduces the risk of fungal issues that can arise from water sitting on the leaves overnight.
Fertilizing for Optimal Growth
To help your oyster plant thrive, consider feeding it with a balanced liquid fertilizer during the growing season. A monthly feeding can provide the nutrients necessary for healthy growth and vibrant foliage. Remember to dilute the fertilizer to half the recommended strength to avoid over-fertilizing, which can damage the plant.
In the winter, when the plant's growth slows, you can pause fertilization. This rest period allows the plant to conserve energy and prepare for the next growing season. If you notice the leaves losing their vibrant color or the plant's growth becoming stunted, it might be a sign to resume feeding in the spring.
Dealing with Pests and Problems
Oyster plants are generally low-maintenance, but they can occasionally fall prey to pests and problems. Common pests include spider mites, aphids, and mealybugs. If you notice small webs, sticky residue, or cotton-like masses on your plant, it's time to take action.
A gentle solution of water and mild dish soap can help wash away these pests. Simply spray the affected areas and gently wipe down the leaves. For more persistent infestations, consider using neem oil or an insecticidal soap, both of which are safe for indoor plants.
In terms of problems, yellowing leaves can indicate over-watering, while browning tips may be a sign of too little humidity. Adjust your watering schedule and consider misting the plant or using a humidity tray to address these issues.
Incorporating Oyster Plants into Your Home Decor
Oyster plants can be a stunning addition to your home decor. Their unique coloring and compact growth habit make them perfect for adding a touch of nature to small spaces or complementing larger plant arrangements. Here are a few ideas to get you started:
- Terrariums: Oyster plants are great candidates for terrariums due to their moderate size and love of humidity. A glass terrarium can be a beautiful way to showcase their colors while keeping them in a controlled environment.
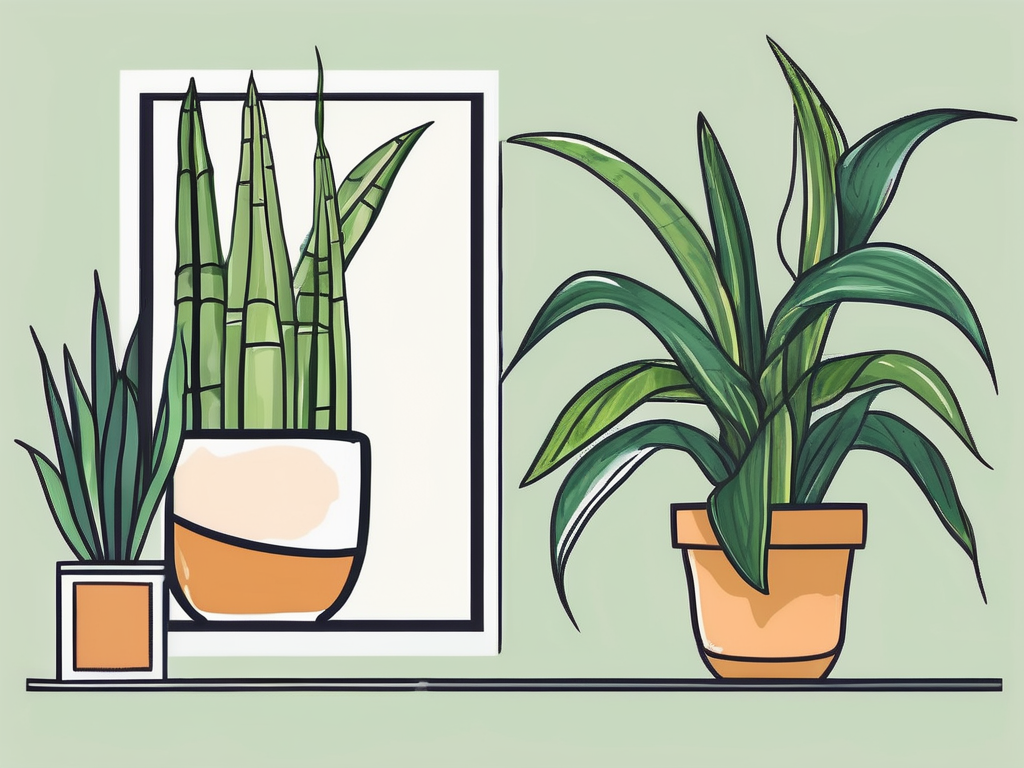
- Grouping with other plants: Pair your oyster plant with other houseplants like pothos or snake plants for a visually interesting display. The contrasting leaf colors and textures create a dynamic look that can liven up any corner.
- Decorative pots: Choose a pot that complements the purple hues of your oyster plant. A white or neutral-colored pot can make the leaves pop, while a colorful pot can add a playful element to your decor.
Pruning and Propagation
Pruning your oyster plant helps maintain its shape and encourages new growth. Trim away any dead or yellowing leaves to keep the plant looking tidy. If your plant becomes too leggy, you can also trim the stems back to promote bushier growth.
Propagation is another exciting aspect of oyster plant care. You can easily propagate oyster plants through division. When repotting, gently separate the plant into smaller sections, ensuring each section has roots attached. Plant these divisions in their own pots, and you'll have new plants to share with friends or add to your collection.
Creating a Plant Care Routine
Establishing a routine can make caring for your oyster plant a breeze. Consider setting aside a specific day each week for plant care tasks like watering, dusting leaves, and checking for pests. This helps you stay on top of your plant's needs and ensures it remains healthy and vibrant.
Using a plant care app or maintaining a plant journal can also be helpful. Documenting your plant's growth, watering schedule, and any issues that arise provides valuable insights into its care and helps you make adjustments as needed.
Enjoying the Benefits of Oyster Plants
Beyond their beauty, oyster plants offer several benefits. They're known for their air-purifying abilities, helping to remove toxins from the air and create a healthier indoor environment. Having plants like the oyster plant in your home can also reduce stress and improve mood, making them a great addition to any living space.
Whether you're an experienced plant parent or just starting out, oyster plants can bring joy and beauty to your home. Their unique appearance and easygoing nature make them a favorite among plant lovers everywhere.
Final Thoughts
Caring for oyster plants is a rewarding experience that brings vibrant color and life into your home. By choosing the right location, providing the proper soil and water, and keeping an eye out for pests, you can enjoy a thriving oyster plant that enhances your living space.
At Cafe Planta, we're passionate about helping you care for your plants. Whether you have questions or need support, feel free to reach out via email or connect with us on Instagram. We believe that plants have the power to bring us together and inspire a deeper connection with nature and each other. Happy planting!


