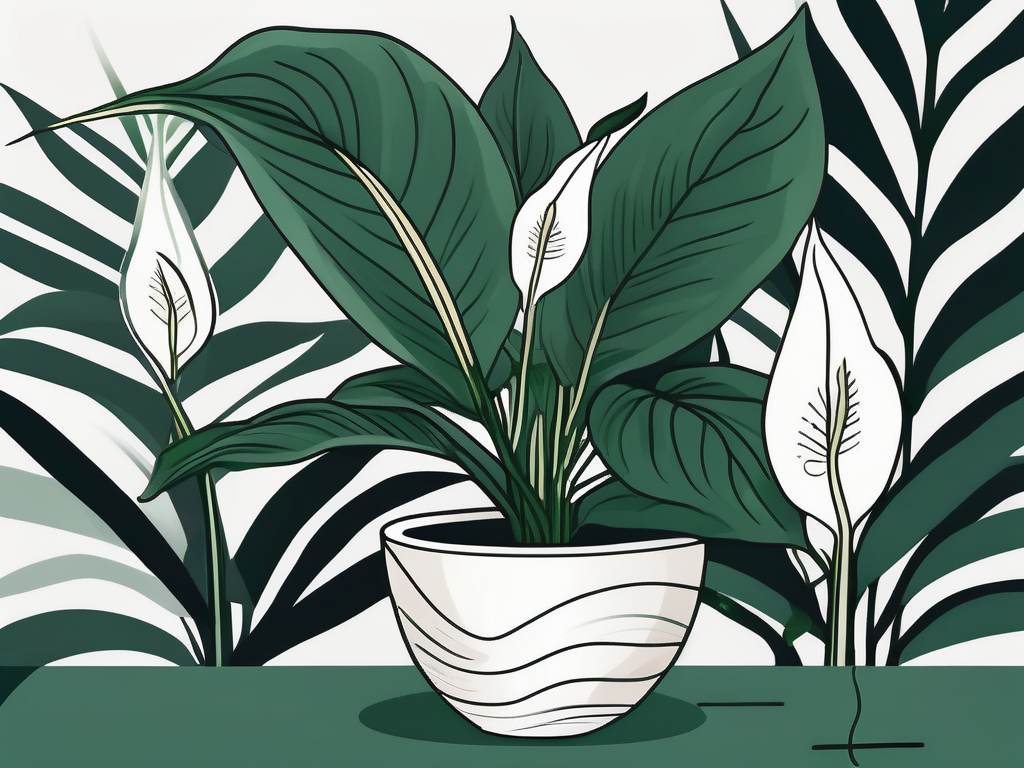
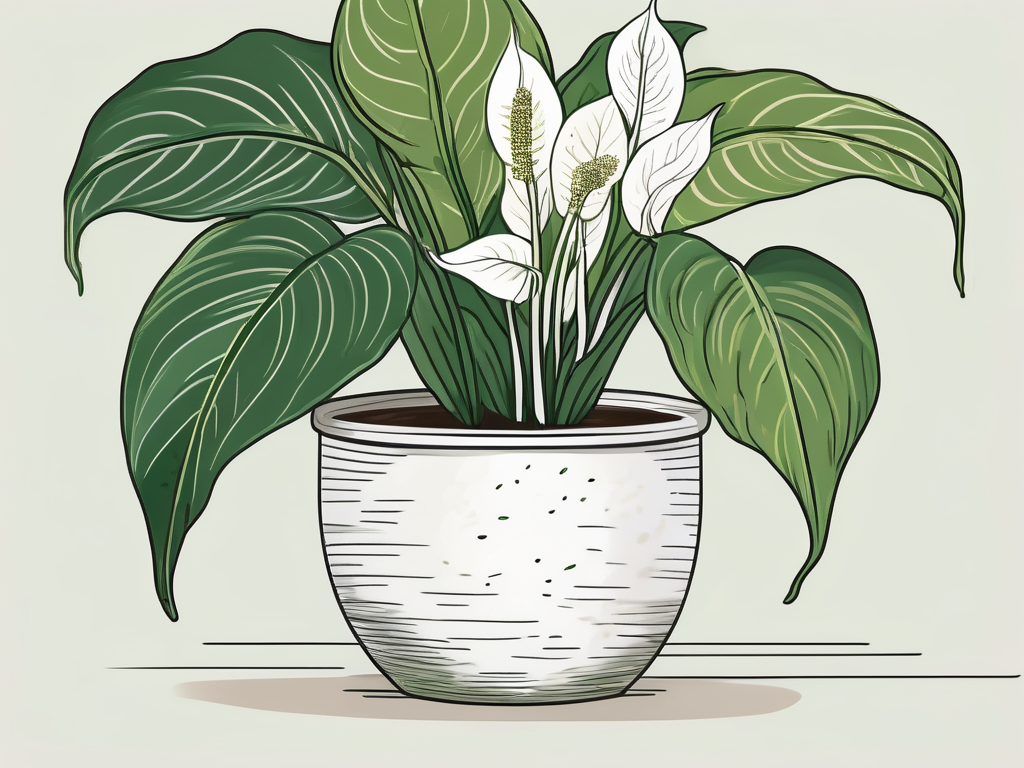
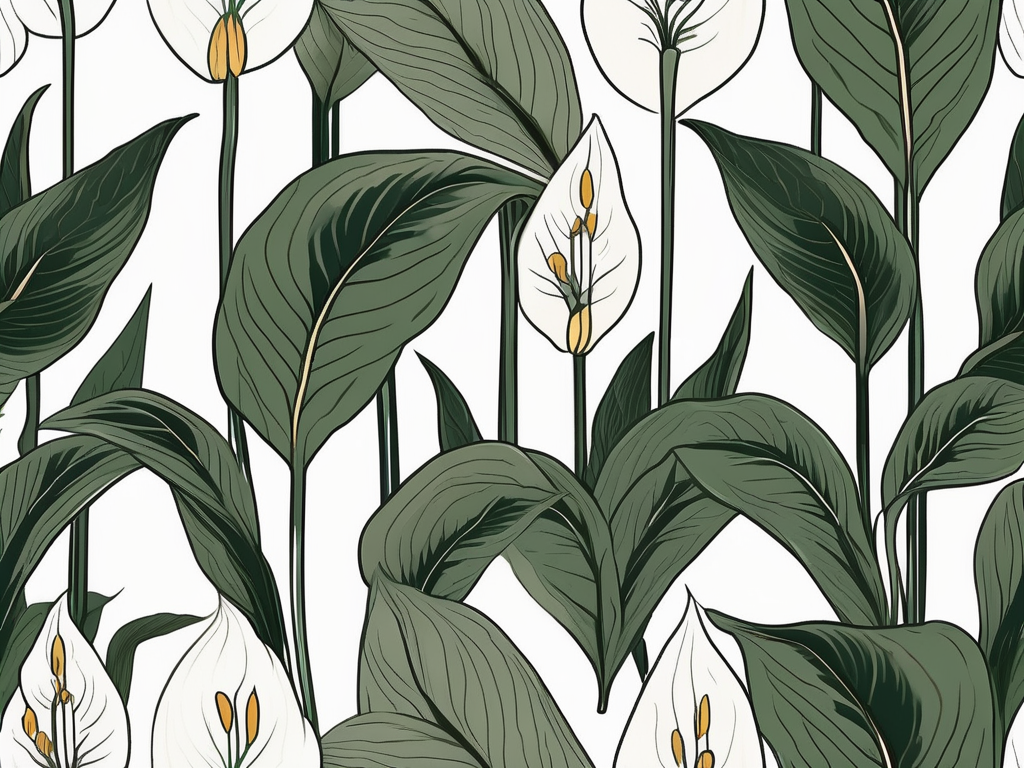
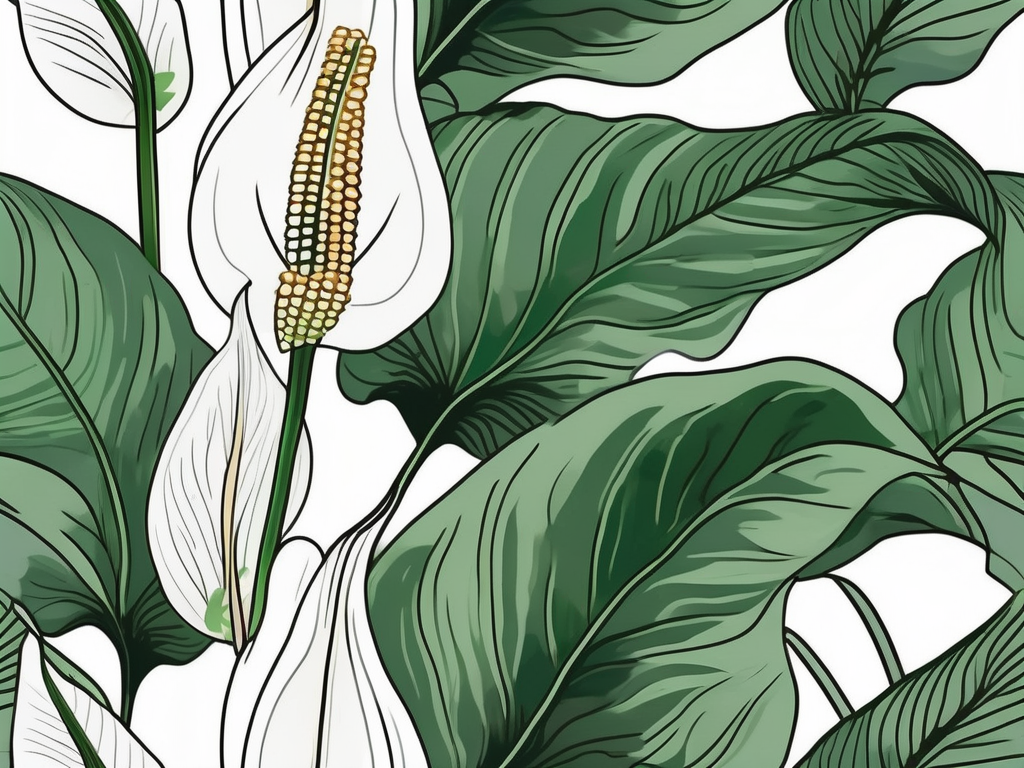
Peace lilies are beloved for their striking appearance and air-purifying qualities. But did you know you can grow them from seeds? While they’re commonly propagated through division, starting them from seeds offers a unique challenge and a rewarding experience.
This article will walk you through everything you need to know about growing peace lilies from seeds. From seed selection and preparation to planting and nurturing your seedlings, we’ll cover it all. By the end, you’ll be ready to start your own peace lily journey from scratch!
Choosing the Right Seeds
Before you get started, it’s crucial to select the right seeds. Not all peace lily seeds are created equal, and quality can vary significantly depending on the source. Here are some tips to help you choose the best seeds:
- Reputable Suppliers: Always purchase seeds from a reputable supplier. This ensures that the seeds are viable and have a higher chance of germination.
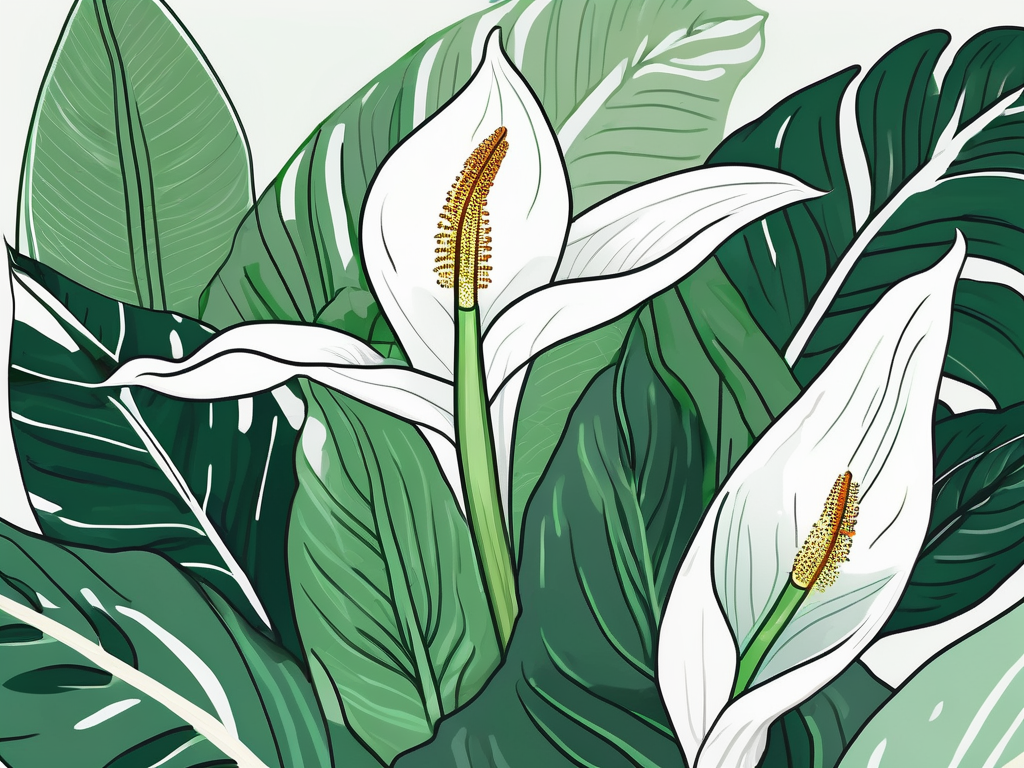
- Variety: Peace lilies come in various types. Whether you want a classic variety or something more exotic, make sure you’re buying the specific type you’re interested in.
- Freshness: Ask about the seeds’ harvest date. Fresher seeds generally have a better germination rate.
Once you’ve found a reliable source, order your seeds and get ready to start growing!
Preparing the Seeds
Now that you have your seeds, it’s time to prepare them for planting. This step is vital to ensure successful germination. Here’s how you can prepare your peace lily seeds:
Soak the Seeds
Peace lily seeds benefit from soaking. This process softens the seed coat, making it easier for the seeds to sprout. To soak your seeds:
- Fill a bowl with lukewarm water.
- Add the seeds and let them sit for 24 hours.
- After soaking, gently rinse the seeds to remove any residue.
Scarification
While not always necessary, scarification can help stubborn seeds germinate. This involves gently nicking the seed coat to encourage sprouting. Use a small file or sandpaper, and be careful not to damage the seed itself.
Planting the Seeds
With your seeds prepped, it’s time to plant them. Creating the right environment is crucial for germination and growth. Here’s a step-by-step guide to planting your peace lily seeds:
Select the Right Soil
Peace lilies thrive in well-draining soil. A mix of potting soil, perlite, and peat moss works well. This combination provides the perfect balance of drainage and moisture retention.
Planting Process
- Containers: Use small pots or seed trays. Ensure they have drainage holes to prevent waterlogging.
- Depth: Plant the seeds about half an inch deep.
- Spacing: Keep the seeds about two inches apart to give them room to grow.
- Watering: Lightly water the soil until it’s moist but not soggy.
Once planted, cover the pots with plastic wrap or a humidity dome to retain moisture and warmth.
Providing the Right Conditions
Peace lilies need specific conditions to thrive, especially during the germination phase. Here’s how to create the ideal environment for your seedlings:
Temperature
Peace lily seeds prefer warm conditions. Aim for a temperature range of 70-75°F (21-24°C). You can use a heat mat if your home is cooler than this.
Light
While peace lilies don’t require direct sunlight, they do need bright, indirect light to germinate. A location near a north or east-facing window is ideal. If natural light is insufficient, consider using grow lights.
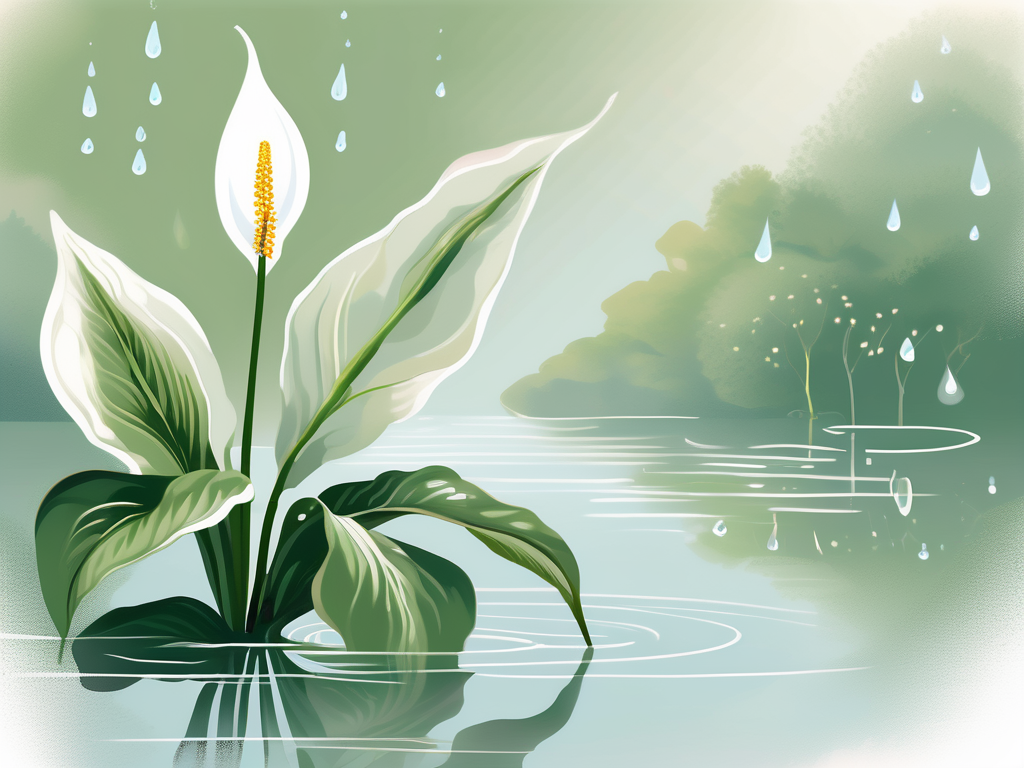
Humidity
High humidity is essential for peace lilies. Keep the humidity levels around 60-70%. You can achieve this by misting the plants or using a humidifier.
Watering and Care
Proper watering is crucial during the seedling stage. Overwatering or underwatering can both be detrimental. Here’s how to care for your peace lily seedlings:
Watering Tips
- Check the soil moisture regularly. The top layer should be slightly dry before re-watering.
- Use room temperature water to avoid shocking the seedlings.
- Water from the bottom by placing the pot in a shallow dish of water. This encourages the roots to grow downwards.
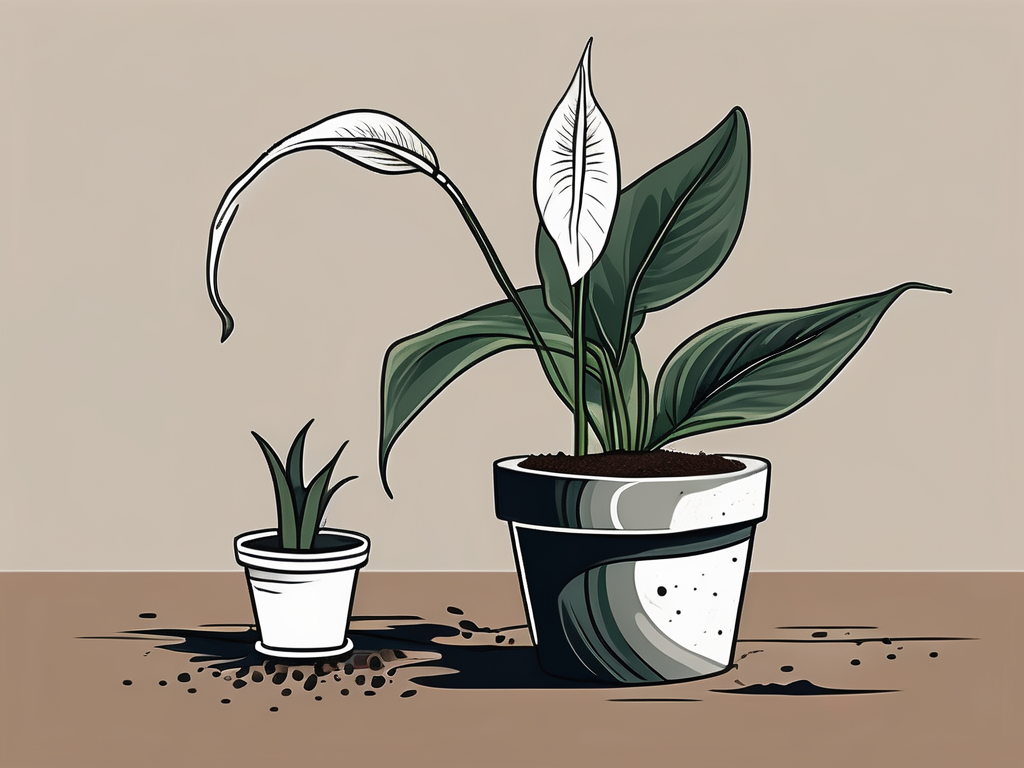
Keep an eye on the seedlings for any signs of stress, such as wilting or yellowing leaves, and adjust your watering schedule accordingly.
Transplanting Seedlings
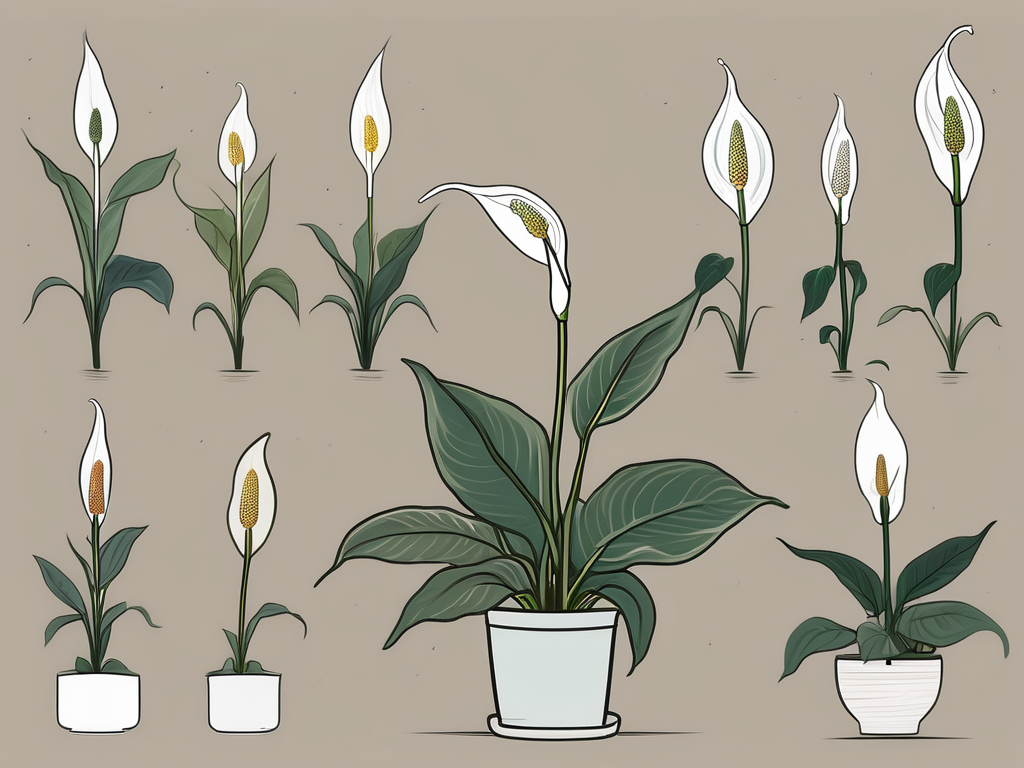
Once your seedlings have grown a few inches tall and have several leaves, it’s time to transplant them into larger pots. This allows the roots more space to expand and the plant to continue developing.
Transplanting Steps
- Choose a pot that’s one size larger than the current container.
- Use fresh potting soil with good drainage properties.
- Gently remove the seedling from its original pot, being careful not to damage the roots.
- Place the seedling in the new pot, fill with soil, and water lightly.
After transplanting, keep the peace lily in a similar light and temperature condition to help it adjust.
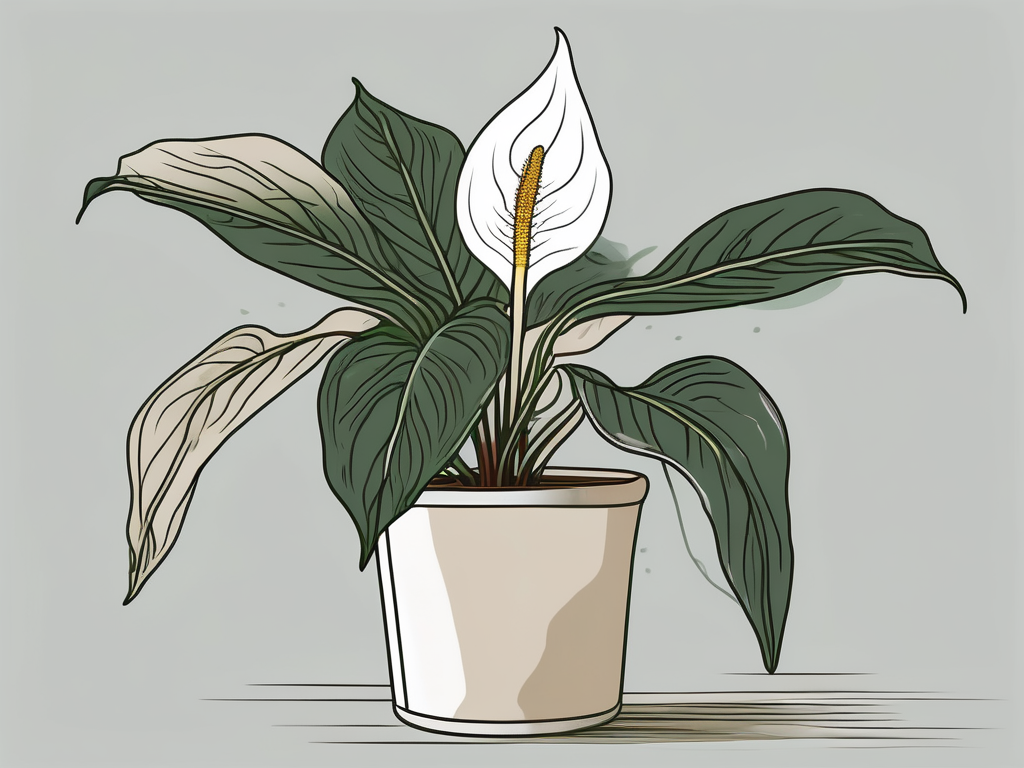
Dealing with Pests and Diseases
Even with the best care, pests and diseases can occur. Here’s how to spot and handle common problems:
Common Pests
- Spider Mites: Look for webbing and tiny moving dots on the leaves. Use insecticidal soap or neem oil to treat.
- Mealybugs: These look like small cotton balls. Wipe them off with a cotton swab dipped in alcohol.
Diseases
Fungal diseases can affect peace lilies, often due to overwatering or poor air circulation. Remove affected leaves and improve ventilation to prevent recurrence.
Encouraging Blooms
While growing peace lilies from seeds, getting them to bloom can be the ultimate reward. Here are some tips to encourage flowering:
- Light: Ensure your peace lily gets enough indirect light. Too little light can inhibit blooms.
- Fertilizing: Use a balanced, water-soluble fertilizer every 6-8 weeks during the growing season.
- Temperature: Slightly cooler nights can trigger blooms. Aim for about 10°F (5°C) cooler at night than during the day.
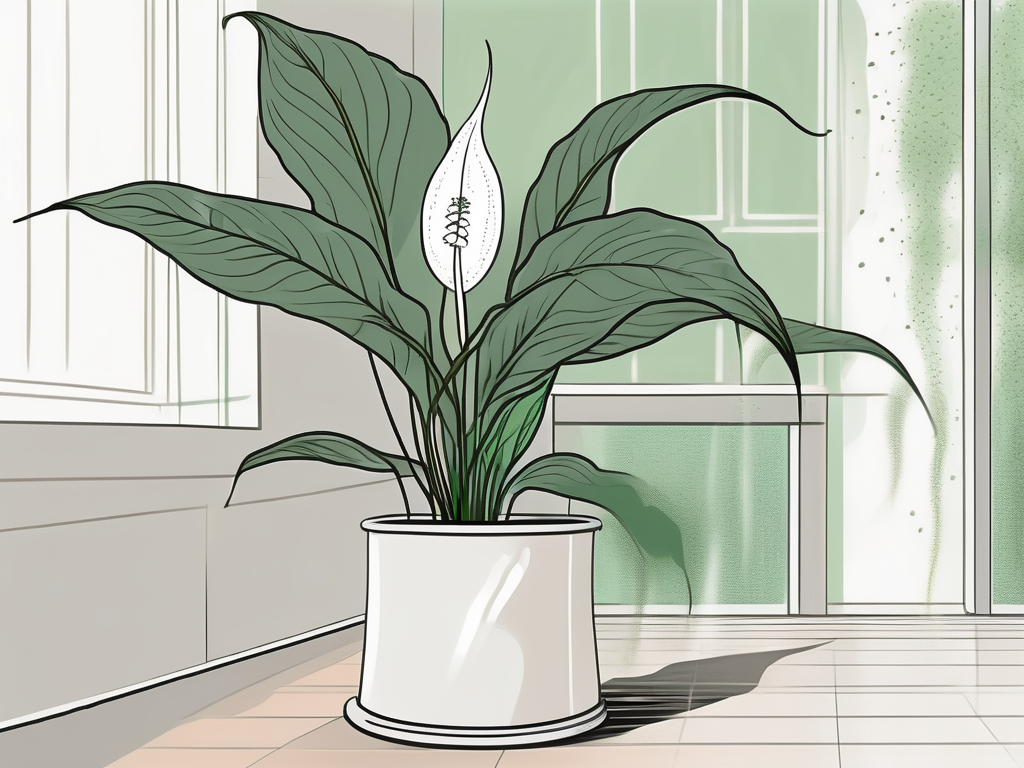
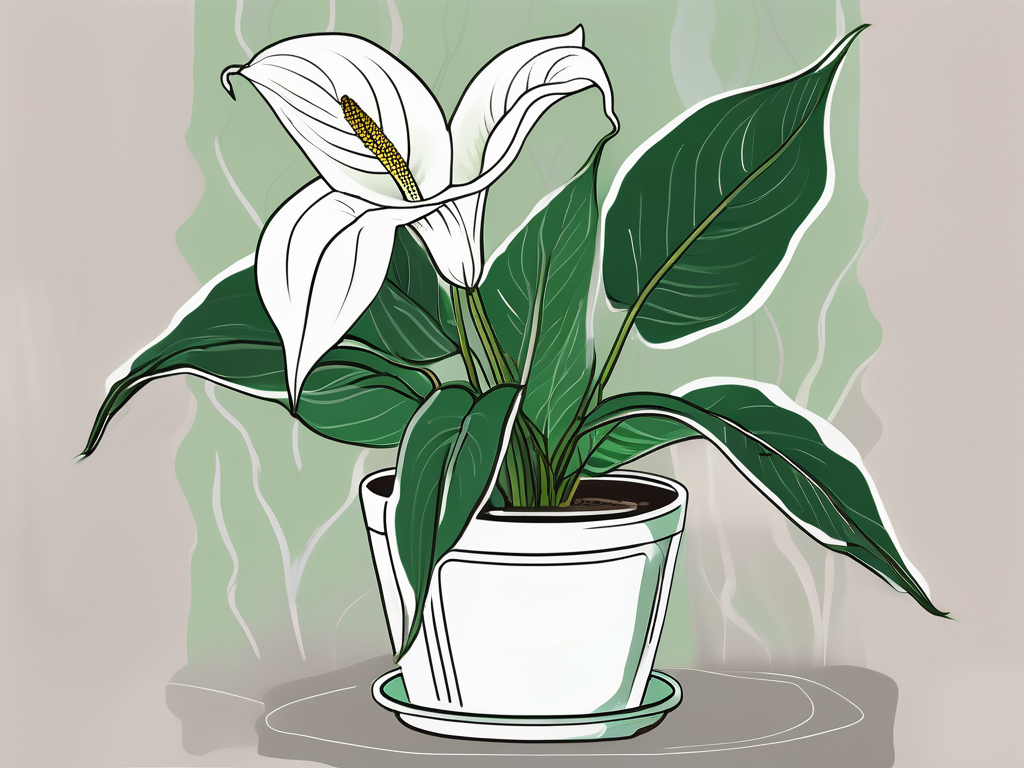
Designing with Peace Lilies
Once your peace lilies are thriving, it’s time to think about incorporating them into your home decor. Their striking foliage and elegant flowers can enhance any space. Here’s how to design with peace lilies:
- Placement: Use peace lilies as focal points on shelves, tables, or in corners where they can draw attention.
- Grouping: Group several peace lilies together for a lush, green display.
- Containers: Choose decorative pots that complement your home’s style, whether modern, rustic, or eclectic.
With a little creativity, peace lilies can transform your home into a serene, plant-filled oasis.
Conclusion
Final Thoughts
Growing peace lilies from seeds is a journey filled with patience and delight. From selecting the right seeds to watching them bloom, each step brings you closer to a lush, green home.
At Cafe Planta, we're passionate about helping you succeed in your plant journey. Whether you're seeking unique plants or need plant care advice, we're here for you. Feel free to email or connect with us on Instagram. Let's grow together!