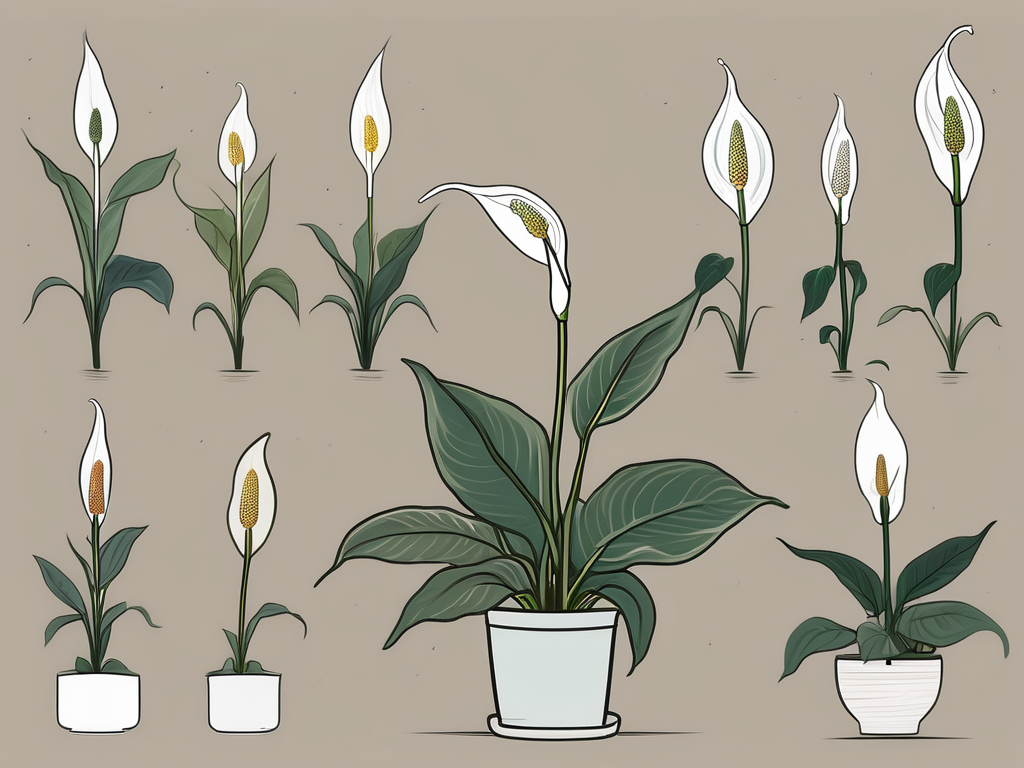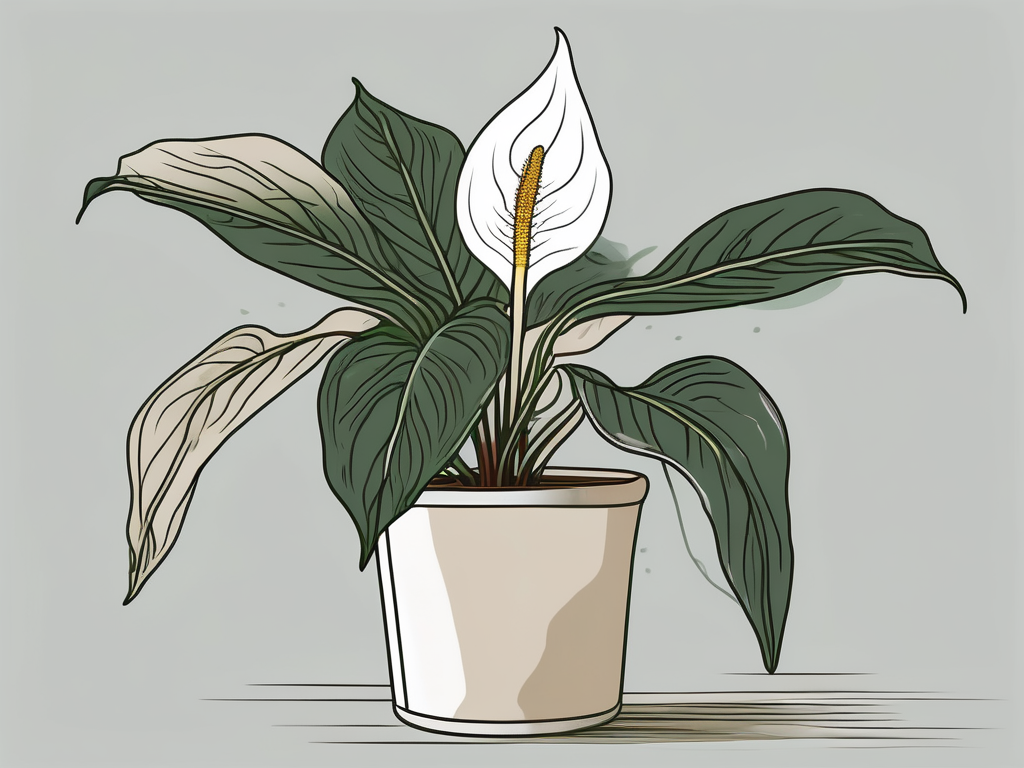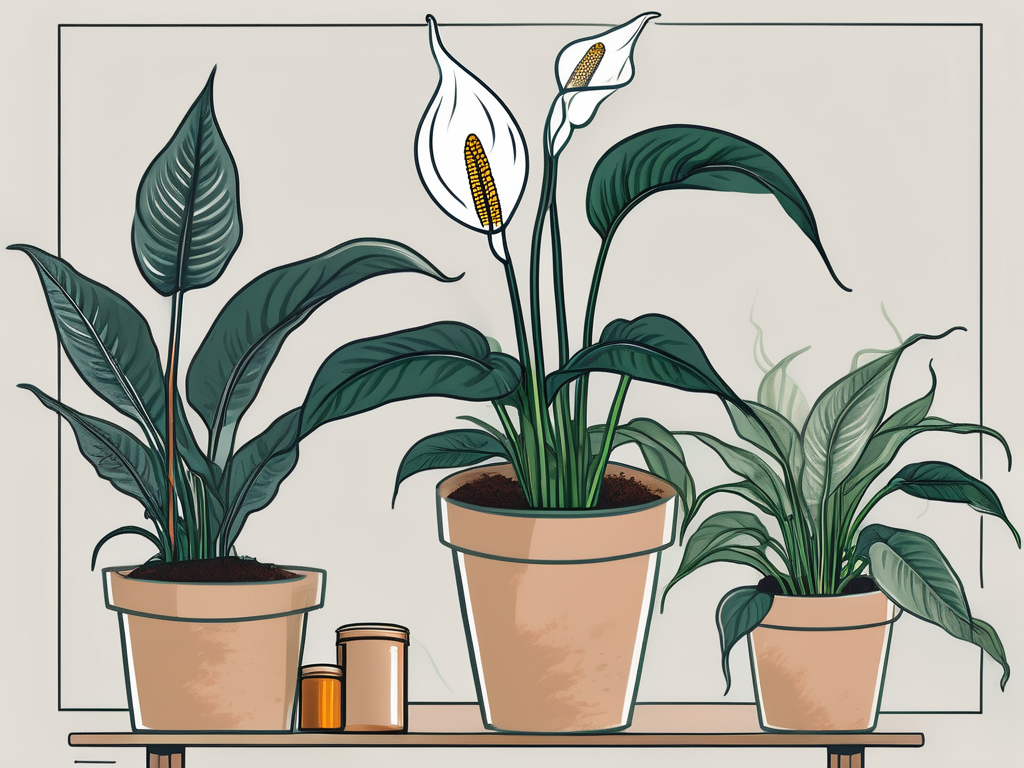
Taking care of a peace lily is a joy for many plant lovers. These beauties are known for their glossy leaves and striking white blooms. However, they can sometimes fall prey to fungal infections, which can be a bit of a headache. But don't worry, with the right knowledge and care, you can keep your peace lily thriving.
In this article, we'll dive into everything you need to know about preventing and treating fungal infections in peace lilies. We'll explore common fungal issues, how to spot them, and practical steps to tackle these problems. So, let's get started on keeping your peace lily healthy and happy!
Understanding Fungal Infections in Peace Lilies
Fungal infections in peace lilies are more common than you might think. These infections, caused by various fungi, can wreak havoc on your plant if left unchecked. But what exactly causes these infections? Well, it often boils down to environmental conditions and care practices.
Fungi thrive in warm and humid conditions, making peace lilies, which enjoy similar environments, a perfect host. Overwatering, poor air circulation, and contaminated soil can all contribute to the development of fungal infections. It's essential to recognize these factors to prevent and manage infections effectively.
Common fungal infections that affect peace lilies include root rot, leaf spot, and powdery mildew. Each of these presents unique symptoms and challenges, which we'll delve into further in this article. By understanding these infections, you'll be better equipped to protect your peace lily from potential fungal threats.
Identifying Symptoms of Fungal Infections
Spotting the signs of a fungal infection early can make all the difference in saving your peace lily. So, what should you be on the lookout for? Here are some common symptoms that may indicate the presence of a fungal infection:
- Yellowing Leaves: If you notice your peace lily's leaves turning yellow, it could be a sign of root rot. This happens when the roots are unable to absorb nutrients due to fungal infection.
- Brown Spots: Leaf spot fungi often cause brown or black spots on the leaves. These spots may have a yellow halo around them, indicating infection.
- White Powdery Coating: Powdery mildew appears as a white or gray powdery substance on the leaves or stems. It's usually easy to spot and indicates a need for immediate action.
- Wilting: A peace lily that's wilting despite regular watering may be suffering from root rot. This is often accompanied by a foul smell from the soil.
If you notice any of these symptoms, it's time to take a closer look at your plant's environment and care routine. Addressing these issues early can prevent them from escalating into severe problems.
Preventing Fungal Infections
Prevention is always better than cure, especially when it comes to fungal infections. By taking proactive steps, you can significantly reduce the risk of your peace lily falling victim to fungi. Here are some practical tips to keep your plant healthy:
- Proper Watering: Overwatering is a leading cause of fungal infections. Ensure your peace lily's soil is well-draining and only water when the top inch of soil feels dry.
- Good Air Circulation: Place your peace lily in a spot with good air circulation to prevent humidity from getting trapped around the leaves.
- Clean Leaves: Regularly wipe the leaves with a damp cloth to remove dust and potential fungal spores.
- Right Environment: Peace lilies thrive in temperatures between 65-85°F (18-29°C). Avoid placing them in direct sunlight or drafty areas.
- Healthy Soil: Use fresh, sterile potting soil to prevent introducing fungi into your plant's environment.
By incorporating these practices into your routine, you can help your peace lily stay healthy and less susceptible to fungal infections.
Effective Treatment Options
If your peace lily is already showing signs of a fungal infection, don't panic. There are several treatment options available to help nurse your plant back to health. Let's explore some of the most effective methods:
1. Pruning Affected Areas
Start by pruning any affected leaves or stems. Use clean, sterilized scissors to cut away damaged parts of the plant. This prevents the infection from spreading further and helps the plant focus its energy on healthy growth.
2. Improve Air Circulation
Ensure your peace lily has adequate air circulation by moving it to a spot with better airflow. You can also use a small fan to help reduce humidity and discourage fungal growth.
3. Adjust Watering Practices
Reevaluate your watering routine. Ensure the soil has proper drainage and avoid letting the plant sit in water. Allow the top inch of soil to dry out between waterings to prevent overwatering.
4. Use Fungicides
If natural methods don't seem to be working, consider using a fungicide. Choose one that's safe for houseplants and follow the instructions carefully. Fungicides can be effective in controlling and eliminating fungal infections.
Treating a fungal infection requires patience and consistency. Keep an eye on your peace lily's progress and adjust your care routine as needed.
Repotting for Healthier Roots
Sometimes, repotting your peace lily can be the best solution for severe fungal infections, especially root rot. Repotting provides fresh soil and a chance to inspect the roots for damage. Here's a step-by-step guide to repotting your peace lily:
Step 1: Gather Supplies
You'll need a new pot with drainage holes, fresh potting soil, and clean scissors. Ensure the pot is one size larger than the current one to allow room for growth.
Step 2: Remove the Plant
Gently remove your peace lily from its current pot. Be careful not to damage the roots as you do this. If the plant is stuck, tap the sides of the pot or use a knife to loosen the soil.
Step 3: Inspect and Trim Roots
Check the roots for signs of rot, such as black or mushy roots. Trim away any damaged roots using clean scissors. Healthy roots should be firm and white.
Step 4: Repot the Plant
Place a layer of fresh soil in the new pot, then position the peace lily in the center. Add more soil around the roots, ensuring the plant is stable. Lightly press the soil to remove air pockets.
Step 5: Water and Care
Water the plant thoroughly, allowing excess water to drain. Place the peace lily in a suitable location with indirect light and good air circulation. Monitor the plant's recovery and adjust care as needed.
Repotting can give your peace lily a fresh start and improve its chances of overcoming a fungal infection.
Natural Remedies for Fungal Infections
For those who prefer natural remedies, several options can help combat fungal infections in peace lilies. These remedies are often gentler on the plant and the environment. Here are a few you can try:
Baking Soda Solution
Baking soda is known for its antifungal properties. Mix one teaspoon of baking soda with a quart of water and a few drops of dish soap. Spray the solution on the affected areas of the plant, ensuring good coverage.
Neem Oil
Neem oil is a natural pesticide and fungicide. Dilute it with water according to the package instructions and apply it to the plant's leaves and stems. Neem oil can help control fungal growth and prevent future infections.
Garlic Spray
Garlic has natural antifungal properties. Crush a few garlic cloves and steep them in hot water. Once cool, strain the mixture and spray it on the infected areas of your peace lily.
These natural remedies can be effective in treating mild fungal infections. However, if the infection persists, you may need to consider stronger treatments.
Monitoring and Maintenance
Once you've treated a fungal infection, ongoing monitoring and maintenance are crucial to prevent recurrence. Here are some tips to help you keep your peace lily healthy:
- Regular Inspection: Check your peace lily regularly for signs of fungal infections. Catching issues early can prevent them from becoming more severe.
- Maintain Proper Care: Stick to a consistent care routine, including appropriate watering, light conditions, and humidity levels.
- Rotate the Plant: Occasionally rotate your peace lily to ensure even light exposure and prevent one side from becoming overly shaded.
- Keep Environment Clean: Remove dead leaves and debris from around the plant to reduce the risk of fungus developing.
By staying vigilant and maintaining proper care, you can help your peace lily recover from fungal infections and thrive in the long term.
Seeking Professional Help
Sometimes, despite your best efforts, a fungal infection may persist or worsen. In such cases, seeking professional help can be a wise decision. A plant expert or local nursery can offer guidance and recommend specific treatments tailored to your peace lily's needs.
Don't hesitate to reach out to professionals if you're unsure about how to proceed. They can provide valuable insights and help you get your peace lily back on track.
Final Thoughts
Tackling fungal infections in peace lilies requires a mix of knowledge, prevention, and timely intervention. By understanding the symptoms, taking preventive measures, and employing effective treatments, you can keep your peace lily healthy and vibrant.
At Cafe Planta, we're here to support you on your plant journey. Whether you're looking for unique houseplants or plant care advice, we're just a message away. Feel free to email us or reach out on Instagram. We believe in connecting with nature and each other through the love of plants.