Have you ever found yourself staring at your Echeveria, wondering why it doesn’t look as cheerful as it used to? You’re not alone. Many plant lovers have faced the plight of a wilting or discolored Echeveria. These beautiful succulents, with their rosette shapes and diverse hues, can sometimes be a bit tricky to keep in optimal health.
In this article, we’re going to unravel the mysteries behind a struggling Echeveria. From watering woes to sunlight snafus, pest problems to potting issues, we’ll explore the common reasons your plant might be looking a little under the weather and, more importantly, how you can nurse it back to its vibrant self. Let’s dig in!
1. Is Overwatering the Culprit?
One of the most common reasons behind an ailing Echeveria is overwatering. Succulents, including Echeveria, have specialized tissues that store water, making them drought-tolerant. When you water them too frequently, their roots can become waterlogged, leading to root rot. The signs of overwatering include yellowing leaves, a mushy stem, and an overall droopy appearance.
To determine if overwatering is the issue, gently remove the plant from its pot and inspect the roots. Healthy roots are white and firm, while rotted roots appear brown and mushy. If you find root rot, it’s time for some emergency care:
- Remove the plant from the pot and cut away the affected roots with sterilized scissors.
- Allow the plant to dry out for a day or two.
- Repot in fresh, well-draining soil designed for succulents.
- Water sparingly, allowing the soil to dry out completely between waterings.
It’s also a good idea to adjust your watering schedule. A simple rule of thumb is to water every two to three weeks, depending on the climate and season. Remember, it’s better to underwater than overwater when it comes to succulents.
2. Sunlight: Friend or Foe?
Echeverias love the sun, but too much of a good thing can be harmful. If your plant is getting too much direct sunlight, it might develop scorched leaves, which appear brown and crispy. On the other hand, if it’s not getting enough light, the plant will stretch out, becoming leggy as it reaches for more sunlight.
Here’s how to strike the right balance:
- Place your Echeveria in a spot where it can receive bright, indirect sunlight for about six hours a day.
- If you notice signs of sunburn, move the plant to a slightly shadier location.
- For indoor Echeverias, a south or east-facing window is usually ideal.
If natural light is scarce, consider supplementing with a grow light. This can help maintain healthy growth without the risk of sunburn.
3. The Potting Predicament
Believe it or not, the pot you choose for your Echeveria can drastically affect its health. A pot without drainage holes is a recipe for disaster, as it can trap excess water and lead to root rot. Additionally, the size of the pot matters. A pot that is too large will hold more soil, which in turn retains more water.
Here’s how to choose the right pot:
- Ensure the pot has drainage holes to allow excess water to escape.
- Choose a pot that is just slightly larger than the root ball of your Echeveria.
- Consider using a porous material like terracotta, which allows the soil to dry out more quickly.
Repotting should generally happen once every two years, or when you notice the plant outgrowing its pot. When repotting, gently remove old soil from the roots and inspect for any signs of rot. Use a fresh potting mix designed for succulents to give your Echeveria the best chance of thriving.
4. Pests: Tiny Terrors
While Echeverias are relatively pest-resistant, they can occasionally fall victim to unwanted guests. Common pests include mealybugs, aphids, and spider mites. These pests can sap the vitality of your plant, leading to yellowing leaves and slowed growth.
Here’s how to tackle a pest problem:
- Inspect your plant regularly, especially under the leaves and around the stem.
- If you spot pests, isolate your Echeveria to prevent spreading.
- Use a cotton swab dipped in rubbing alcohol to remove mealybugs.
- For more significant infestations, consider using an insecticidal soap or neem oil.
Prevention is also crucial. Keeping your plants clean and free of debris can reduce the likelihood of pests taking hold. Regularly wiping the leaves with a damp cloth can go a long way in maintaining a healthy plant.
5. Soil Matters More Than You Think
The type of soil you use for your Echeveria is crucial. Regular potting soil retains too much moisture, which can be detrimental to your succulent. Instead, you should use a well-draining, gritty mix.
Creating the perfect mix involves:
- Using a commercial cactus or succulent mix as a base.
- Adding perlite or pumice to improve drainage.
- Incorporating coarse sand to enhance soil texture.
A good soil mix ensures that water doesn’t sit around the roots for too long. This prevents rot and allows your Echeveria to take up just the right amount of moisture it needs.
6. Temperature and Humidity: Finding the Balance
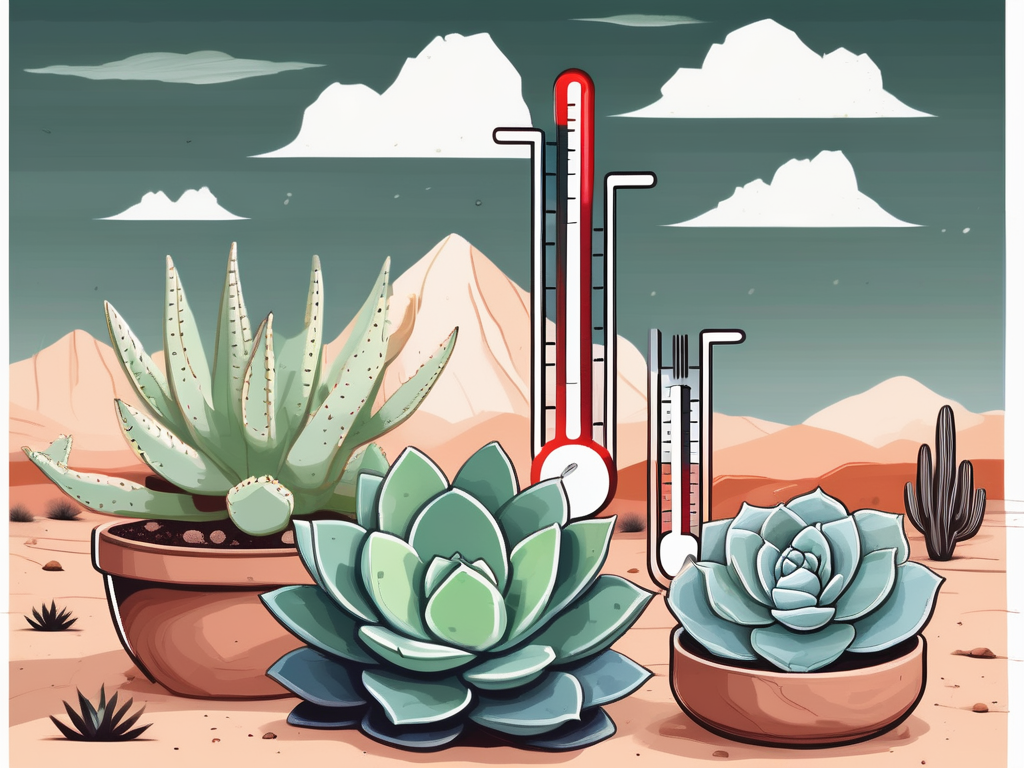
Echeverias, native to semi-desert areas, thrive in warm temperatures and low humidity. If your home’s conditions don’t match these preferences, your plant might show signs of stress, like wilting or leaf drop.
Here’s how to create an ideal environment:
- Keep your Echeveria in a room with temperatures between 65°F and 80°F (18°C to 27°C).
- Avoid placing the plant near drafty windows or air conditioning vents.
- Maintain a low humidity level, which is commonly found in most homes.
If you notice your Echeveria struggling during the colder months, consider moving it to a warmer part of your home. This can help it maintain its health and vitality.
7. Fertilizing: Less Is More
Succulents, including Echeverias, don’t require much fertilization. Over-fertilizing can lead to salt buildup in the soil, which can harm the roots.
For healthy growth:
- Use a balanced, water-soluble fertilizer diluted to half strength.
- Fertilize only during the growing season (spring and summer).
- Avoid fertilizing in the fall and winter, when your Echeveria is dormant.
Remember, it’s better to under-fertilize than overdo it. Your Echeveria will thrive with minimal intervention.
8. Repotting: Give It Space to Grow
Repotting your Echeveria might not be a frequent task, but it’s an important one. Over time, the soil can become compacted and less effective at draining, which is why repotting every couple of years is beneficial.
Steps for successful repotting:
- Choose a pot that is only slightly larger than the current one.
- Use fresh succulent or cactus soil mix to refill the pot.
- Gently shake off the old soil from the roots and inspect for any signs of rot.
- Place the plant in the new pot and lightly pack the soil around it.
After repotting, wait a week before watering to allow the plant to settle and any damaged roots to heal.
9. Seasonal Changes: Adapting to Nature's Rhythm
Just like us, Echeverias experience changes in their environment with the seasons. During the growing season (spring and summer), your plant will need more light and water. In contrast, during dormancy (fall and winter), it requires less attention.
Adjust your care routine with the seasons:
- Increase watering frequency in the warmer months, but still allow the soil to dry out between waterings.
- Provide ample sunlight during the growing season, and consider additional light sources in winter.
- Reduce or stop fertilizing in the fall and winter.
By syncing your care routine with the seasons, you’ll help your Echeveria thrive year-round.
Final Thoughts
We’ve covered a lot of ground today in understanding why your Echeveria might be struggling. From watering and sunlight to soil and pests, each aspect of care plays a significant role in the health of your plant. By adjusting your approach, you can help your Echeveria bounce back and flourish.
At Cafe Planta, we’re passionate about helping you succeed in your plant care journey. Whether you’re looking for new plant additions, care accessories, or just some friendly advice, we’re here to help. Feel free to email us or connect on Instagram. Together, let’s create your dream plant oasis!